Wednesday, June 27, 2018

Simple Summertime Cover-Up...

Simple Summertime Cover-Up Pattern
I made this “Simple Summertime Cover-Up” using less than 1 cone of Sugar ‘n Cream cotton yarn in red and a 6.0mm hook. I bought this yarn on clearance sale at Hobby Lobby for $3.49 (regular priced at 13.99).  I still have at least 200 yards left on the cone.

I made this using a mesh stitch. I made a back panel and 2 front panels, whipstitched the pieces together and voila- it was done. Quick and easy. The only stitch knowledge required is:  chains and half double crochet.

Size:  It's made in Large (Lg) to fit me, so it would be a loose fit on a small/medium-sized person; but that's okay for beachwear...

Materials:
--6.0mm hook
--1 Sugar 'n Cream Cotton Yarn Cone (I used the color Red)
--tapestry needle for weaving

U.S. Stitch Abbreviations:
Ch:  chain
Sl St:  slip stitch
St:  stitch(es)
HDC:  half double crochet
Sk:  skip
Rep:  repeat
FO:  fasten off

Directions:

Back Panel:
(Worked from bottom up)
1.  Start with an even number of chains.  I started with 82 for the back panel.  (I chained long enough to make it loose and roomy for my backside and sides.)  HDC in 2nd ch from hook and across.  Ch1 and turn.  (81)
2-5.  HDC in each st across.  Ch 1 and turn.  (81)
6.  HDC in 1st st.  *Ch 5, sk 3 st, HDC in next st.*  Rep across from * to. *  HDC in last st.  Ch 1 and turn.
7.  HDC in 1st st.  Ch 2 and make an HDC st in the first Ch 5 of previous row.  Ch 5.  HDC in next Ch 5 of previous row.  Rep across.  After last HDC st in the Ch 5 of previous row, you will then Ch 2 and HDC in last st.  Ch 1 and turn.
8-33.  Repeat rows 6 and 7.
Top border:
34.  To finish off, HDC evenly across.  Ch 1 and turn.  (81)
35.  HDC across.  Fasten off and weave ends.  (81)

Front Panels:
(make 2)
1.  I started with an even number of chains.  I started with 36.  HDC in 2nd ch from hook and across.  Ch 1 and turn.  (35)
2-5.  HDC in each st across.  Ch 1 and turn.  (35)
6.  HDC in 1st st.  *Ch 5, sk 3 st, HDC in next st.*  Rep across from * to. *  HDC in last st.  Ch 1 and turn.
7.  HDC in 1st st.  Ch 2 and make an HDC st in the 1st Ch 5 of previous row.  Ch 5.  HDC in next Ch 5 of previous row.  Rep across.  After last HDC st in the Ch 5 of previous row, you will then Ch 2 and HDC in last st.  Ch 1 and turn.
8-33.  Repeat rows 6 and 7.
Top border:
34.  To finish off, HDC evenly across.  Ch 1 and turn.  (35)
35.  HDC across.  Fasten off and weave ends. (35)

To assemble:
1.  I whipstitched shoulder seams with right sides facing.
2.  I then whipstitched sides together with right sides facing.  I left a large opening at the top sides (approx 9") for my arms.  You can adjust this to a smaller opening, if so desired. 

I hope you will enjoy/like this easy pattern.  Please feel free to email/comment with any questions.


Happy Crocheting 

Legal:
--don't use/claim my design as your own
--don't use/claim my pics as your own
--okay to make and sale your finished work 
--don't share my pattern electronically or in print format (without prior consent) but provide a link to my blog

Tuesday, June 19, 2018

Yarn, Yarn — and more Yarn!!!

Okay, folks, if you haven’t visited your local Hobby Lobby Store lately, then you need to go there NOW!!!  They have unbeatable clearance prices right now on yarn.

I bought 51 skeins of acrylic, cotton, wool, bulky/chunky yarn, 3 Sugars ‘n Creme and 2 gorgeous Sugarwheels for a whopping total of $96.63 after tax.  You cannot beat this deal anywhere. Skeins were priced between $1.12 - $1.49. The cones were $3.49. Now, the Sugarwheel - well, I used 40% off coupon. It wasn’t clearanced yet but the shades of green were so gorgeous that I couldn’t pass it up...lol.

I’m so glad I saved my gift cards from Christmas to use now!!!  I really got a bang for my buck, so to speak.

I’m not affiliated with Hobby Lobby but I do know an awesome deal when I see one. Plus, I love working with their yarns.   Check out pics below!!!


Happy Crocheting...

Sunday, June 17, 2018

Knight's Tunic Top

In follow-up to the Knight's Sword and Chainmail Hat/Helmet I designed, I decided to create this Knight's Tunic Top for my grandson, Jacob.  What little boy doesn't want to be a Knight?  I know I love watching shows/movies about times of past with knights and kings.

This pattern was designed to be beginner-friendly for a crochet newbie, using Red Heart Super Saver yarn and a 6.0mm hook.

Knight's Tunic Top
Size:  Youth Small/Medium

Materials:
--4.0 (for the Fleur-de-lis) and 6.0mm hooks 
--Red Heart Super Saver yarn in Navy (2 skeins) and white (1 skein)
--4 small buttons for side flaps
--tapestry needle for weaving

U.S. Stitch Abbreviations:
Ch:  chain
St:  stitch(es)
Sl st:  slip stitch
SC:  single crochet
HDC:  half double crochet 
HDC2tog:  half double crochet 2 stitches together
FHDC:  foundation half double crochet
Rep:  repeat
Sk:  skip
FO:  fasten off 
Picot:  Chain 3 and slip stitch into the first chain

Directions:
The tunic is made in one piece, a rectangular-shape.  The neck opening is made at the halfway mark between the front and back.  Then, you make 4 side flaps and attach (2 flaps to each side).

Tunic:
1.  With Navy yarn and 6.0mm hook, I started with FHDC 45.  Or, you could chain 46, HDC in 2nd ch from hook and across.  Ch1 and turn. (45)
 2.  1 HDC in each st across.  Ch1 and turn.  (45)
3-43.  Rep #2.
44.  1 HDC in each of the first 9 st.  Ch27, Sk 27, 1 HDC in each of the last 9 st.  Ch1 and turn.  (18 HDC, 27 Ch)
45.  1 HDC in each of the first 9 st.  27 HDC in the ch space.  1 HDC in each of the last 9 st.  Ch1 and turn.  (45)
46-87.  1 HDC in each st across.  Ch1 and turn.  At the end of Row 87, FO and weave ends.

Border:
1.  With white yarn, join in any st and Ch1.  HDC in same st.  HDC evenly around.  Sl st join to first st and Ch1.
2.  1 HDC in each st around.  Sl st join and FO.  Re-join Navy yarn.
3.  1 HDC in each st around.  Sl st join to first st and Ch1.
4.  Rep #3.  FO and weave ends.

Bottom Tabs:
The bottom tabs are made for the front panel and the back panel.  4 tabs on each side.

1.  Join Navy yarn in first st of the first row and Ch1.  HDC in same st and into the next 7 st.  Ch1 and turn.  (8)
2-6.  1 HDC in each st across.  Ch1 and turn.  After you complete the 6th Row, FO and weave ends.  (8)

Rep steps 1-6 evenly across the bottom to make 4 tabs.  Then, rep on the back side, using the last row you made.


Side Flaps (make 4):
1.  With Navy yarn and 6.0mm hook, Ch4.  SC in 2nd ch from hook and across.  Ch1 and turn.  (3)
2-11.  1 SC in each st across.  Ch1 and turn.  (3)
12.  1 SC in each st across.  FO and leave a tail for attaching 1 side to the side back panel.

Emblem:
1.  With White yarn and 6.0mm hook, Ch3.  HDC in 2nd ch from hook and next ch.  Ch1 and turn.  (2)
2.  2 HDC in each st.  Ch1 and turn.  (4)
3.  2 HDC in first st, 1 HDC in next 2 st, 2 HDC in last st.  Ch1 and turn.  (6)
4.  2 HDC in first st, 1 HDC in next 4 st, 2 HDC in last st.  Ch1 and turn.  (8)
5.   2 HDC in first st, 1 HDC in next 6 st, 2 HDC in last st.  Ch1 and turn.  (10)
6.  2 HDC in first st, 1 HDC in next 8 st, 2 HDC in last st.  Ch1 and turn.  (12)
7.  2 HDC in first st, 1 HDC in next 10 st, 2 HDC in last st.  Ch1 and turn.  (14)
8.  2 HDC in first st, 1 HDC in next 12 st, 2 HDC in last st.  Ch1 and turn.  (16)
9-11.  1 HDC in each st across.  Ch1 and turn.  (16)
12.  HDC2tog, 1 HDC in next 12 st, HDC2tog.  FO and weave ends.  (14)
13.  With Navy yarn, join yarn and Ch1.  SC in same st.  SC evenly around.  FO and leave a long tail for attaching.

Fleur-di-lis:
Vertical Portion:
1.  With Navy yarn and 4.0mm hook, Ch15.  SC in 2nd ch from hook and into each of the next 10 ch.  Picot.  1 SC in each of the next 2 ch.  3 SC in last ch.  Rotate and work on the opposite side of the base chain.  1 SC in each of the first 3 ch.  Picot.  1 SC in each of the next 9 ch.  2 SC in last ch.  FO and leave a long tail for attaching to the emblem.

For the Side:
1.  Ch7.  1 SC in 2nd ch from hook and across.  Picot.  1 SC in each st across.  FO and leave a long enough tail to attach on the side of the Vertical Portion.

Rep for the second side.
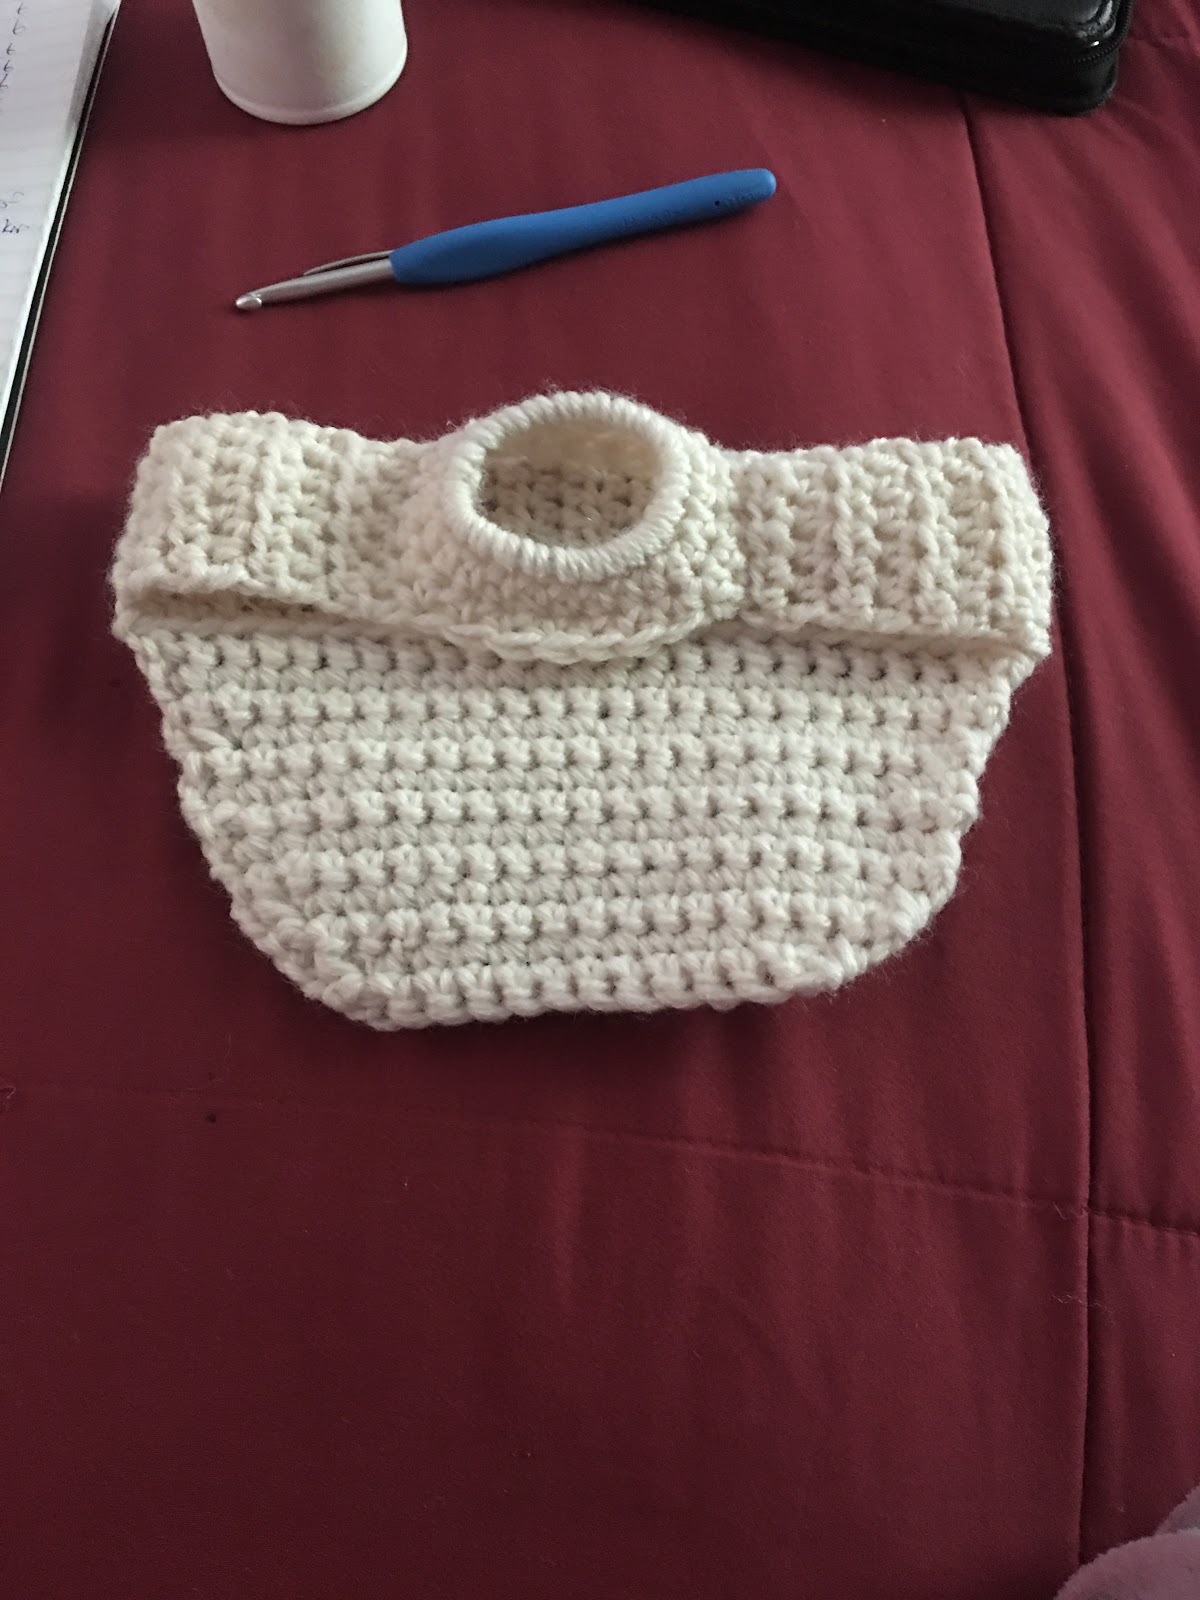
Neckline Border:
1.  With White yarn and 6.0mm hook, I joined yarn with a sl st and Ch1 in the back right corner.  HDC in same st and evenly across the back portion.  At the corner, HDC2tog, then HDC across the front.  HDC2tog at the corner.  Continue to HDC until the last st and then sl st join to the first st and Ch1.
2.   HDC in each st across the back portion.  At the corner, HDC2tog, then HDC in each st across.  HDC2tog in the corner.  Continue to HDC until the last st and then sl st join to the first st and FO.  Weave ends.
3.  I used the tapestry needle and a piece of white yarn, and weaved it in and out of the center, front HDC st to create a dip (V).  FO and weaved ends.

Assembly:
1.  Attach 2 buttons evenly spaced out on the front sides of the tunic for side flap closure
2.  Attach the Fleur-di-lis to the emblem.  Then attach emblem to front center of the tunic.

To adjust size:
1.  For a 3T-4T size, start with a FHDC 30 or Ch31 and HDC across.  (30)
2-30.  1 HDC in each st across.  (30)
31.  1 HDC in each of the first 10 st.  Ch10, Sk 10, 1 HDC in each of the last 10 st.  Ch1 and turn.  (20 HDC, 10 Ch)
32.  1 HDC in each of the first 10 st.  10 HDC in the ch space.  1 HDC in each of the last 10 st.  Ch1 and turn.  (30)
33-62.  1 HDC in each st across.  Ch1 and turn.  At the end of Row 63 FO and weave ends.  (30)

Complete remainder of Tunic same as above.

Please note:
1.  This pattern has not been tested.  It was designed and made by me for my grandchildren.
2.  As a good rule of thumb, please check for size as you go to make sure you get the measurement you want for your child.
3.  If you have any questions, please feel free to comment or email me and I would be glad to help in any way that I can.

Enjoy!!!

Happy Crocheting 

Legal:
--don't use/claim my design as your own
--don't use/claim my pics as your own
--okay to make and sale your finished work
--don't share my pattern electronically or in print format (without prior consent) but provide a link to my blog

Thursday, June 7, 2018

Knight's Sword

Hitting the beach one weekend and then the mountains the following weekend has motivated and regenerated my creativity!!!  I have been playing around with several different projects with the warmer weather in full force here in North Carolina.  My brain has been all over the place - from one spectrum to the other with projects I've started...lol.  So, I will be getting my blog updated with all the new patterns I've already completed, as well as, update blog posts that I may not have added the pattern(s) to yet.

Today, I want to share my pattern for a "Knight's Sword."  I made this to compliment the Knight's Chainmail Hat/Helmet that I added yesterday.  Here is the LINK for this pattern:
I plan to make a few additional items to complete my "Knight" collection.  Everything will be made and sized for my 7-year-old grandson, Jacob.  He wants a complete costume made - so this will be a great collection to have for Halloween, birthday parties or to just play dress-up around the house.  

Knight's Sword
Knight's Sword Pattern
Size:  approx 18" long

Gauge:  I did not gauge

Materials:
--5.0mm hook
--#4 worsted weight yarn in your color(s) of choice (I used grey and light brown)
--1 sheet of plastic canvas
--small amount of polyfil
--tapestry needle for weaving

U.S. Stitch Abbreviations:
Ch:  chain
St:  stitch(es)
Sl st:  slip stitch
HDC:  half double crochet
HDC2tog:  half double crochet 2 stitches together (creates a decrease)
FO:  fasten off

Directions:
This pattern is made using double-stranded yarn.  Just simply hold 2 strands together while you work the pattern.

The Blade/Hilt is made in one piece.  You will need to repeat the pattern 2 times and then whipstitch the 2 pieces together to make the sword.

1.  Starting with grey yarn, double-stranded, Ch3.  HDC in 2nd ch from hook and next ch.  Ch1 and turn.  (2)
2.  2 HDC in each st.  Ch1 and turn.  (4)
3.  2 HDC in first st, 1 HDC in each of the next 2 st, 2 HDC in last st.  Ch1 and turn.  (6)
4.  2 HDC in first st, 1 HDC in each of the next 4 st, 2 HDC in last st.  Ch1 and turn.  (8)
5.  2 HDC in first st, 1 HDC in each of the next 6 st, 2 HDC in last st.  Ch1 and turn.  (10)
6.  2 HDC in first st, 1 HDC in each of the next 8 st, 2 HDC in last st.  Ch1 and turn.  (12)
7-10.  1 HDC in each st across.  Ch1 and turn.  (12)
11.   HDC2tog, 1 HDC in each of the next 8 st, HDC2tog.  Ch1 and turn.  (10)
12-29.  1 HDC in each st across.  Ch1 and turn.  (10)
30.  1 HDC in each st across.  FO and weave ends.  

31.  Before joining your second color to Row 30 to make the hilt, you will first make a Ch5.  1 HDC in the 2nd ch from the hook.  1 HDC in each of the next 3 ch.  Now, sl st join 2nd color to the last stitch of Row 30 on the right end.  1 HDC in same st.  1 HDC in each st across.  Ch5.  1 HDC in 2nd ch from the hook.  1 HDC in each of the next 3 ch.  Turn.  Sl st back across the 4 HDC st you just made.  Ch1 and turn.  (18)
32.  1 HDC in each of the first 14 st.  Now, before continuing with the last 4 HDC st across, you will want to turn up the first 4 HDC st you made in Row 31 and work the remaining HDC st across into the base ch you made in Row 31.  Ch1 and turn.  (18)
33.  1 HDC in each st across.  Do not Ch1 and turn.  (18)
34.  Sl st in the first 5 st.  Ch1.  HDC in the next 8 st.  Ch1 and turn.  (8)
35-41.  1 HDC in each st across.  Ch1 and turn.  (8)
42.  1 HDC in each st across.  FO and leave a long tail.  

Repeat to make 2nd piece.  
Now, you will want to cut a piece of plastic canvas in the shape of the blade portion.  Cut it smaller than the actual crocheted piece since it will be nestled between the 2 crocheted pieces.  
Assembly:
I whipstiched up and around one side first.  Then I placed the plastic canvas and polyfil in the middle.  I continued to whipstich around and added more polyfil as needed.  I wanted it to be stuffed but not overly stuffed.  The plastic canvas adds great support to keep the blade from being floppy.  I weaved in remaining tails.
Happy Crocheting...


Legal:
--don't use/claim my design as your own
--don't use/claim my pics as your own
--okay to make and sale your finished work
--don't share my pattern electronically or in print format (without prior consent) but provide a link to my blog


Wednesday, June 6, 2018

Chainmail Hat/Helmet

My grandson, Jacob, loves watching movies/TV shows with Knights.  He wants a complete outfit with all of the accessories made for him.  This will take a little time for me, but for now I have made him a "Chainmail Hat/Helmet" and in another post I will add the pattern for the "Sword."

I used worsted weight yarn for this project.  It was quick and easy and fun to make.

This will definitely make for a cute project for a costume for a play, drama, church or Halloween!!!  Here is the LINK to my Knight's Sword Pattern:

Chainmail Hat/Helmet
Chainmail Hat/Helmet Pattern
Size:  Fits 19-21" head circumference

Gauge:  I did not gauge pattern

Materials:
--5.0mm hook
--#4 worsted weight yarn; I used Hobby Lobby's "I Love This Yarn" in Greybeard
--2 stitch markers; I used safety pins
--tapestry needle for weaving

U.S. Stitch Abbreviations:
Ch:  chain
Sl st:  slip stitch
DC:  double crochet
MR:  magic ring
FO:  fasten off

Directions:   
1.  10 DC st into a MR.  Sl st join together to the first st.  Ch1.  (10)
2.  2 DC st into eacn st around.  Sl st join and Ch1.  (20)
3.  2 DC in the first st, 1 DC in next st.  Rep this pattern around.  Sl sl join and Ch1.  (30)
4.  2 DC in the first st, 1 DC in next 2 st.  Rep this pattern around.  Sl sl join and Ch1.  (40) 
5.  2 DC in the first st, 1 DC in next 3 st.  Rep this pattern around.  Sl st join and Ch1.  (50)
6.  2 DC in the first st, 1 DC in next 4 st.  Rep this pattern around.  Sl st join and Ch1.  (60)
7.  2 DC in the first st, 1 DC in next 5 st.  Rep this pattern around.  Sl st join and Ch1.  (70)
9-14.  1 DC in each st around.  Sl st join and Ch1.  (70)

Now, for stitch marker placement:
1.  Count over and place 1st st marker 18 st over.
2.  Place the 2nd st marker and count over 34 st and place the 2nd stitch marker (so this will make 35 stitches from stitch marker to stitch maker 

1.  Now, join yarn in the first st maker with a sl st and Ch1.  Remove st marker.  DC in same st and continue to crochet in each of the remaining 34 stitches.  Ch1 and turn.  (35)
2-6.  1 DC in each st across.  Ch1 and turn.  (35)
7.  2 DC in the first st, 1 DC in each of the next 33 st, and 2 DC in the last st.  Ch1 and turn.  (37)
8.  2 DC in the first st, 1 DC in each of the next 35 st, and 2 DC in the last st.  Ch1 and turn.  (39)
9.  2 DC in the first st, 1 DC in each of the next 37 st, and 2 DC in the last st.  Ch1 and turn.  (41)
10.  2 DC in the first st, 1 DC in each of the next 39 st, and 2 DC in the last st.  FO and weave ends.  (43)

Happy Crocheting...

Legal:
--don't use/claim my design as your own
--don't use/claim my pics as your own
--okay to make and sale your finished work
--don't share my pattern electronically or in print format (without prior consent) but provide a link to my blog


Ponytail Sunvisor Hat

I decided to make a view alterations to my Basic Ponytail Ear Warmer/Headband pattern and came up with something for the warmer months - a "Ponytail Sunvisor Hat..."

This pattern is quick and easy to make - and doesn't require a lot of yarn.

I hope you all will enjoy this pattern as much as I do...

Ponytail Sunvisor Hat
Ponytail Sunvisor Hat Pattern
 
Size:  Average Adult-Sized Woman's Head

Gauge:  I did not gauge pattern

Materials:
--5.0mm hook
--elastic ponytail holder
--#4 worsted weight yarn; I used Lion Brand's Vanna's Choice yarn
--2 stitch markers
--tapestry needle for weaving

U.S. Stitch Abbreviations:
Ch:  chain
Sl st:  slip stitch
SC:  single crochet
HDC:  half double crochet
SC2tog:  single crochet 2 stitches together
FO:  fasten off

Directions:
1.  Join yarn with sl st to ponytail holder.  24 SC st around holder.  Sl st join to first st and Ch1.  (24)
2-3.  1 HDC in each st around.  Sl st join to first st and Ch1.  (24)
4.  1 HDC in each of the first 6 st.  Ch1 and turn.  (6)

Before continuing with pattern, you will want to place your stitch markers at stitch #13 and stitch #18 of Round 3. 

5-43.  1 HDC in each st across.  Ch1 and turn.  (6)
44.  1 HDC in each st across.  Ch1 and turn.  Once you complete this row, you will want to sl st join Row 44 to Row 3 (from stitch marker to stitch marker).

This completes the headband portion.

Visor:
A.  It is worked double-stranded Yarn.
B.  To add the front visor to the headband, you will want to count over 9 Rows on each side from Round 3 that was made and place your stitch markers.  You will be working your stitches from stitch marker to stitch marker - 26 stitches - in the front.  


1.  Join yarn with a sl st and Ch1 into the first stitch marker.  SC in same st and across until you place the last SC st into the second stitch marker.  Ch1 and turn.  (26)
2.  SC2tog, 1 SC into the next 22 st, SC2tog.  Ch1 and turn.  (24)
3-4.  1 SC in each st across.  Ch1 and turn.  (24)
5.  SC2tog, 1 SC into the next 20 st, SC2tog.  Ch1 and turn.  (22)
6-7.  1 SC in each st across.  Ch1 and turn.  (22)
8.  SC2tog, 1 SC into the next 18 st, SC2tog.  Ch1 and turn.  (20)
9-10.  1 SC in each st across.  Ch1 and turn.  (20)
11.   SC2tog, 1 SC into the next 16 st, SC2tog.  Ch1 and turn.  (18)
12.   SC2tog, 1 SC into the next 14 st, SC2tog.  FO and weave ends.  (16)

Please feel free to message and/or comment me with any questions.


 Happy Crocheting...

Legal:
--don't use/claim my design as your own
--don't use/claim my pics as your own
--okay to make and sale your finished work
--don't share my pattern electronically or in print format (without prior consent) but provide a link to my blog