I whipped up this Garden Stake flag today for my bare stake beside my driveway -- Santa Pants Flag. It measures 12 1/2" wide x 18 1/2" long (from top of tab to bottom of boot).
I used Red Heart Super Saver yarn and a 6.0mm hook. It only took a couple hours from start to finish....
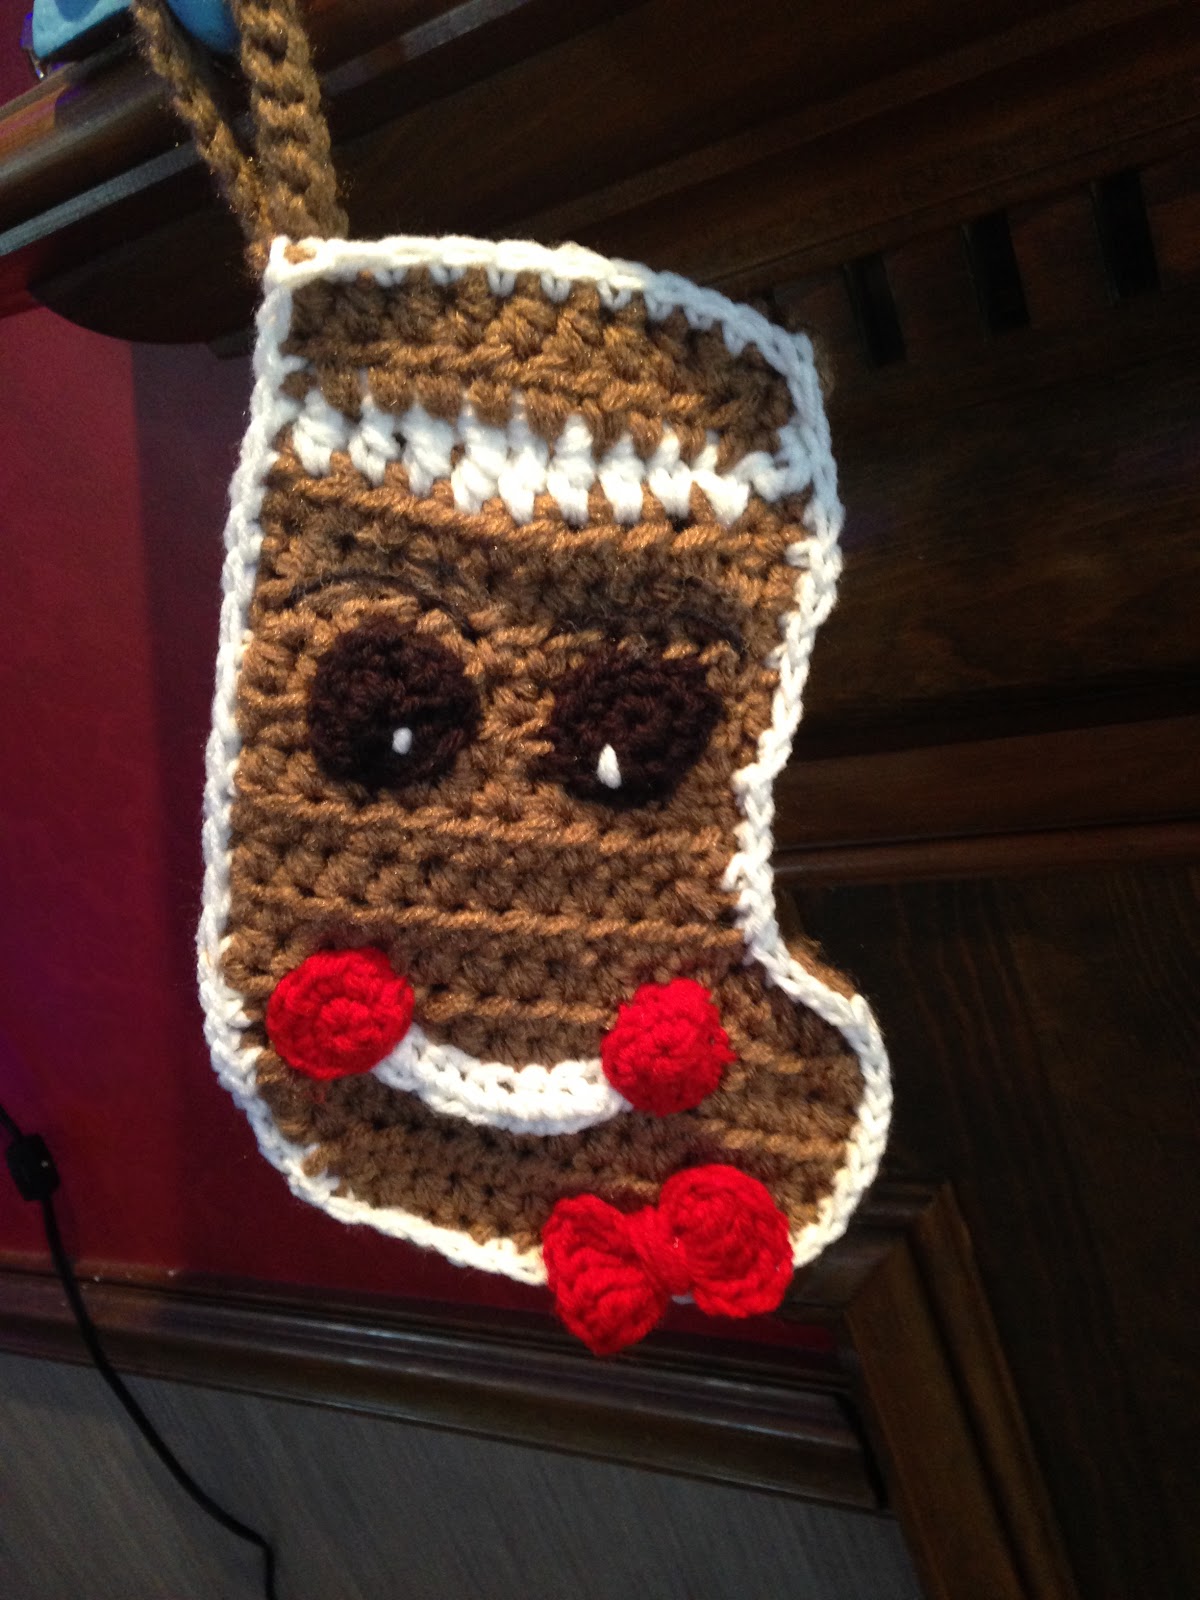
Santa Pants Garden Flag
Santa Pants Garden Flag Pattern
Size: 12 1/2" wide x 18 1/2" long (from top of tab to bottom of boot)
Gauge: Not important for this project
Materials:
--6.0mm hook
--#4 worsted weight yarn in red, green, white, black and yellow (I used RHSS)
--tapestry needle for weaving
U.S. Stitch Abbreviations:
Ch: chain
Sl st: slip stitch
St: stitch(es)
HDC: half double crochet
Rep: repeat
FO: fasten off
Directions:
1. With black yarn, ch35. HDC in 2nd ch from hook and across. Ch1 and turn. (34)
2-6. 1 HDC in each st across. Ch1 and turn. At the end of Row 6, FO. Join red yarn and ch1. (34)
7-11. With red yarn, 1 HDC in each st across. Ch1 and turn. (34)
12. 1 HDC in the first 16 st, switch to green yarn, 1 HDC in next 2 st, switch to red yarn, 1 HDC in the last 16 st. Ch1 and turn. (34)
13. Rep #12.
14. 1 HDC in the first 15 st, switch to green yarn, 1 HDC in next 4
st, switch to red yarn, 1 HDC in the last 15 st. Ch1 and turn. (34)
15. Rep #14.
16. 1 HDC in the first 14 st, switch to green yarn, 1 HDC in next 6
st, switch to red yarn, 1 HDC in the last 14 st. Ch1 and turn. (34)
17. Rep #16.
18. 1 HDC in the first 13 st, switch to green yarn, 1 HDC in next 8
st, switch to red yarn, 1 HDC in the last 13 st. Ch1 and turn. (34)
19. Rep #18.
20. 1 HDC in the first 12 switch to green yarn, 1 HDC in next 10
st, switch to red yarn, 1 HDC in the last 12 st. Ch1 and turn. (34)
21. Rep #20.
22. 1 HDC in the first 11 st, switch to green yarn, 1 HDC in next 12
st, switch to red yarn, 1 HDC in the last 11 st. Ch1 and turn. (34)
23. Rep #22.
24. 1 HDC in the first 10 st, switch to green yarn, 1 HDC in next 14
st, switch to red yarn, 1 HDC in the last 10 st. Ch1 and turn. (34)
25. Rep #24.
26. 1 HDC in the first 9 st, switch to green yarn, 1 HDC in next 16
st, switch to red yarn, 1 HDC in the last 9 st. Ch1 and turn. (34)
27. Rep #26. FO red yarn. Join white yarn.
28. With white yarn, 1 HDC in the first 9 st, switch to green yarn, 1 HDC in next 16
st, switch to white yarn, 1 HDC in the last 9 st. Ch1 and turn. (34)
29. Rep #28.
30. Rep #28. FO white yarn. Join black yarn.
31. With black yarn, 1 HDC in the first 9 st. Ch1 and turn. (9)
32-33. 1 HDC in each st across. Ch1 and turn. (9)
34. 1 HDC in the first 8 st, 2 HDC in the last st. Ch1 and turn. (10)
35. 2 HDC in the first st, 1 HDC in the next 9 st. Ch1 and turn. (11)
36. 1 HDC in the first 10 st, 2 HDC in the last st. Ch1 and turn. (12)
37. 2 HDC in the first st, 1 HDC in the next 11 st. Ch1 and turn. (13)
38. 1 HDC in the first 12 st, 2 HDC in the last st. Ch1 and turn. (14)
39. 2 HDC in the first st, 1 HDC in the next 13 st. FO and weave ends. (15)
With black yarn, join on the opposite side of the last st of Row 30. Repeat steps 31-39 for the second boot.
Tabs:
1. Join red yarn on one end of the base chain and Ch1. HDC in same ch and into next 4 ch. Ch1 and turn. (5)
2-12. 1 HDC in each st across. Ch1 and turn. At the end of Row 12, FO and leave tail for attaching. (5)
Repeat on opposite side to make a second tab.
Fold tab downward on the backside and whipstitch Row 12 and Row 1 together.
Belt Buckle:
1. With yellow yarn, Ch37. Slip stitch into 2nd ch from hook and across. FO and leave a long tail for attaching. (36 slip stitches)
See pic for Belt Buckle placement. Center buckle and whipstitch between Rows 1-6. FO and weave ends.
And, that's it for this simple
Santa Pants Garden Flag to decorate your walkway/garden with...
Special Note: you could omit the green yarn and just work one side of each leg at a time from Rows 12 on. I chose to add the green to make the shape of a Christmas tree between the pants legs, a little irony, I guess...lol!!!!
Happy Crocheting...
Legal:
--don't claim my pattern as your own
--don't use my pics as your own
--okay to make and sale any of my patterns
--don't share my pattern(s) electronically or in print format (without my prior consent) but please provide a link to my blog
I hope you enjoy my patterns!!!
From my home to yours, I pray each of you have a very, Merry and Blessed Christmas with your family and friends. May God be the guiding force in your life; may He be the One that directs your footsteps and your path. May your heart be tender, open and loving to those less fortunate, to those who are suffering and especially to those who are grieving...yesterday is gone, tomorrow is not promised, but today - make a difference!!!!