Wednesday, May 25, 2022

Dollar Tree Shopping

I love shopping at all the craft stores in person and online.  I’m an avid crafter and crocheter. I love creating projects for my home and items to sale.  There’s just something special and meaningful about handmade than mass-produced factory decor in your home. 

I want to share a few links with you today for one of my go-to stores, “Dollar Tree.”  If you haven’t shopped there, you are really missing out on great items at great prices. I absolutely love shopping here. 

So, with summer approaching, here’s a few ideas for you!!!!  Click on the links and check out all the items Dollar Tree has!!!  (I do earn a small commission if you click and purchase through the link)

Patriotic Party Supplies:

https://www.dollartree.com/holidays/patriotic-party-supplies


Summer Party:


https://www.dollartree.com/summer-fun/summer-party


Barbecue Tools:

https://www.dollartree.com/kitchen-dining/bbq-tools-picnic-supplies


Snacks Galore:


https://www.dollartree.com/food-candy-drinks/snacks?utm_source=promo_store&utm_medium=email&utm_campaign=20220520_store_grilling_b&subid=31040030555522521544385658225031

Happy Summertime!!!!!!

Saturday, May 21, 2022

Avocado Keychain

 Avocado Keychain

Size: 3” long

Materials:

-2.0mm hook

-#2 fingering weight yarn in brown and 2 shades of green; scrap yarn of pink and black (for cheeks and mouth); I used Hobbii yarn

-(2) black safety eyes

-Polyfil

-keyring

-clasp

-darning needle

U.S. Stitch Abbreviations:

Ch: chain

St: stitch

Sl st: slip stitch

SC : single crochet

SC2tog: single crochet 2 stitches together (decrease)

Rep: repeat

MR: magic ring

FO: fasten off

Directions:

Front piece:

1.  With brown yarn, 6 SC in MR.  Pull tail to close.  Sl st join and Ch1.  (6)

2.  2 SC in each st around.  Sl st join and FO.  Weave ends.  (12)

3.  Join light green in any st with Sl st and ch1.  2 SC in first st, 1 SC in next st. Rep around. Sl st join and ch1.  (18)

4.  2 SC in first st, 1 SC in next 2 st.  Rep around.  Sl st join and ch1.  (24)

5.  2 SC in first st, 1 SC in next 3 st.  Rep around.  Sl st join and ch1.  (30) 

6.  1 SC in the first 9 st.  Ch1 and turn. (9)

7.  1 SC in each st across.  Ch1 and turn.  (9)

8.  SC2tog, 1SC 5 times, SC2tog.  Ch1 and turn.  (7)

9.  1 SC in each st across.  Ch1 and turn.  (7)

10.  SC2tog, 1SC 3 times, SC2tog.  Ch1 and turn.  (5)

11.  1 SC in each st across.  Ch1 and turn.  (5)

12.  SC2tog, 1SC, SC2tog.  FO and weave ends.  (3)

Add the eyes, mouth and cheeks to the front piece.  See pics for help with placement.  

Back piece:

1.  Make the back piece the same as the front piece, just omit the brown yarn and only use the light green.

Assembly:

1.  Lay the two pieces on top of each other.  With the darker green yarn, join with a Sl st and ch1.  SC evenly around.  Before completing, add Polyfil.  Sl st join to first st.  FO and weave ends.

2.  Add keyring and clasp to center top.

And, that’s it.  Enjoy!!!!

Here’s the link to my Avocado Ornament!!!!


 Happy Crocheting...


Legal:
--don't use/claim my design as your own
--don't use/claim my pics as your own
--okay to make and sale your finished work
--don't share my pattern electronically or in print format (without prior consent) but provide a link to my blog

Social Media:
If you are on the following sites, let's connect and hook up...
  • Instagram:  Rilla2u
  • Pinterest:  Rilla2u
  • Twitter:  Rilla2u
  • Facebook:  /rilla.edwards 
  • Etsy:  rilla2u 
  • TikTok:  rillae2u 

Friday, May 20, 2022

Avocado Ornament

Avocado Ornament 


How cute is this Avocado Ornament?  This was very quick and easy to make and a beginner-friendly pattern. I hope you enjoy this super cute pattern.    

Size:

Approximately 5” long

Materials:

-3.0mm hook

-#2 yarn in brown and 2 shades of green (I used Hobbii yarn); scrap yarn of pink and black for cheeks and mouth

-(2) black safety eyes

-Polyfil

-darning needle

U.S. Stitch Abbreviations;

Ch: chain

MR: magic ring

Sl st: slip stitch

St: stitch

SC: single crochet 

SC2tog: single crochet 2 stitches together (decrease)

Rep: repeat

FO: fasten off

Directions:

Front piece:

1.With brown yarn, 6 SC to MR.  Sl st join. Ch1.  (6)
2.  2 SC in each st around. Sl st join. Ch1.  (12)
3.  2 SC, 1 SC. Rep around. Sl st join. Ch1.  (18)
4.  2 SC, 1 SC 2 times. Rep around. Sl st join. FO.  (24)
5.  Join light green yarn with Sl st and Ch1.  2 SC, 1 SC 3 times. Rep around. Sl st join.  Ch1.  (30)
6.  2 SC, 1 SC 4 times. Rep around. Sl st join. Ch1.  (36)
7.  1 SC in each st around. Sl st join. Ch1.  (36)
8.  1 SC 13 times. Ch1 and turn. (13)
9.  1 SC in each st across. Ch1 and turn. (13)
10.  SC2tog, 1 SC 9 times, SC2tog.  Ch1 and turn. (11)
11.  1 SC in each st across. Ch1 and turn. (11)
12.  SC2tog, 1 SC 7 times, SC2tog.  Ch1 and turn. (9)
13.  1 SC in each st across. Ch1 and turn. (9)
14.  SC2tog, 1 SC 5 times, SC2tog.  Ch1 and turn. (7)
15.  1 SC in each st across. Ch1 and turn. (7)
16.  SC2tog, 1 SC 3 times, SC2tog.  Ch1 and turn. (5)
17.  1 SC in each st across. FO and weave ends. (5)
18.  Join dark green with Sl st and Ch1.  SC evenly around. Leave a long tail for joining to back piece. 

Back piece:

1-17.   With light green, follow instructions as front piece.
18.  With dark green, SC around. FO and weave ends. 

Assembly:
1.  To the front piece, add eyes. (See pic for placement)

2.  Add mouth and cheeks.  (See pic)
3.  Now place 2 pieces together and whipstitch together. Before closing up, add Polyfil. Weave ends. 
4.  For hanger, join yarn at top with Sl st.  Ch24.  Sl st back into top.  Secure ends by weaving in and out of piece. 

All done!!!!! Enjoy…

Here’s the link for the Avocado Keychain!!!!


 Happy Crocheting...

Legal:
--don't use/claim my design as your own
--don't use/claim my pics as your own
--okay to make and sale your finished work
--don't share my pattern electronically or in print format (without prior consent) but provide a link to my blog

Social Media:
If you are on the following sites, let's connect and hook up...
  • Instagram:  Rilla2u
  • Pinterest:  Rilla2u
  • Twitter:  Rilla2u
  • Facebook:  /rilla.edwards 
  • Etsy:  rilla2u 
  • TikTok:  rillae2u 

Thursday, May 19, 2022

Sunflower Keychain

Sunflower Keychain 

Here’s a quick and easy “Sunflower Keychain” to make.  I used fingering weight yarn (#2) for a keychain but you can use any yarn weight and hook size that you want to make this sunflower.  You can use this pattern to make ornaments, coasters, tags, appliqués and so on…. 

Size:  approximately 2 1/2” x 2 1/2”

Materials:

-3.0mm hook

-#2 fingering weight yarn in brown and yellow; scrap yarn of black and pink ( I used Hobbii yarn)

-2 black safety eyes

-keyring

-clasp

-Polyfil

-stitch marker

-darning needle 

U.S. Stitch Abbreviations:

Ch:  chain

Sl st:  slip stitch

St:  stitch

SC:  single crochet

HDC:  half double crochet 

DC:  double crochet

Rep:  repeat

Sk:  skip

MR:  magic ring

FO:  fasten off

Note:

Center portion of pattern is worked in the round so use a stitch marker to keep track of beginning/ending of rounds.  

Directions:

(Make 2)

1.  With brown, 6SC into MR.  Pull tail to tighten.  (6)

2.  2SC in each st around. (12)

3.  2 SC, 1SC. Rep around. (18)

4.  2SC, 1SC 2 times. Rep around. Sl st join to first st.  FO.  Weave ends. (24)

Repeat pattern for the second one. 

(To each  brown circle you will make your petals.)

1.  Join yellow yarn in any st and Ch2 (this counts as first HDC st). To the same st, HDC, HDC, 1DC, 3HDC.  *Sk 2 st.  Into next st, 3HDC, 1DC, 3HDC.* Rep from * to * all around.  You will have 8 petals.  Sl st join to the top of the Ch2.  Leave a long tail on one of the pieces for joining the two pieces together.    

Repeat on the second brown piece.  This time weave ends when finished.

Assembly:

1.  First, choose which piece will be your front.  Add the eyes. Embroider mouth and cheeks.  I placed eyes on round 2.  (See pics)

2.  Places the 2 pieces together and whipstitch around.  Fill will Polyfil before closing up.  Don’t overstuff.  

3.  Attach keychain and clasp.  OR, you could join hook at the top, make a chain your desired length and then join it to your piece to make a hanger.  


 Happy Crocheting...


Legal:
--don't use/claim my design as your own
--don't use/claim my pics as your own
--okay to make and sale your finished work
--don't share my pattern electronically or in print format (without prior consent) but provide a link to my blog

Social Media:
If you are on the following sites, let's connect and hook up...
  • Instagram:  Rilla2u
  • Pinterest:  Rilla2u
  • Twitter:  Rilla2u
  • Facebook:  /rilla.edwards 
  • Etsy:  rilla2u 
  • TikTok:  rillae2u 


Tuesday, May 17, 2022

Apple Keychain

 Apple Keychain


Cute, quick and easy project!!!!

Size:

2 1/2” x 2 1/2”

Materials:

-3.0mm hook

-#2 Hobbii cotton yarn - 2 shades of green, brown and black

-2 safety eyes

- Polyfil 

-keyring

-clasp

-darning needle

U.S. Stitch Abbreviations:

Ch: chain

St: stitch

Sl st: slip stitch

Rep: repeat 

SC: single crochet 

Dec: join 2 stitches together to decrease stitch 

FO: fasten off 

Directions:

(Make 2)

1.  With main green, ch 8.  SC 7.  Ch1. Turn.  (7)

2.  2SC first st, 1 SC next 5 st, 2SC last st.  Ch1. Turn. (9)

3. 2SC first st, 1 SC next 7 st, 2SC last st.  Ch1. Turn. (11)

4-8.  1SC in each st across. Ch1. Turn.  (11))

9.  Dec, 1 SC next 7 st, Dec.  Ch1. Turn. (9)

10.  Dec, 1 SC next 5 st, Dec.  Ch1. Turn. (7)

11.  Dec, 1 SC next 3 st, Dec.  FO.  Weave ends.  (5)

Stem:

1.  With brown yarn, ch7.  2SC in 2nd ch from hook.  1 SC in each remaining ch.  FO.  Leave tail for attaching.

Leaves:

Full leaf:

1.  With dark green, Ch8.  Sl st, SC, HDC, DC, DC, DC, SC. Turn.  On opposite side, DC, DC, DC, HDC, SC and Sl st join.  FO and leave tail for attaching.

Half leaf:

1.  Rep the same as full.  Just stop at the end of the ch.  

Assembly:

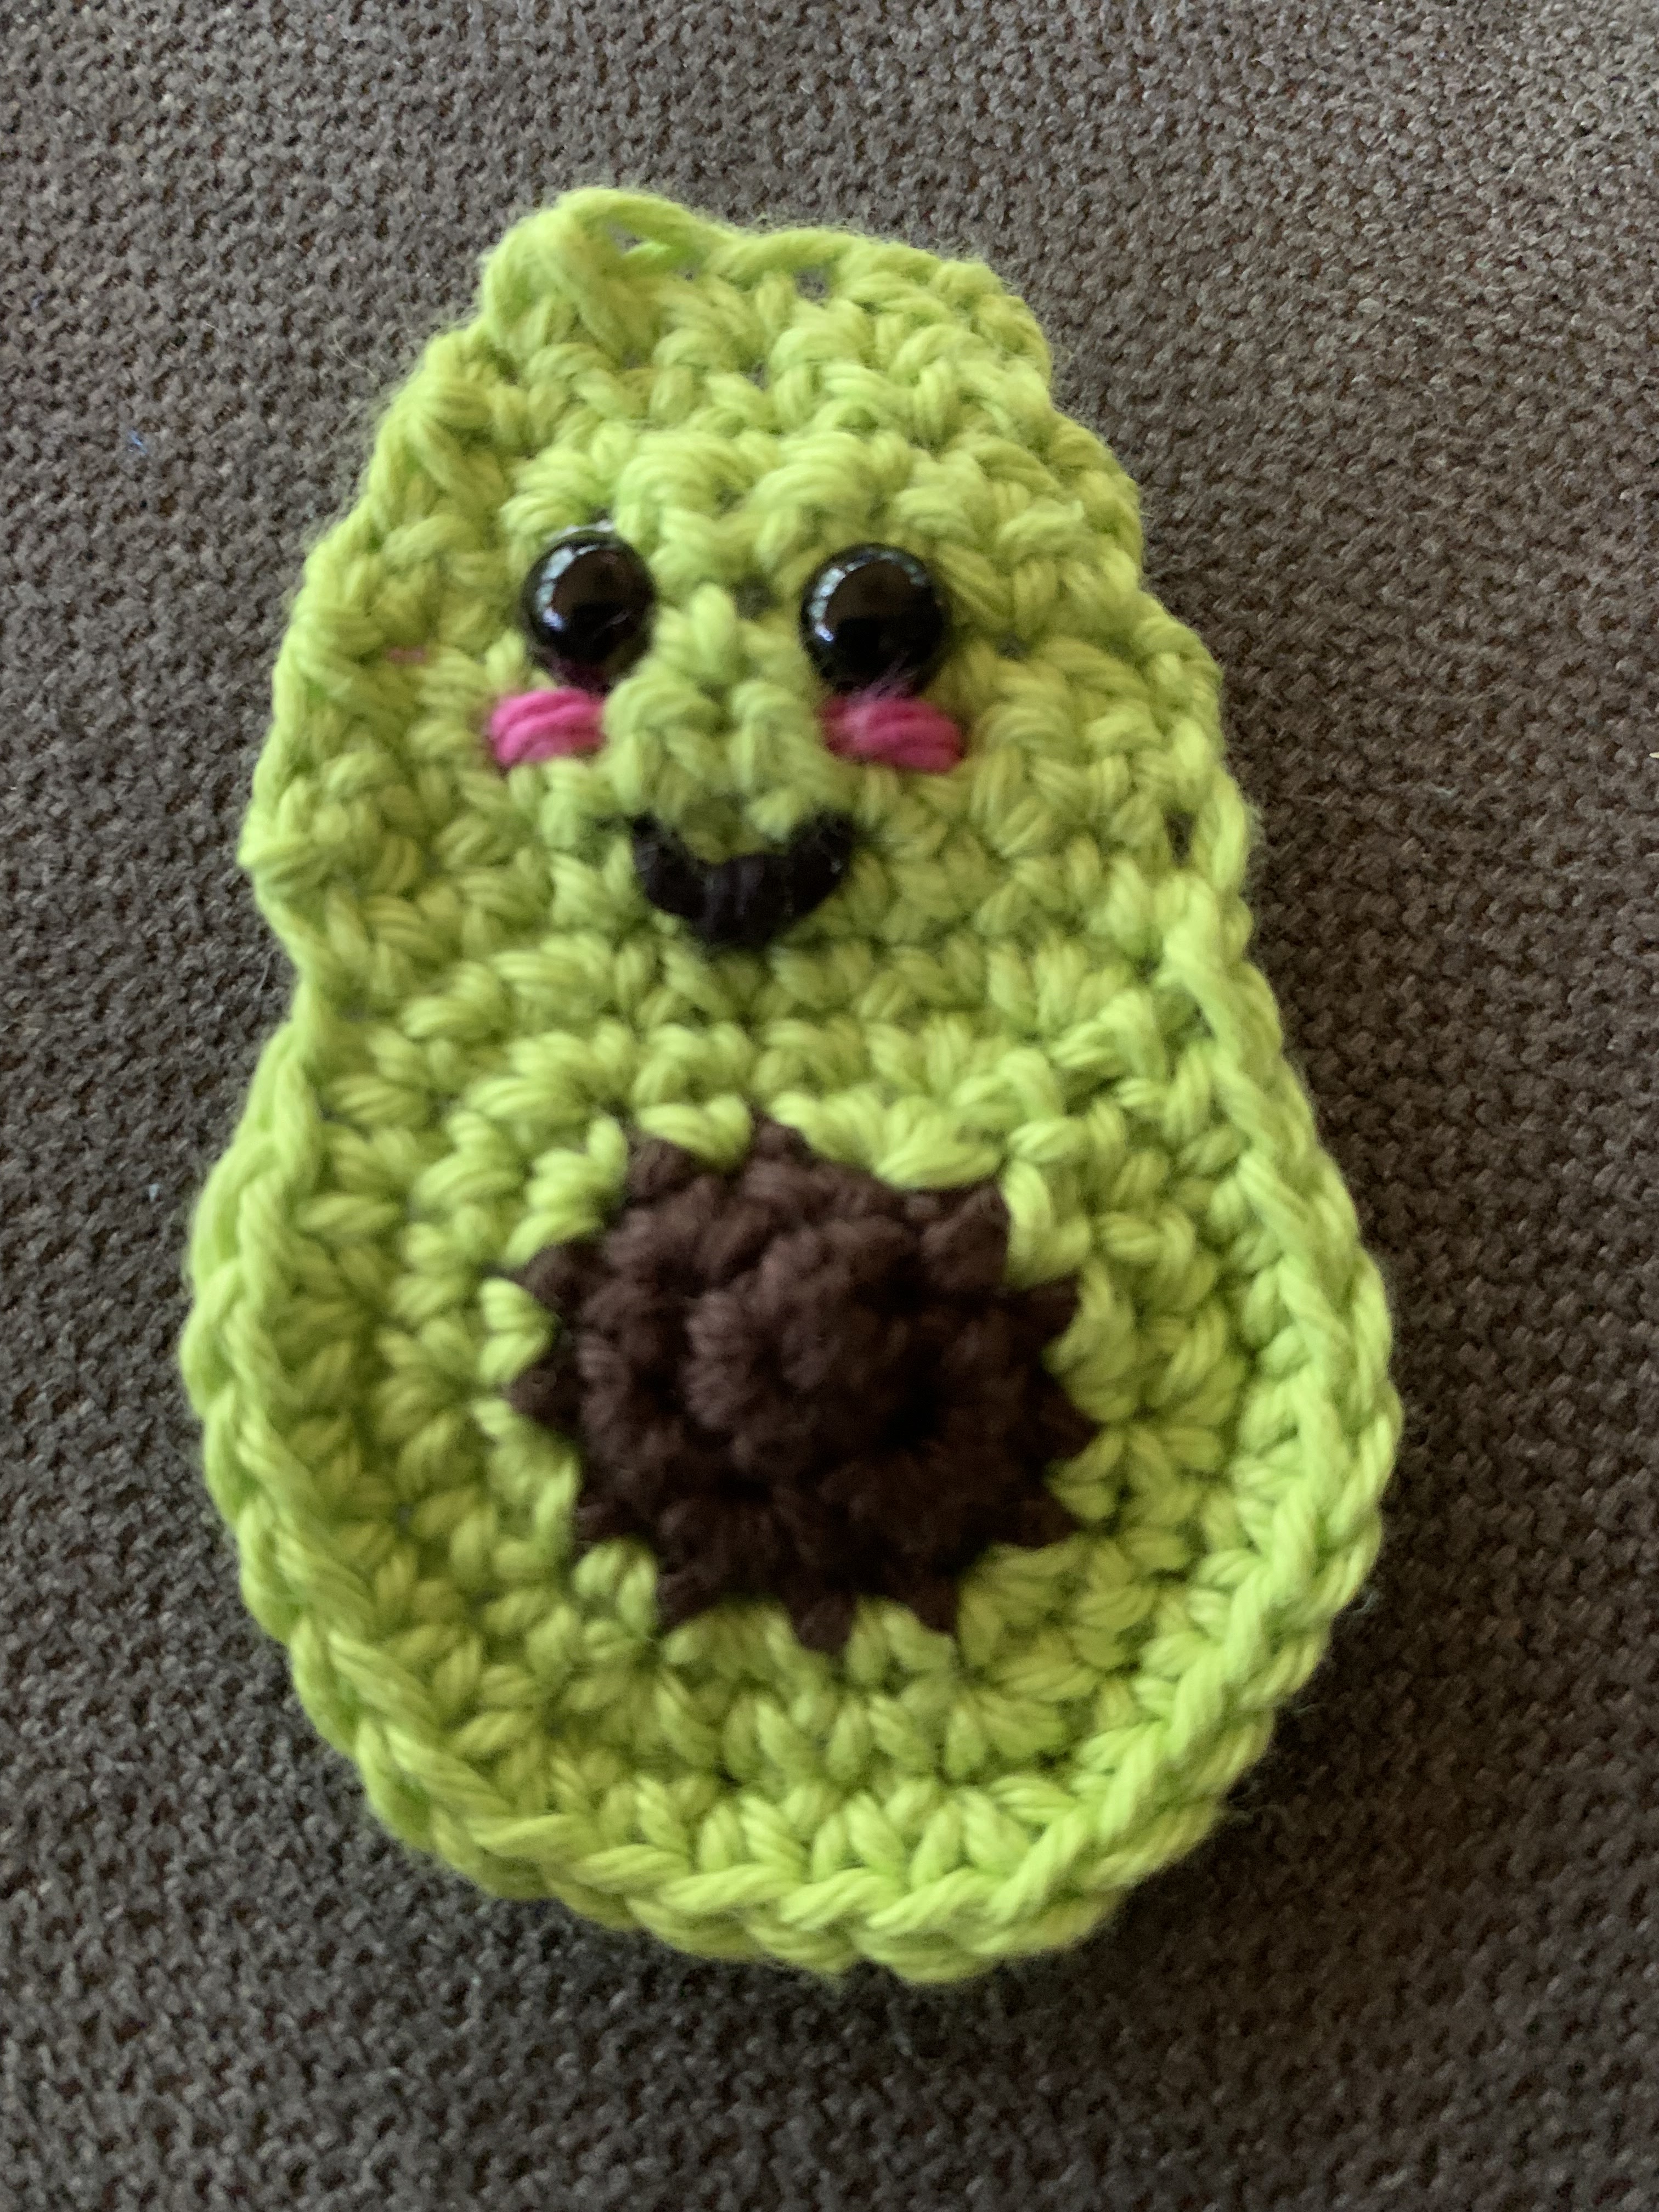
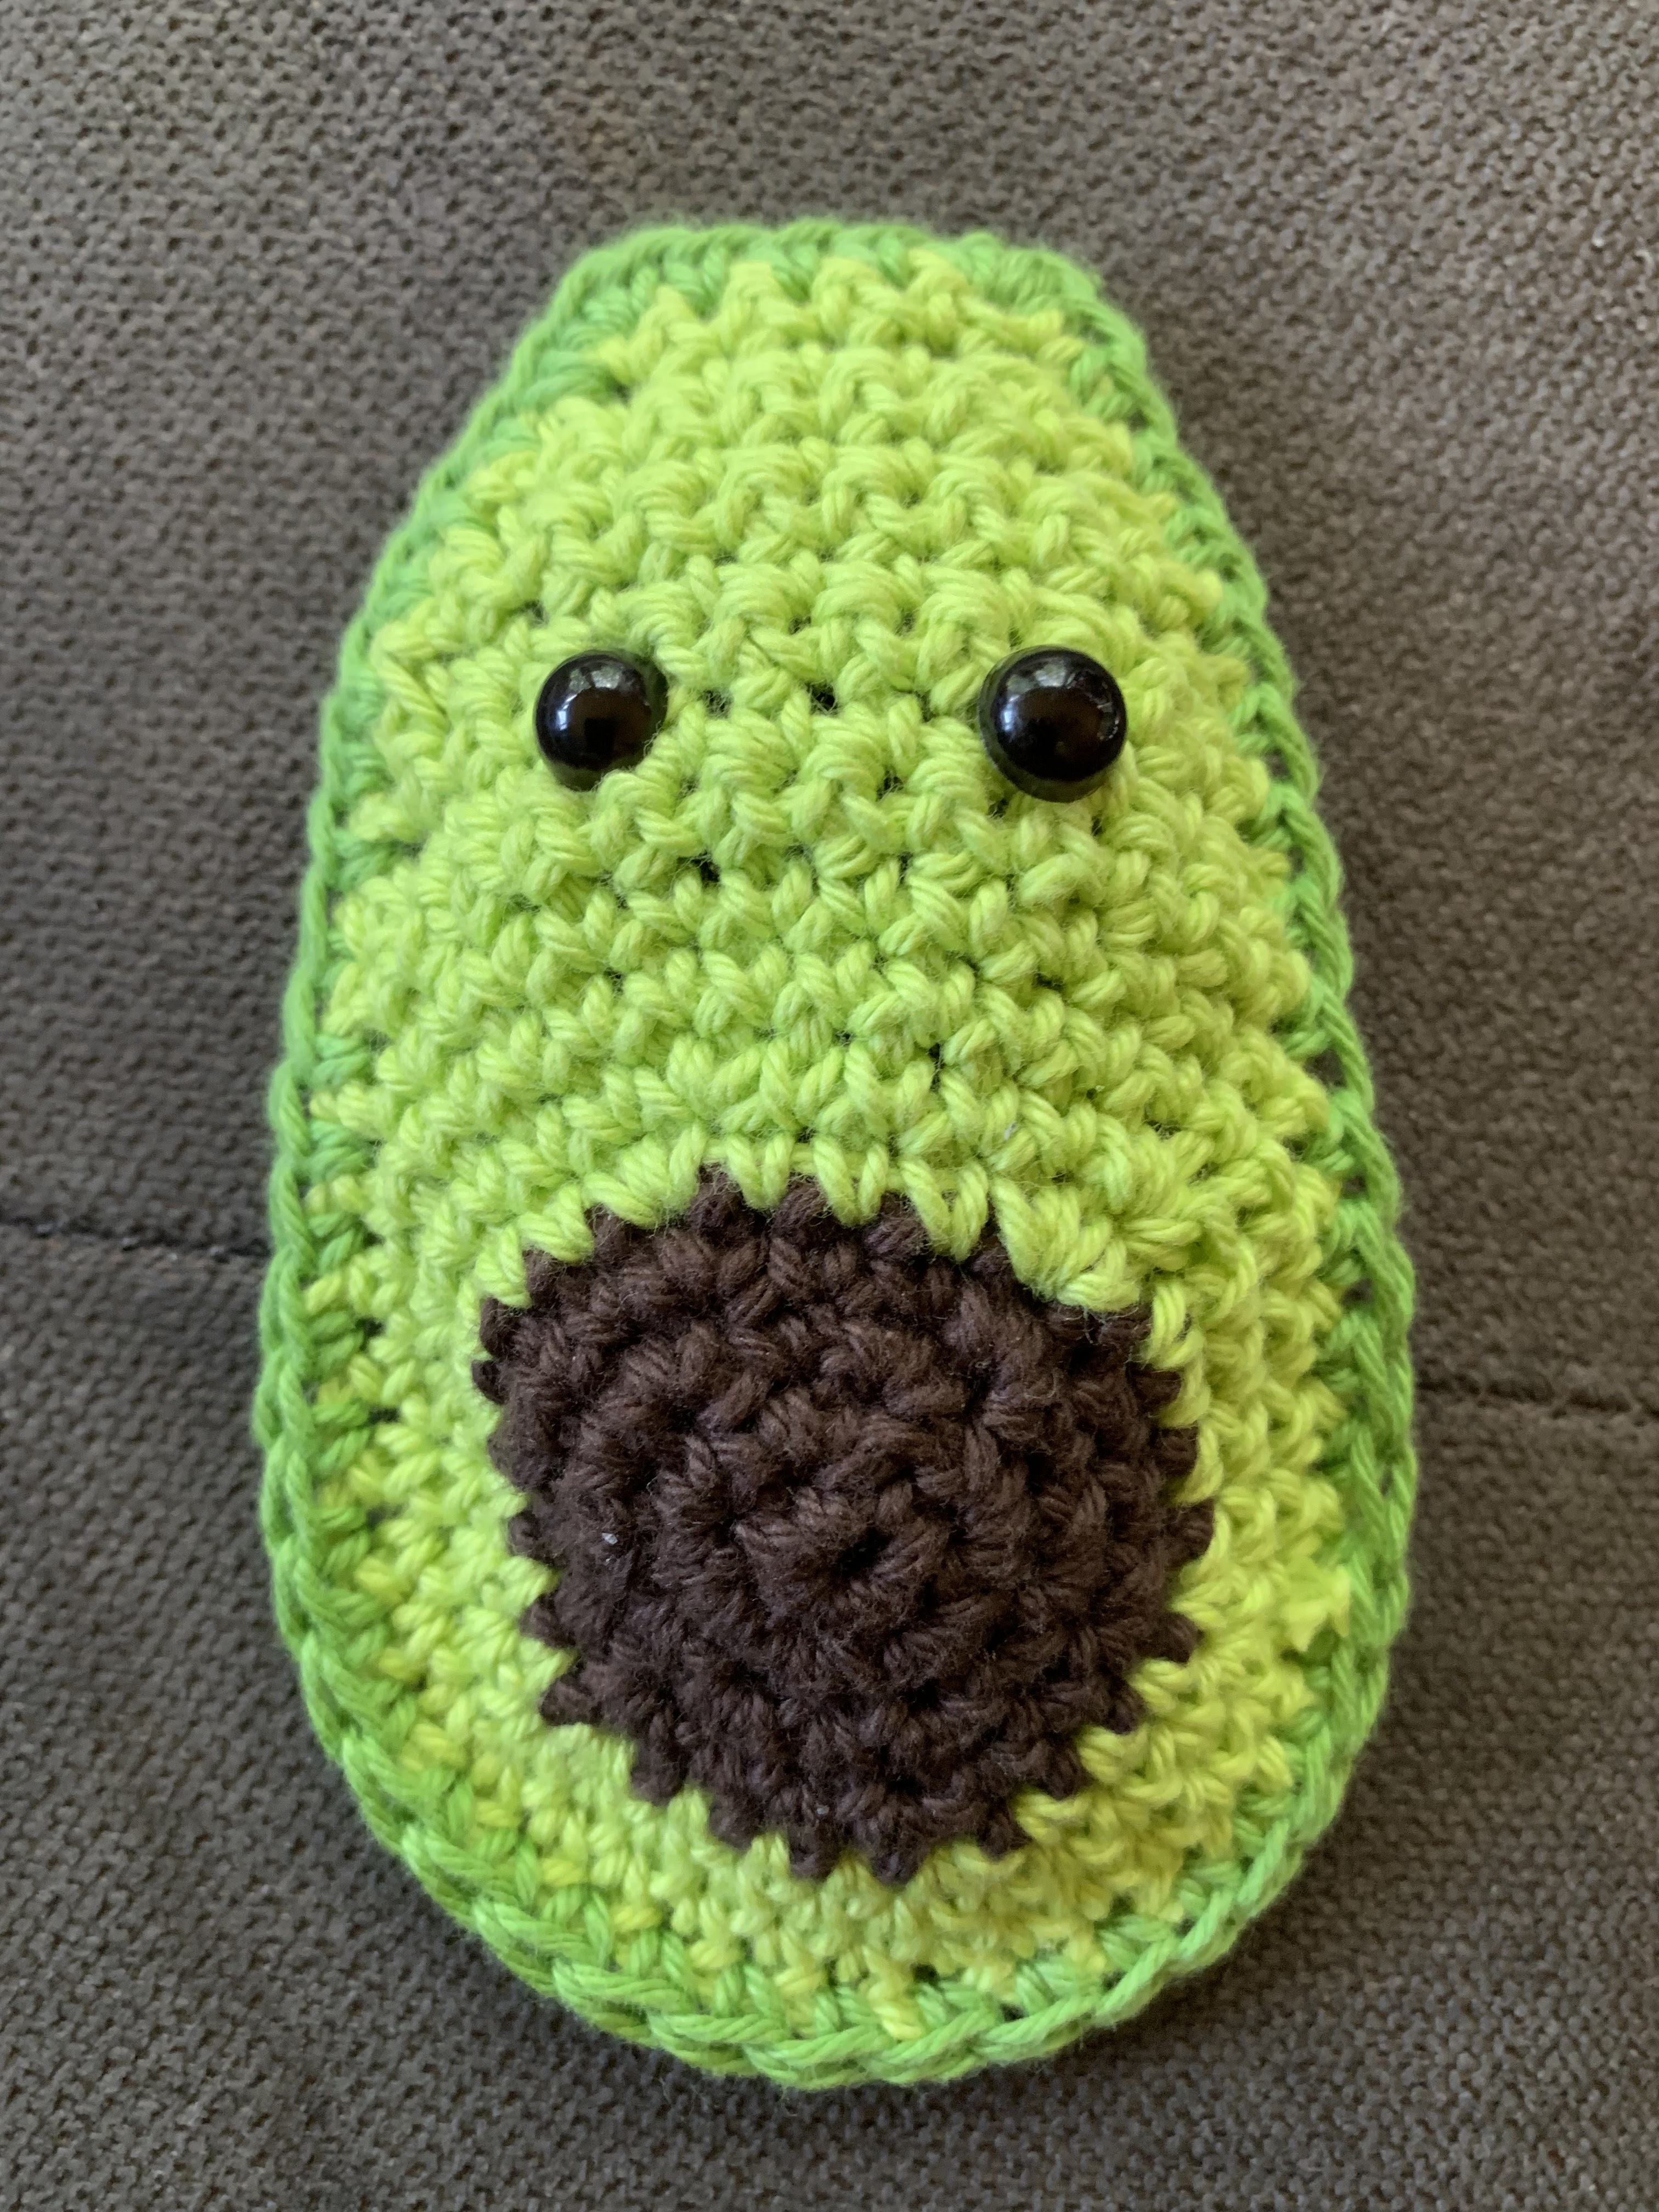
1.  Attach eyes at Round 7.  4 stitches in and 3 stitch space between. 

2.  Use black yarn to make a smile and lashes if so desired. 

3.  Places 2 pieces together and SC around.  Before closing, add Polyfil.  Close up and weave ends.

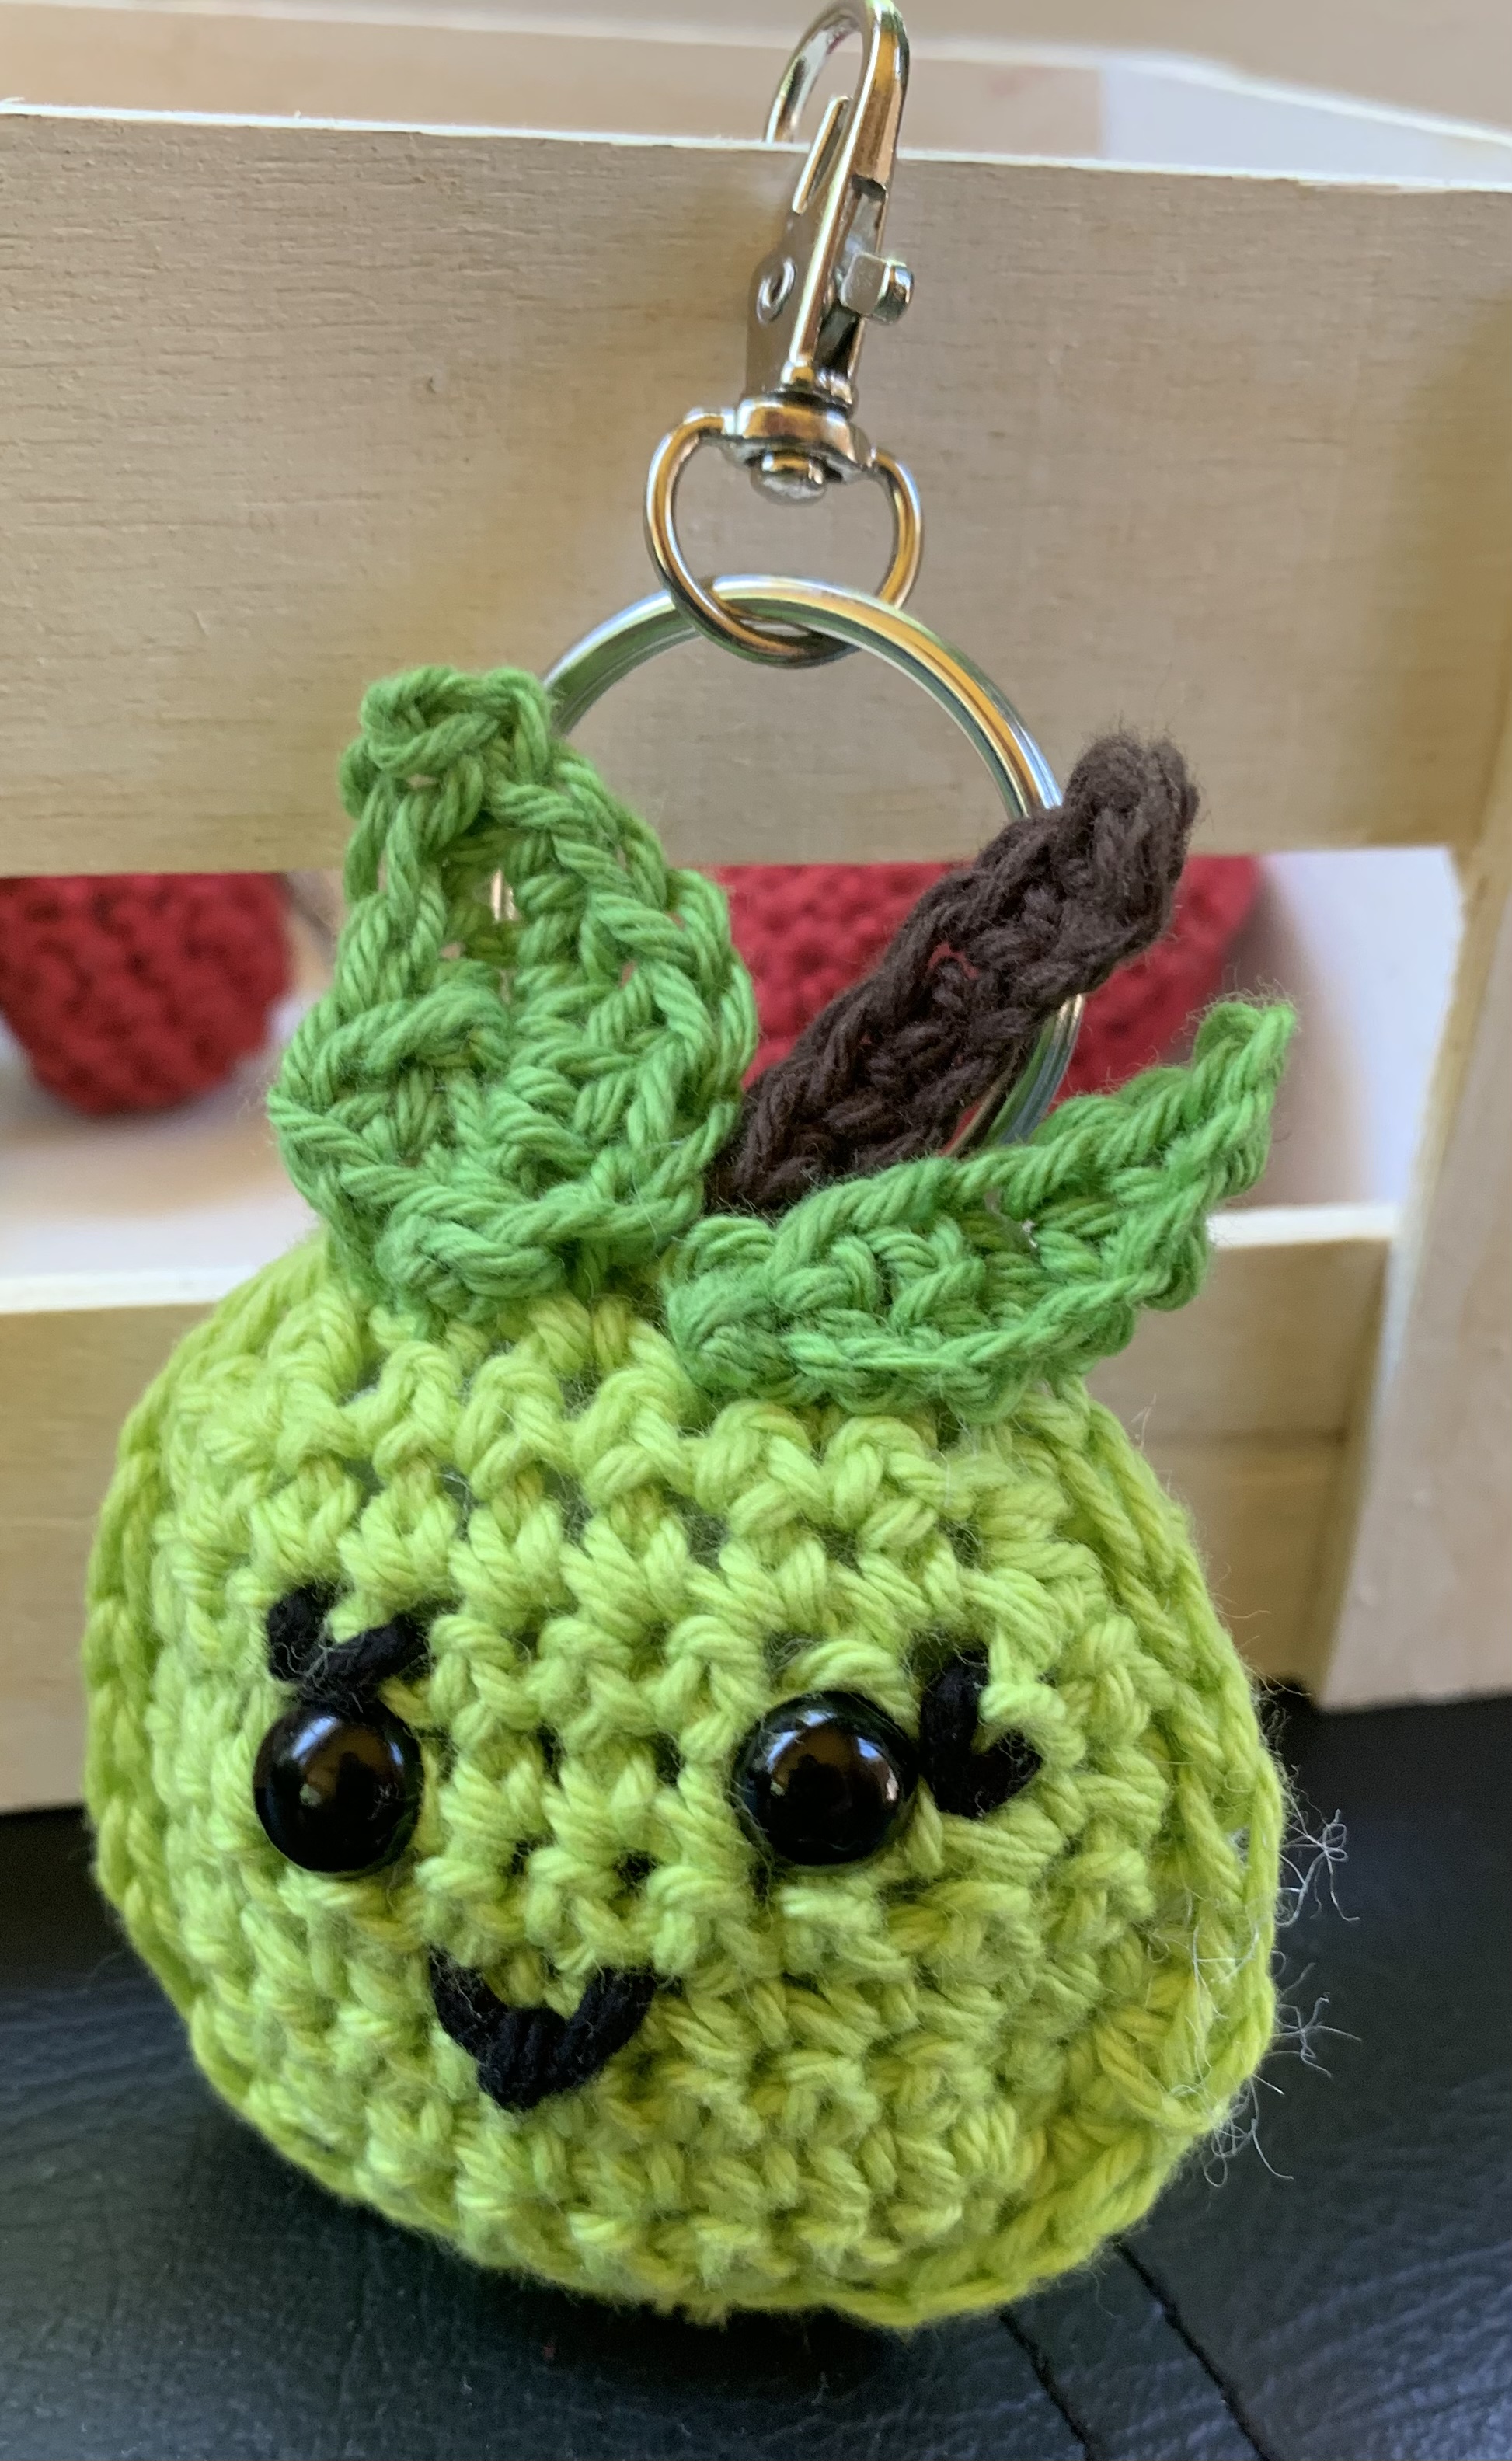
4.  Attach stem and leaves at top center.  

5.  Add keychain and clasp, if so desired.  

And, that’s it for this super cute project that would make a great teacher gift for the end of the school year!!!!

Or a quick gift to give someone, keep for yourself or a great item to sale at markets.  

Enjoy…


 Happy Crocheting...


Legal:
--don't use/claim my design as your own
--don't use/claim my pics as your own
--okay to make and sale your finished work
--don't share my pattern electronically or in print format (without prior consent) but provide a link to my blog

Social Media:
If you are on the following sites, let's connect and hook up...
  • Instagram:  Rilla2u
  • Pinterest:  Rilla2u
  • Twitter:  Rilla2u
  • Facebook:  /rilla.edwards 
  • Etsy:  rilla2u 
  • TikTok:  rillae2u 

Guess Who’s Published?


I have been eagerly waiting for this day to come so I could share my exciting news of being published in “Simply Crochet Magazine.”

In January, I was invited to participate in the Hook to Hook challenge and design a bag.  They provided me with the yarn and my mind set to work on designing something for springtime, in the midst of winter, that used a wonderful array of colors. 

This bag is perfect to take along to the beach with hook and yarn, a book and sunglasses, carry odds and ends to an outing. It’s double-stranded so it’s durable to carry whatever you need. 

If you’re at Joann’s or Michael’s Stores, please be sure to pick up a copy of Issue 123 and check out my pattern!!!!

Happy Crocheting….


Friday, May 13, 2022

It’s A Wrap….

It’s A Wrap…


Here’s two wraps I’ve completed in the past month.  One for my mom; the other for my mom-in-law. They both enjoy the outside but the cool evenings makes each of them easily susceptible to cold bones and getting sick. So, I made each of them a wrap.  

For both wraps, I used Crafter’s Secret yarn from Hobby Lobby and an 8mm hook  

For the first one, I used a simple HDC stitch and started with a chain of 101.  I worked rows until I got my desired width of 15”.  I then used Burgundy yarn across the top and the bottom rows.  I started with a SC, then DC one row down, then DC two rows down  and repeated this across for both rows.  I joined back my main color and SC around, with 2 SC in each corner.  Finish off.  Weave ends.

Once completed, I decided to use the Burgundy yarn to add fringe to each end.


For the second wrap, I used three colors.  For this one, I used the Herringbone HDC stitch.  It is worked basically the same way as the first one, except that I started with a 15” length and worked it that way. 

For the border, I worked *5 HDC in a stitch, skip 2 stitches, SC in next stitch, skip 2 stitches* and repeat from * to * around.  Finish off and weave ends. 


Happy Crocheting…


Legal:
--don't use/claim my design as your own
--don't use/claim my pics as your own
--okay to make and sale your finished work
--don't share my pattern electronically or in print format (without prior consent) but provide a link to my blog

Social Media:
If you are on the following sites, let's connect and hook up...
  • Instagram:  Rilla2u
  • Pinterest:  Rilla2u
  • Twitter:  Rilla2u
  • Facebook:  /rilla.edwards 
  • Etsy:  rilla2u 
  • TikTok:  rillae2u 

Tuesday, May 10, 2022

Poop Emoji Earrings

 Poop Emoji Earrings

I’m an avid crocheter and crafter.  I love to sew and quilt.  I enjoy seasonal canvas painting artwork for my home.  I just simply love crafting and learning anything and everything craft related.  

With that said, I’m starting to teach myself to work with clay.  I made this set of Poop Emoji Earrings today and so happy with the outcome.  

Are they perfect?  Nope.  Loaded with imperfections that I will learn from during this new creative journey of mine.  I’m hoping to work with clay in making jewelry, keychains, as well as, to add it to my bottle art projects. 

Epoxy resin is another craft medium on my list. I have everything for it as well. But, for now, I’m learning clay….

Happy Crafting…

Monday, May 9, 2022

Textured Washcloth

Textured Washcloth

Texture adds so much depth and beauty to crochet projects.  One way, I achieve texture is by completing multiple stitches into the same stitch, skip stitch(es) and repeat.  

For this project, I’m using a 4.0mm hook and Sugar ‘n Cream cotton yarn in “Summerfield Ombre.”

Measurements:  

9 1/2” x 9 1/2”

Materials:

-4.0mm hook

-Cotton yarn

-Tapestry needle (for weaving ends)

U.S. Stitch Abbreviations:

Ch:  chain

St: stitch

Sl st: slip stitch

SC: single crochet

DC: double crochet

Sk: skip

Rep: repeat

FO: fasten off 

Directions:

1.  I started with a ch 38.  SC, DC and SC in 2nd ch from hook.  Sk 2 ch.  Rep across.  SC in last ch.  Ch 1 and turn.

2 - until you reach desired size.  SC, DC and SC in first st.  Sk 2 st.  Rep across.  SC in last st.  Ch 1 and turn.  

Once I achieve my desired size, I finished off with a simple SC border around, making sure to place 2 SC stitches in each corner. 


Fasten off.  Weave ends.  And, a beautiful, textured washcloth or dishcloth is completed!!!!


I made 2 other variations to go with this.  The first one I made using C2C crochet.  I used chain5 and HDC and completed it as a 15x15 graph. 

I then evenly SC around for the border, placing 2 SC in each corner. 

For my third one, I used the Herringbone HDC.  I started with a chain 38.  I completed rows until I reached my desired size to match my first two. 

I completed with a SC border. 

And, here’s all 3 completed and ready:

Happy Crocheting….


Legal:
--don't use/claim my design as your own
--don't use/claim my pics as your own
--okay to make and sale your finished work
--don't share my pattern electronically or in print format (without prior consent) but provide a link to my blog

Social Media:
If you are on the following sites, let's connect and hook up...
  • Instagram:  Rilla2u
  • Pinterest:  Rilla2u
  • Twitter:  Rilla2u
  • Facebook:  /rilla.edwards 
  • Etsy:  rilla2u 
  • TikTok:  rillae2u