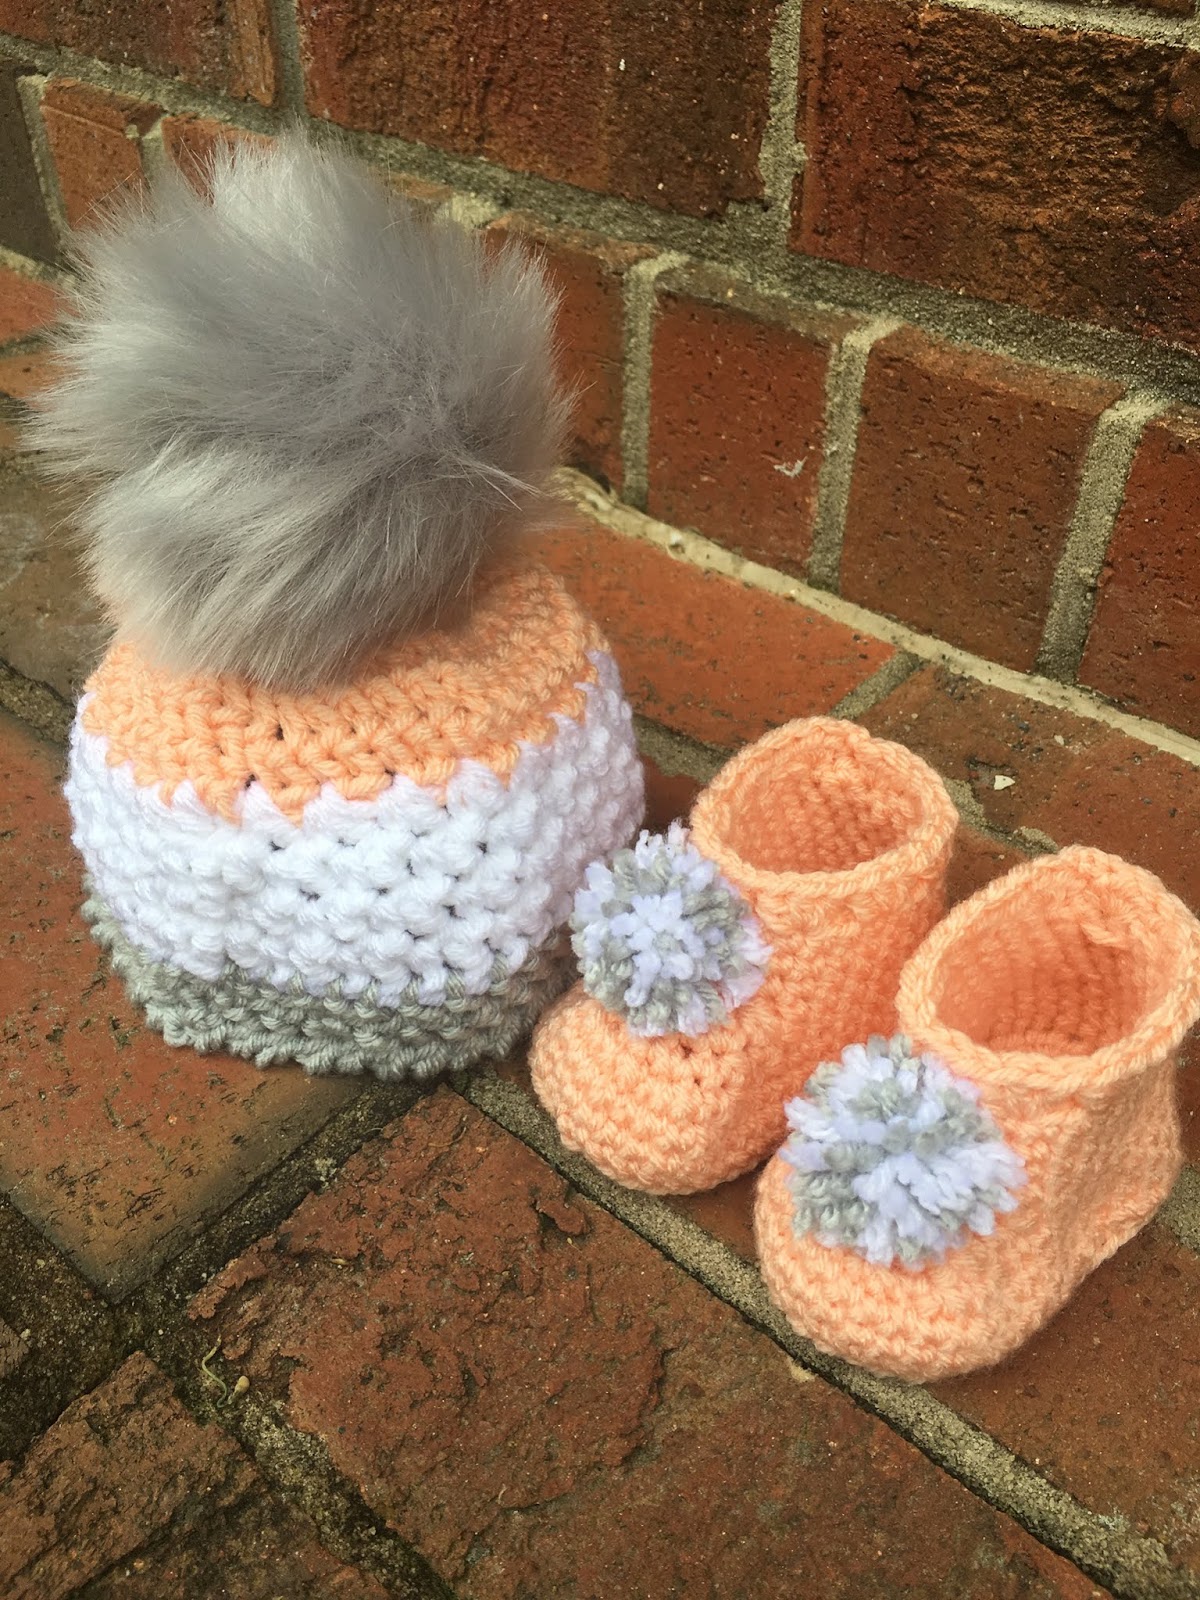
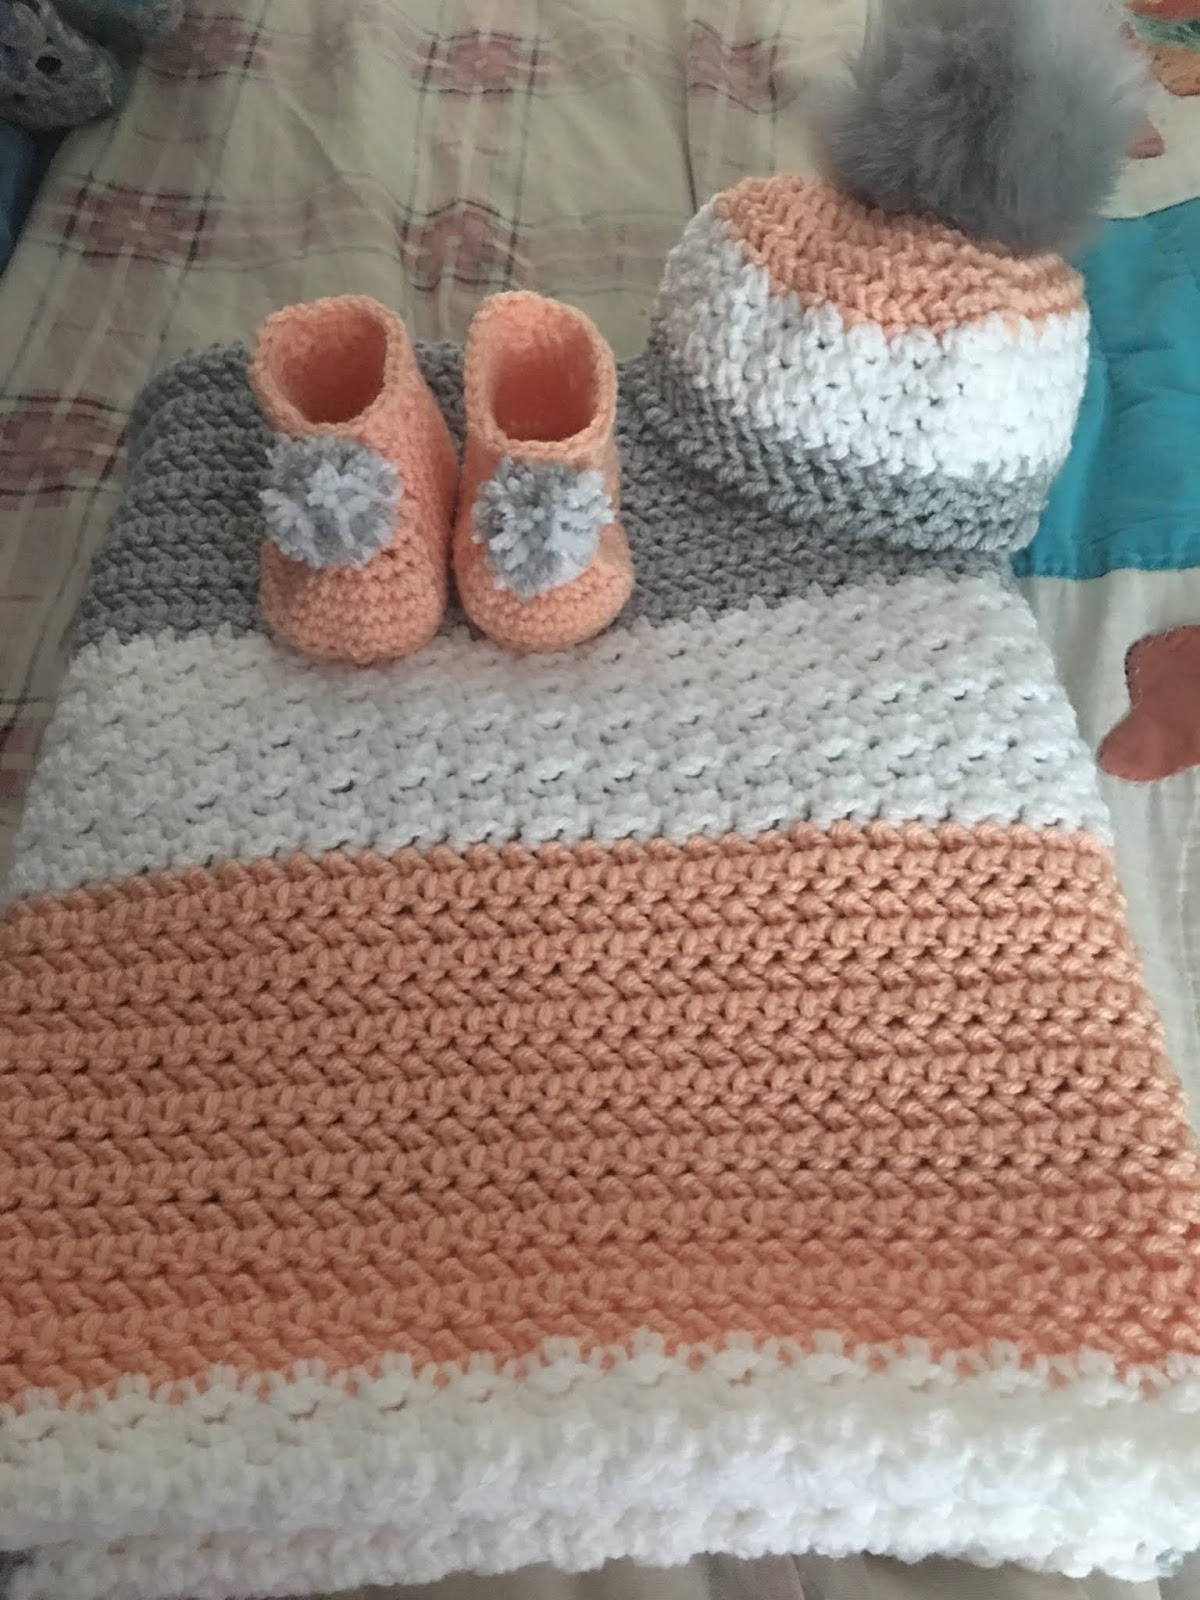
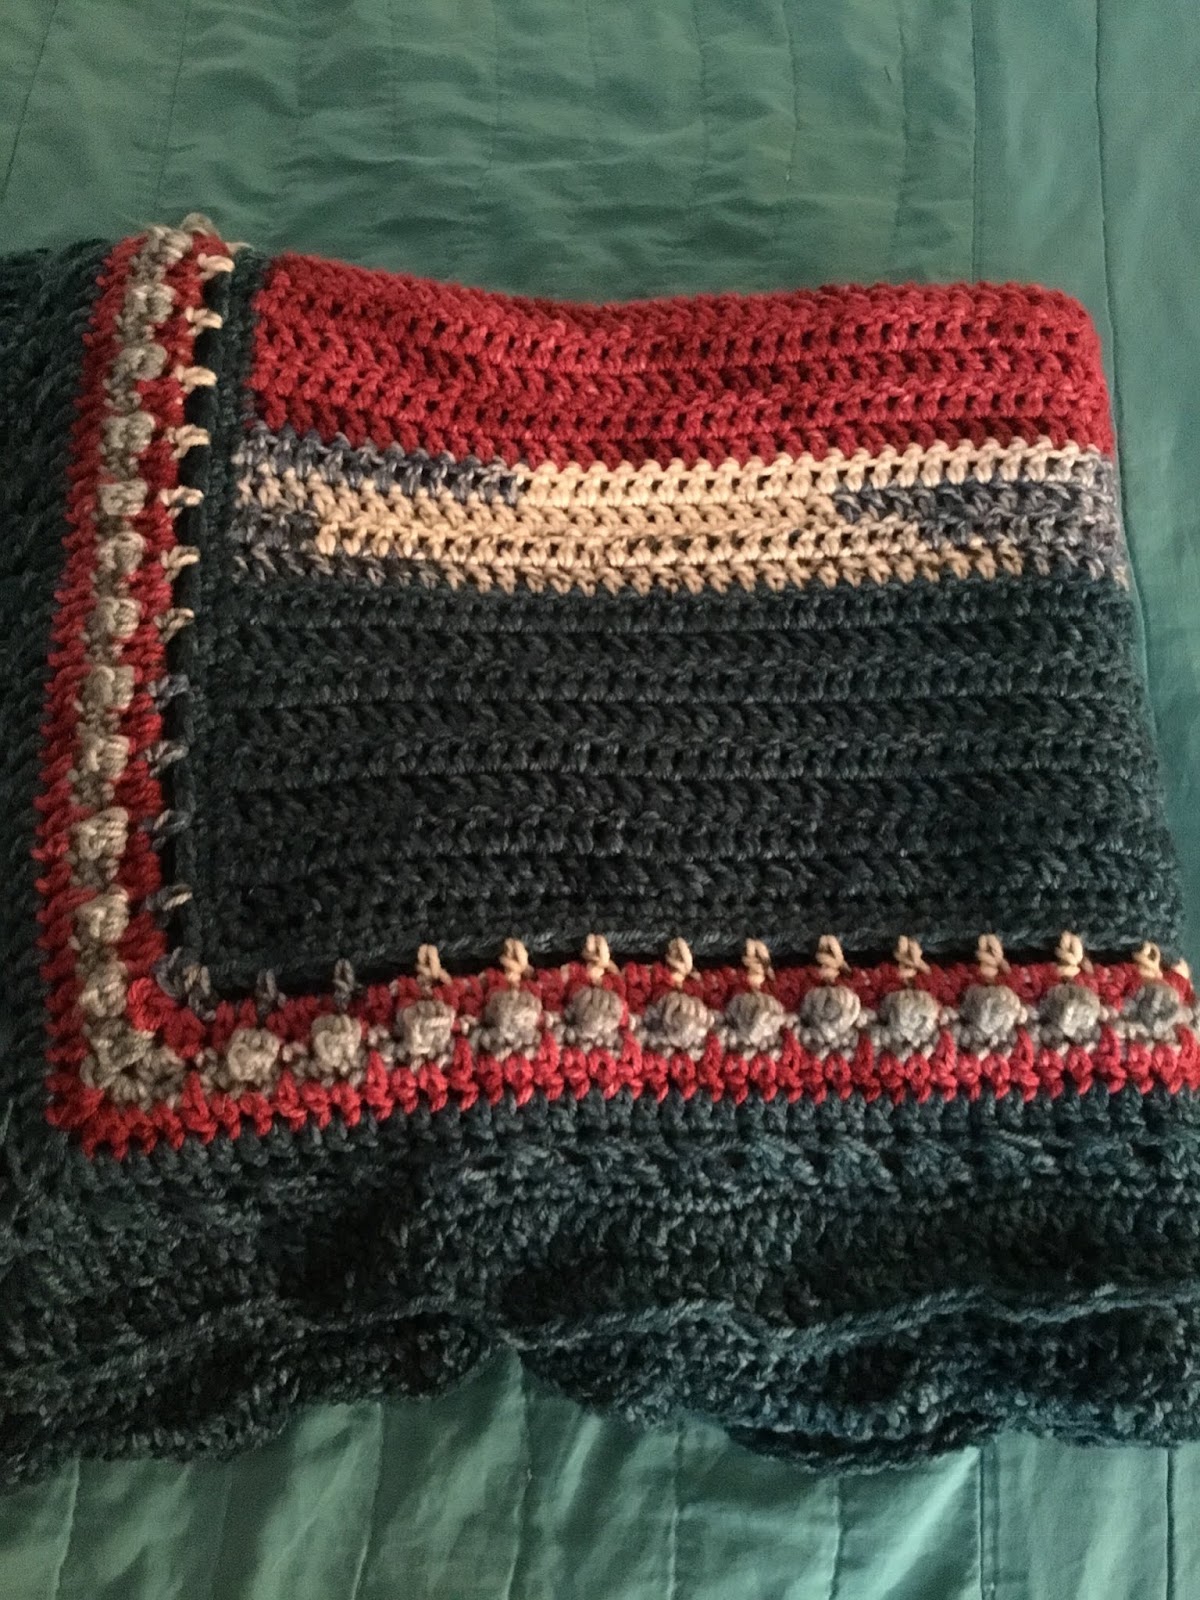
Hello and Good Evening from my home to yours!!! In my neck of the woods, this time of the year has been 68 degree weather...not a lot of snuggling up by the fire to stay warm...but, the new year is upon us and the hope of cold weather to bring in the snow so I (and all my family) can enjoy wearing my crocheted creations as they embark outside to play, to work or to just enjoy the outside.
I hope everyone has been enjoying the Christmas holidays this year with your family and friends. This time of the year is so magical, special and cheerful. My television in my Sunroom has been locked on one channel.
Any guesses on what channel?
If you guessed the Hallmark Channel, well, then you are ABSOLUTELY correct. I don't care if the plot may seem cheesy and the endings are all the same. I LOVE watching ALL of the Christmas movies. Simply put, they make me feel good. Even after Christmas, I'm still watching this channel. Lol.
I injured my right rotator cuff while visiting my family in Oklahoma for a few weeks back in July. So, I have undergone medication, rest, exercise and injections while nursing my shoulder back to health. I'm left-handed, but I'm a righty crocheter. This injury has hindered my crocheting for the past 6 months. It has effected my speed immensely. I have only been able to work on crochet-specific projects.


So, what to do with my extra time? Well, I've managed to keep myself quite busy. I still continue to Home School my eldest grandson, Jacob. He's an avid third-grader who keeps me on my toes. We have taken a few field trips - two trips to the mountains of West Virginia, two trips to Myrtle Beach and one trip to New York City with four to five trips to North Carolina's Zoological Park. We had so much fun in NYC. We rode the ferry over to New Jersey so we could learn about the Statute of Liberty, we stood at Ground Zero and talked about what happened on September 11, we ate the best pizza ever and we enjoyed riding the subway...

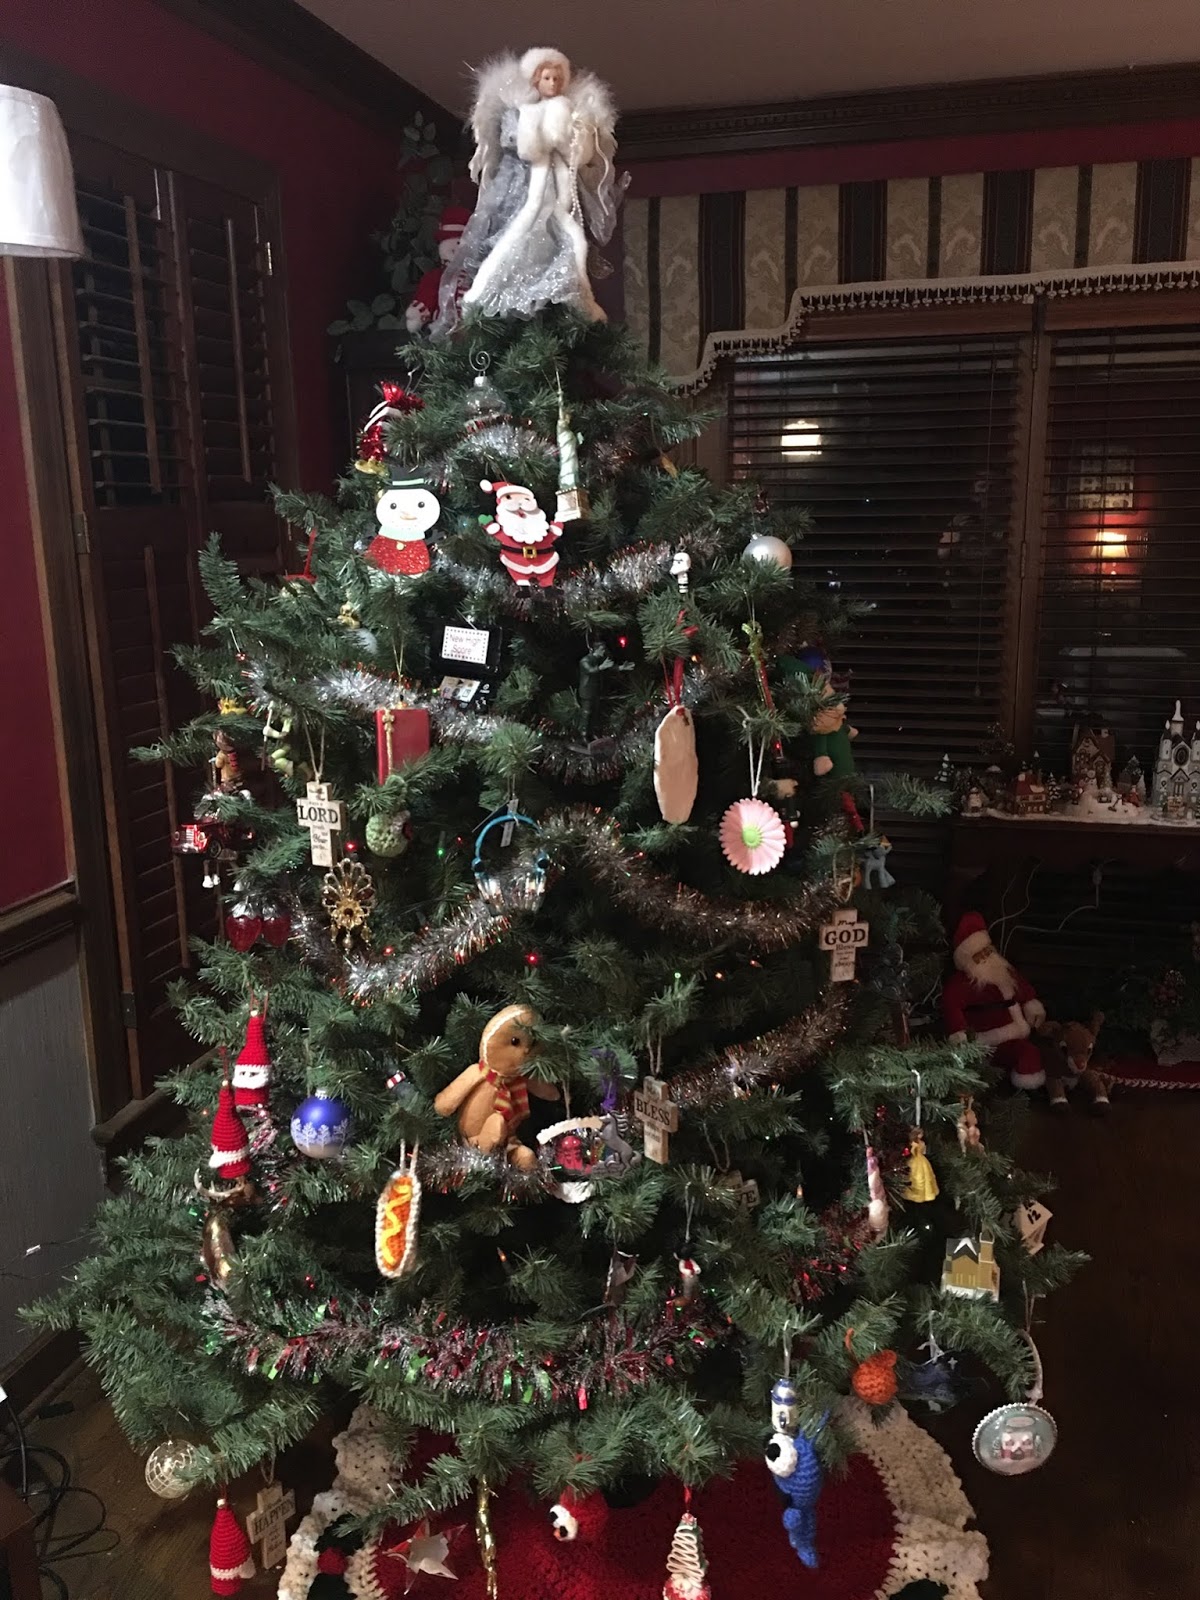
For the Christmas holidays, my four grandchildren beautifully decorated my Christmas tree in my Living Room with all of our "Special Ornaments..." Each one of my grandchildren is gifted a new ornament every year to hang on my tree. Then after Christmas, they will add their collection of ornaments to their own designated box to store away until next year. So, one day, when they are all grown, and trimming their own Christmas tree in their own homes, they will already have a childhood collection of special ornaments. I take great care in picking the perfect ornament that embodies/signifies the year for each of them. For example, Arielle was all about unicorns this year. I enrolled her in a Unicorn Art Class, bought her unicorn clothes, shoes, book bag, and so on...I found her the perfect unicorn ornament for her to hang on our tree.


For my Christmas tree in the Sunroom, we decided to do an old-fashioned tree. My son, Cory, made a trip to the beautiful mountains of Boone, NC, so that my grandson, Luke, could pick out the "perfect Christmas tree" to be cut down. Well, Luke's idea of perfect was a tree barely five feet tall, but to his 4-year-old mind, his tree was tall and beautiful. We placed it on a table in the corner of the room, added clear lights and then set out to hand make all of the ornaments for this tree. Throughout the month of December, Luke, Jacob, Gabriel and Arielle made beaded candy canes, foam red trucks, candy canes with a sloth, fabric shaped hearts, strung popcorn garland and a few of my own crocheted ornaments. It was simple and beautiful. For the most part, it was just about spending time together, making ornaments and decorating together.


We participated in Asheboro's Christmas Parade, took in a show (How the Grinch Stole Christmas), made lots of candy and cookies, watched movies, sang Christmas Carols, visited Santa, trips out to see all the lights and decorations in neighborhoods and enjoyed lots of family time.

My year has been a very blessed one. I thank God for each and every day of life and all the blessings in my life. As we prepare to end 2019, we will be getting together with family on New Year's Eve to play board games and enjoy snacks and appetizers. On New Year's Day, we will do our yearly ritual - family get-together at my mom's house to eat lots of cabbage - fried cabbage, cabbage rolls and cabbage soup, as we celebrate the first day of the New Year.
I hope as each of you are preparing to close out the old year and welcome in the new year, you find yourselves grateful, thankful and blessed for what God has given and done for you.
And, last, I have quite a few new pattern designs, how-to videos and an overall blog update coming in 2020....I hope you will continue to check out my blog, comment on my posts and enjoy my FREE patterns....
I hope everyone has been enjoying the Christmas holidays this year with your family and friends. This time of the year is so magical, special and cheerful. My television in my Sunroom has been locked on one channel.
Any guesses on what channel?
If you guessed the Hallmark Channel, well, then you are ABSOLUTELY correct. I don't care if the plot may seem cheesy and the endings are all the same. I LOVE watching ALL of the Christmas movies. Simply put, they make me feel good. Even after Christmas, I'm still watching this channel. Lol.
I injured my right rotator cuff while visiting my family in Oklahoma for a few weeks back in July. So, I have undergone medication, rest, exercise and injections while nursing my shoulder back to health. I'm left-handed, but I'm a righty crocheter. This injury has hindered my crocheting for the past 6 months. It has effected my speed immensely. I have only been able to work on crochet-specific projects.
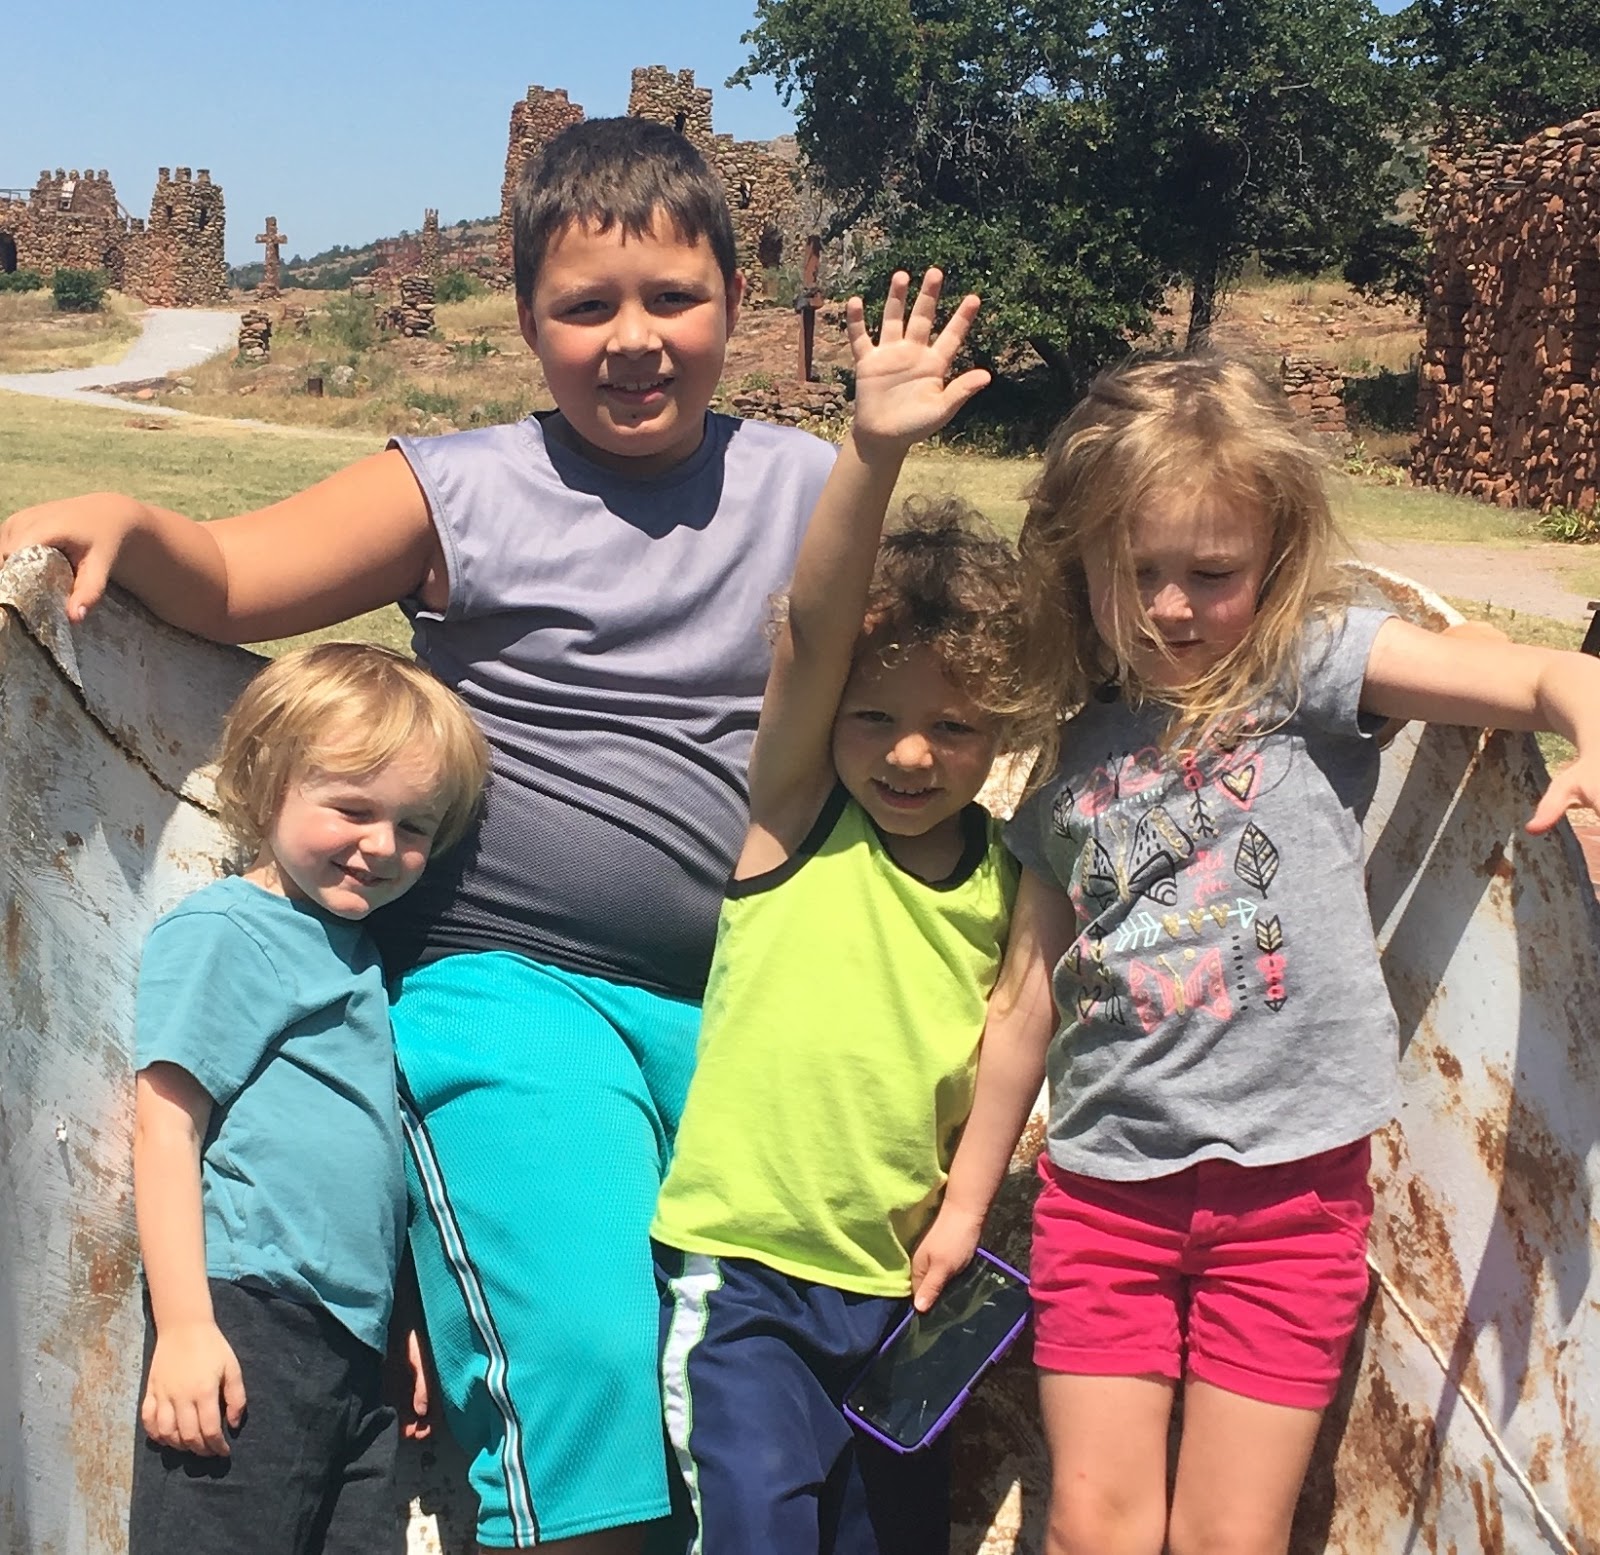

So, what to do with my extra time? Well, I've managed to keep myself quite busy. I still continue to Home School my eldest grandson, Jacob. He's an avid third-grader who keeps me on my toes. We have taken a few field trips - two trips to the mountains of West Virginia, two trips to Myrtle Beach and one trip to New York City with four to five trips to North Carolina's Zoological Park. We had so much fun in NYC. We rode the ferry over to New Jersey so we could learn about the Statute of Liberty, we stood at Ground Zero and talked about what happened on September 11, we ate the best pizza ever and we enjoyed riding the subway...

For the Christmas holidays, my four grandchildren beautifully decorated my Christmas tree in my Living Room with all of our "Special Ornaments..." Each one of my grandchildren is gifted a new ornament every year to hang on my tree. Then after Christmas, they will add their collection of ornaments to their own designated box to store away until next year. So, one day, when they are all grown, and trimming their own Christmas tree in their own homes, they will already have a childhood collection of special ornaments. I take great care in picking the perfect ornament that embodies/signifies the year for each of them. For example, Arielle was all about unicorns this year. I enrolled her in a Unicorn Art Class, bought her unicorn clothes, shoes, book bag, and so on...I found her the perfect unicorn ornament for her to hang on our tree.


For my Christmas tree in the Sunroom, we decided to do an old-fashioned tree. My son, Cory, made a trip to the beautiful mountains of Boone, NC, so that my grandson, Luke, could pick out the "perfect Christmas tree" to be cut down. Well, Luke's idea of perfect was a tree barely five feet tall, but to his 4-year-old mind, his tree was tall and beautiful. We placed it on a table in the corner of the room, added clear lights and then set out to hand make all of the ornaments for this tree. Throughout the month of December, Luke, Jacob, Gabriel and Arielle made beaded candy canes, foam red trucks, candy canes with a sloth, fabric shaped hearts, strung popcorn garland and a few of my own crocheted ornaments. It was simple and beautiful. For the most part, it was just about spending time together, making ornaments and decorating together.


We participated in Asheboro's Christmas Parade, took in a show (How the Grinch Stole Christmas), made lots of candy and cookies, watched movies, sang Christmas Carols, visited Santa, trips out to see all the lights and decorations in neighborhoods and enjoyed lots of family time.

My year has been a very blessed one. I thank God for each and every day of life and all the blessings in my life. As we prepare to end 2019, we will be getting together with family on New Year's Eve to play board games and enjoy snacks and appetizers. On New Year's Day, we will do our yearly ritual - family get-together at my mom's house to eat lots of cabbage - fried cabbage, cabbage rolls and cabbage soup, as we celebrate the first day of the New Year.
I hope as each of you are preparing to close out the old year and welcome in the new year, you find yourselves grateful, thankful and blessed for what God has given and done for you.
And, last, I have quite a few new pattern designs, how-to videos and an overall blog update coming in 2020....I hope you will continue to check out my blog, comment on my posts and enjoy my FREE patterns....
Happy New Year!!!
Happy Crocheting...