Showing posts with label Sewing Projects. Show all posts

Friday, May 22, 2020

Sunflower Face Mask

I made this cute Sunflower Face Mask for my daughter-in-law, Brooke, to wear while working. She loves sunflowers.  This was a simple mask to make. 

To make:
1.  I used a dinner plate, which measures 10" round.  I placed the plate on my fabric and traced around with a colored pencil.
2.  I then took my scissors and cut out the 10" circle. 
3.  I then folded the circle in half, and then folded over.
4.  I cut to make 4 equal parts.
5.  I placed 2 pieces of fabric, right sides together, and sewed the curved portion.  I repeated with the remaining 2 pieces. 
6.  I then placed the 2 pieces together, right sides together, and sewed around, leaving approximately a 2" opening to turn the mask inside out. 
7.  Last I turned each side in approximately a 1/2" to an 1" and sewed, leaving an opening to thread the strap thru.  Once the strap is thread thru, sewing the strap ends together and turn the strap until the sewed ends are hidden .  Repeat on opposite side.

And, that's it!!!  Simple and Easy...

For detailed pattern instructions, you can click on my Star Wars Face Mask!!!!

Sunflower Face Mask... 


Happy Sewing...


Friday, May 8, 2020

Star Wars Mask - Adult-Sized!!!

In honor of Star Wars, I handstitched this Adult-Sized "Star Wars" Face Mask.  It was literally a super quick and easy project from start to finish.  I chose to handstitch but an even quicker method would be to use your sewing machine. 

I made two (2) masks.  One with crocheted chain straps; the other with elastic straps. 

Special Note:
All faces/heads are not the same size.  10" circle was perfect for me and should work with teenagers.  For some, you may need to make a 11-12" circle to start with.  The process is the same. 

Directions:
1.  I used a 10" round dinner plate as my template on the fabric.  I used a colored pencil and traced around the plate to make a circle.  I then cut the circle.  I repeated this process on a contrasting color piece of fabric.


2.  Now, fold fabric in half.  Then fold over left to right. 
3.  Cut up the fabric.  Then across the bottom, cut from right to left two times.  You will now have 4 pieces of fabric.  Repeat steps 2 and 3 for the second piece of fabric. 


4.  Place 2 pieces of the Star Wars fabric together with the right sides facing each other.  You will sew the curved portion.  Secure ends.  Repeat for the remaining 2 pieces of Star Wars fabric.  Then repeat 2 more times with the contrasting fabric.
5.  Using an iron gently iron the fabric. 
6.  Now, you will place the Star Wars fabric and a contrasting fabric, right sides facing each other
together and sew completely around, leaving about 2-3" open.  This is so you can turn it inside out.  Repeat step for your second mask. 
7.  Sew the opening closed.  For the straps to be placed, you will be working on the sides.  First, fold in about 1/4" and sew.  Then fold over about a 1/2" and sew.  Secure and fasten off.  Use a darning needle to run your strap through the opening.  Repeat this for the opposite side and then on the second mask.

For the straps:
Crocheted:
1.  I used a 3.5mm hook.  Chain 150.  Fasten off and secure knot. 

Elastic:
1.  I cut about a 12-14" piece of 1/4" elastic.  Inserted through opening with a darning needle.  Sewed ends together and hid sewn ends inside the fabric by turning the elastic. 


Tuesday, April 28, 2020

Star Wars Face Mask - Kids!!!

Today’s project was a Kid’s Face Mask, using some Star Wars cotton fabric I bought a couple years ago.  My four-year-old grandson, Luke, is a big Star Wars fan.

Luke is 4 year’s old.  His mask started with an 8” diameter circle.  I hand sewed this but you can easily use your sewing machine and complete in ten minutes or less.

Check out my Adult-sized mask for instructions on how to make this.  Here is the PATTERN LINK...

Star Wars Mask

Happy Sewing...

Legal:
--don't use/claim my design as your own
--don't use/claim my pics as your own
--okay to make and sale your finished work
--don't share my pattern electronically or in print format (without prior consent) but provide a link to my blog

Social Media:
If you are on the following sites, let's connect and hook up...
  • Instagram:  Rilla2u
  • Pinterest:  Rilla2u
  • Twitter:  Rilla2u
  • Facebook:  /rilla.edwards 

Sunday, March 24, 2019

How To: Easy Peasy Decorative Pillow...

Easy Peasy Decorative Pillow...
Today, I bought my granddaughter, Miss Arielle, new bedding and curtains for her bedroom.  A wonderful array of pink and teal colors.  However, there was no matching decorative pillow.  And, I love pillows - the more, the merrier.

So, I head over to the craft department.  2 Waverly Fat Quarters, a 12” x 16” pillow form and $5.25 later, I have a super cute pillow made - one side pink; the other teal.  Easy and quick project - less than an hour.  Now, if I had walked downstairs to my laundry room and used my sewing machine, well, the project would’ve taken about 15 minutes start to finish.

Now, let’s get started!!!

First, gather your materials:
—2 Waverly Fat Quarters
—(1) 12” x 16” pillow form
—scissors
—pins
—needle and thread (OR sewing machine)
—tape measure

Cut fabric:
I added 1” to the length and 1” to the width.  So, I want my fabric to measure 13” x 17.”  I used my tape measure as a guide and freestyle cut the pink fabric.  I then placed it on top of the teal and used as a guide to cut the teal.

Pin it:
I placed the fabric on top of each other with right sides facing and pinned around, leaving one short end open.  
Sew together:
Ideally, a sewing machine is much more quicker and gives a very clean, tight stitch.  But, I decided to hand stitch mine.  If you remember, from the start, I added an inch to the width and length.  With that said, you will want to start in the corner of one of the long ends, measuring a 1/2” inward.  Sew straight and evenly 1/2” seam allowance across the long end, up/down the short end and across the second long end.  Secure your stitch before fastening off.  Turn right side out and insert pillow form.  

 
Pin short end:
Turn the rough edges inward 1/2” and pin across in place.  You will want to sew short, neat stitches across this final side.  Secure stitch and fasten off.  Yay!!!  You are finished making your very own decorative pillow...

Here’s a picture of each side of mine:

 
And, look at my seam in this picture - neat and pretty.  I think this turned out super cute and my granddaughter will enjoy having this on her bed.  
 
I hope you enjoyed this easy tutorial.  I’d love to see your decorative pillows.  If you have Instagram, hashtag #rilla2u; share to my Crocheting & Crafting Page on Facebook or email pictures to rilla2u@gmail.com....


Thursday, January 3, 2019

DIY: Bed for Large Puppy/Dog

Well, my home has welcomed a 10-week old German Shepherd this past Sunday.  She's a beautiful girl puppy, weighing in at almost 25 pounds right now.  She is going to easily double this weight once she's full grown.  It has taken me from Sunday until this morning to finally settle on her name - Riley Brooke.

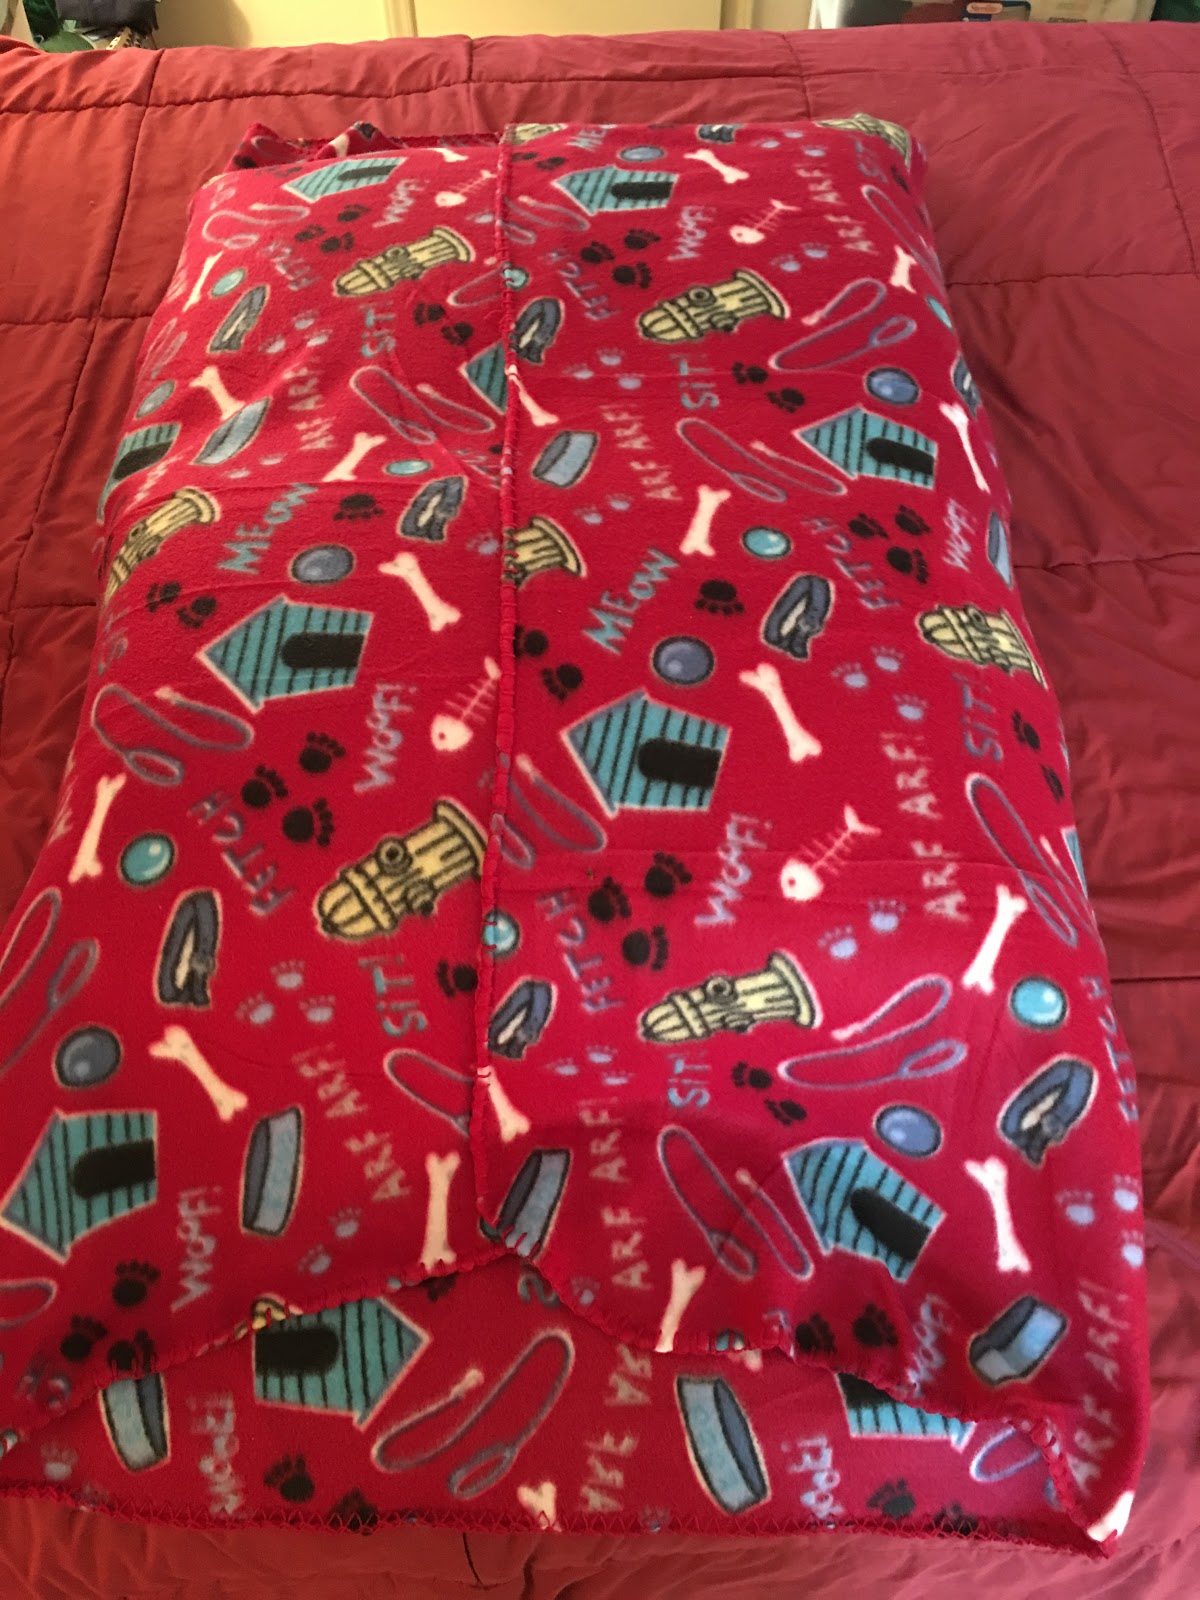
Anyway, we went to Wal-Mart and Pet Smart and, gee, dog beds are expensive.  Wow!!!  So, I sent my hubby back to Wal-Mart to buy supplies so I could DIY a pet bed.  All that was needed was:  a fleece holiday blanket on Clearance Sale ($2.50 and it's dog-themed - yay!!!) and 2 jumbo pillows ($3.97 each).

Total cost for my Puppy/Dog Bed:  $11.00...

Below, I will explain how I made mine.  Added bonus, mine easily comes apart so you can launder the blanket and the pillows and then reassemble.

Large Puppy/Dog Bed

Size:  Approximately 24" x 32"

Materials:
--1 Fleece Blanket, measures 50" x 60"
--2 Jumbo Pillows, measures 20" x 28"
--(4) 1" buttons
--(6) elastic ponytail holders
--pins to keep border on one side secure while sewing
--Needle and thread (I used turquoise so it would show up in the pics)

Directions:
1.  First you will want to lay your blanket flat and place the pillows in the center.  (see my pic)
2.  Fold the left side and right side inward to make sure you have about a 2" overlap.
Now, you will open the right side back out, flat.  I turned the side 2" in to sew edging.  I sewed by hand.  You can use your sewing machine if wanted.  With only sewing in 1 (one) side, I just found it simpler to complete by hand.  It only took me a few minutes to complete this.  I used pins to secure and removed as I sewed edging.

Now on the left side panel, I added my 4 buttons about 7-8" apart.  (see my pic)
 3.  At this point, you are ready to attach the ponytail holders.  4 ponytail holders are going to be placed on the right side, on top, attached 2" inward (where you can fill the rough edge), directly across from the 4 buttons.  (see my pic)

The 2 remaining ponytail holders will be placed - one on each end, at the center.  (see my pic)
 
 And, that's it for attaching and sewing on everything.  Easy, peasy, right?

Now, for the assembly.
1.  First you are going to secure the ponytail holders around the buttons.  Depending on the size of your ponytail holders, you may have to wrap it multiple times around the buttons.  I think for mine, it may have been 5 or 6 times.  I just used ponytail holders I had on hand. 
2.  Next, you are going to fold the ends - just like when you're wrapping a present.  Fold left side in to the center, fold right side in to the center, and then bring the center ponytail holder up to secure to the nearest button.  Again, you may have to wrap this ponytail holder multiple times to secure.
3.  Complete #2 on the opposite end.

And, that's it for a quick, simple and CHEAP way of making a Puppy/Dog Bed for larger animals.

Here's a completed pic of the bottom of the bed.  
Flip it over and you're done!!!  To launder, unwrap ponytail holders from buttons.  Wash gentle and air dry.  Reassemble and it's ready to use again...

And, here are a few pics of my puppy, Riley Brooke, enjoying her new bed.  The finished bed measures 24" x 32". 


I'd love to hear your feedback/thoughts on this simple project for your new canine family member.  If you make this, please hashtag (#rilla2u).

 PIN and SHARE this project on your boards.  

Copyright:
This is an original design by me, Rilla Edwards of The Perfect Stitch.  Please respect that and not copy/share my pattern but provide a link to my blog.