Showing posts with label C2C Blankets. Show all posts

Sunday, March 8, 2020

Fox Blanket...

For this "Fox Blanket," I used a graph I found on Pinterest.  I used "I Love This Yarn" from Hobby Lobby and a 6.0mm hook.

Here’s the Fox Graph Link that I used to complete this project.

This blanket was made using the C2C (Corner-2-Corner) Crochet method.  I used HDC stitches and chain 5.  To finish, I used black yarn and SC stitches around.  As you can see in the pictures, the blanket is reversible. 

Front Side:


Back Side:

And, here are a few extras I made to go with this Fox Blanket:  a Fox Hat, Diaper Cover with Fox tail, a pair of Booties and a Baby Bib with a Fox applique...
 
I'm very happy with this completed Fox project.  It is a customer order for someone who loves foxes.  

Happy Crocheting... 
Legal:
--don't use/claim my design as your own
--don't use/claim my pics as your own
--okay to make and sale your finished work
--don't share my pattern electronically or in print format (without prior consent) but provide a link to my blog

Social Media:
If you are on the following sites, let's connect and hook up...
  • Instagram:  Rilla2u
  • Pinterest:  Rilla2u
  • Twitter:  Rilla2u
  • Facebook:  /rilla.edwards 


Friday, July 26, 2019

Ares Swirl Blanket

I’ve had the privilege of spending the last 9 days in Oklahoma getting to know my little cousin, Ares. He is 4 months old, chunky and all-around adorable.  I’m completely smitten!!!  I have thoroughly enjoyed my time with him.

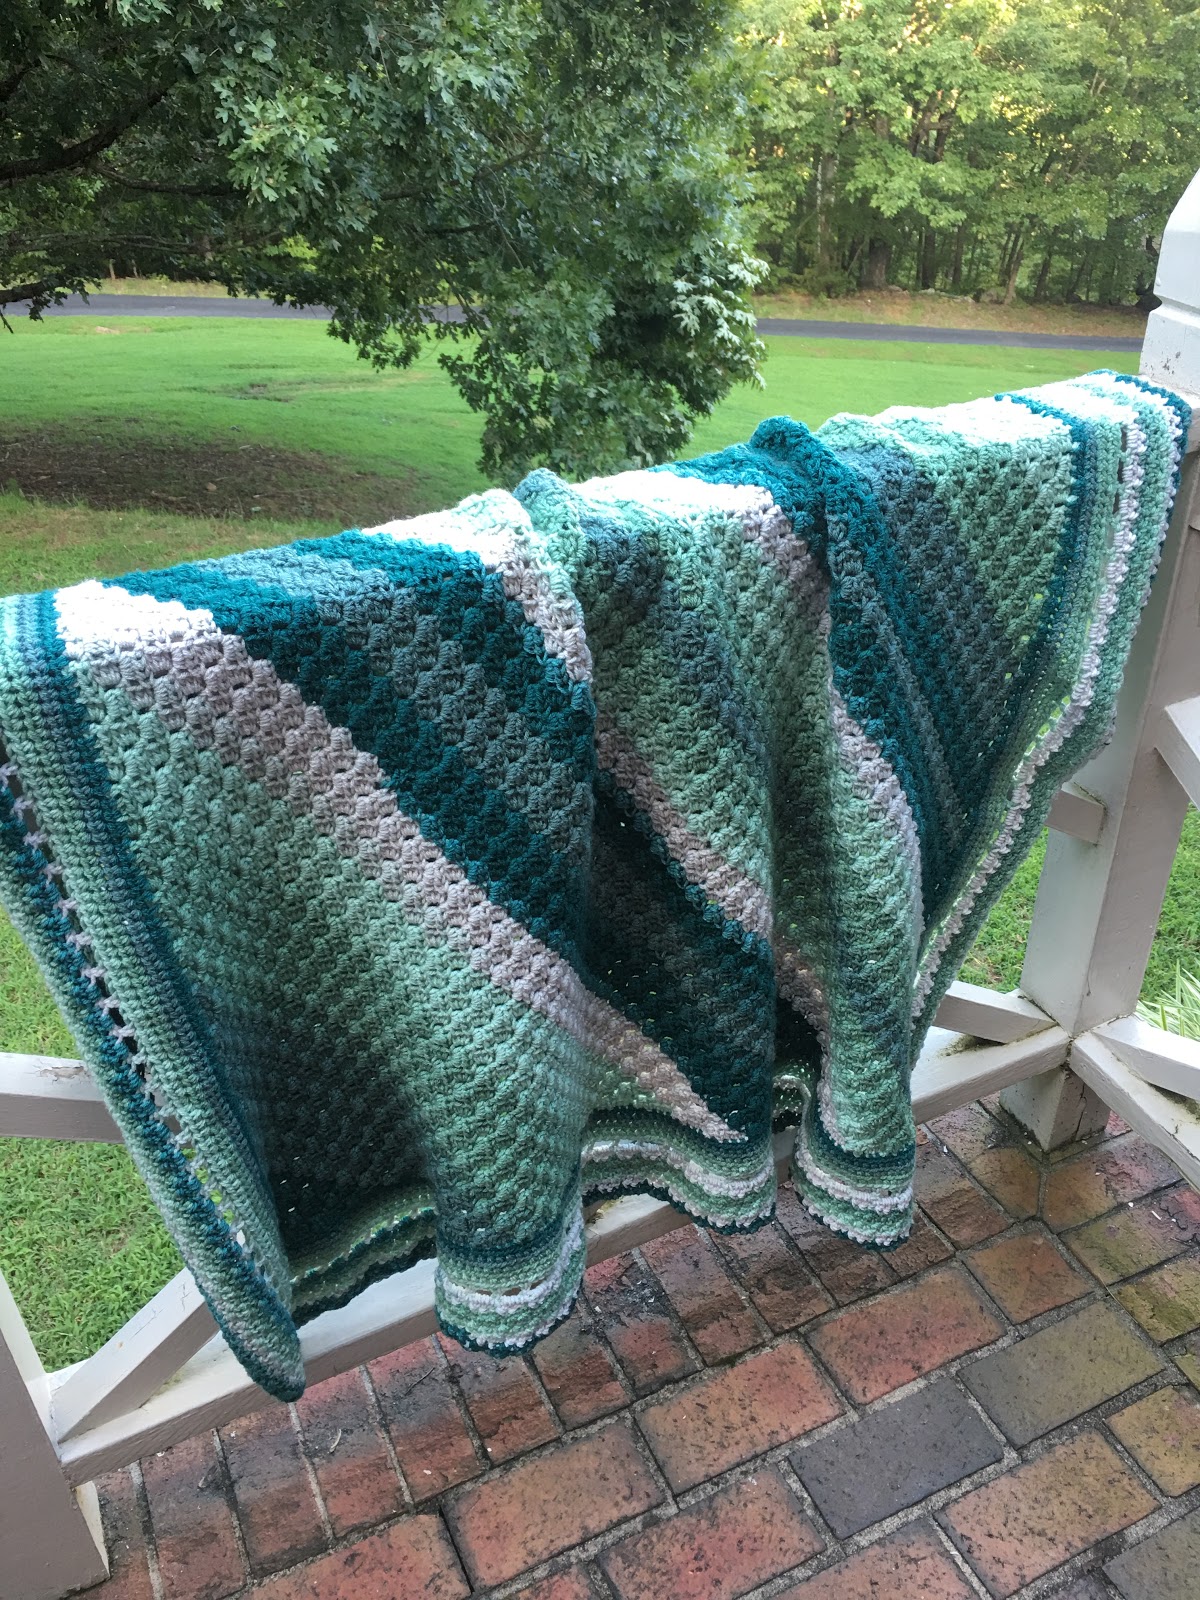
So, as crocheters often do, I had to whip up a special blanket for him.  I used Yarn Bee’s Sugarwheel in Green Tea Swirl.  It sorta reminds me of Harry Potter...lol.  I used 2 skeins of yarn (355 yds/skein) and a 6.0 mm hook.

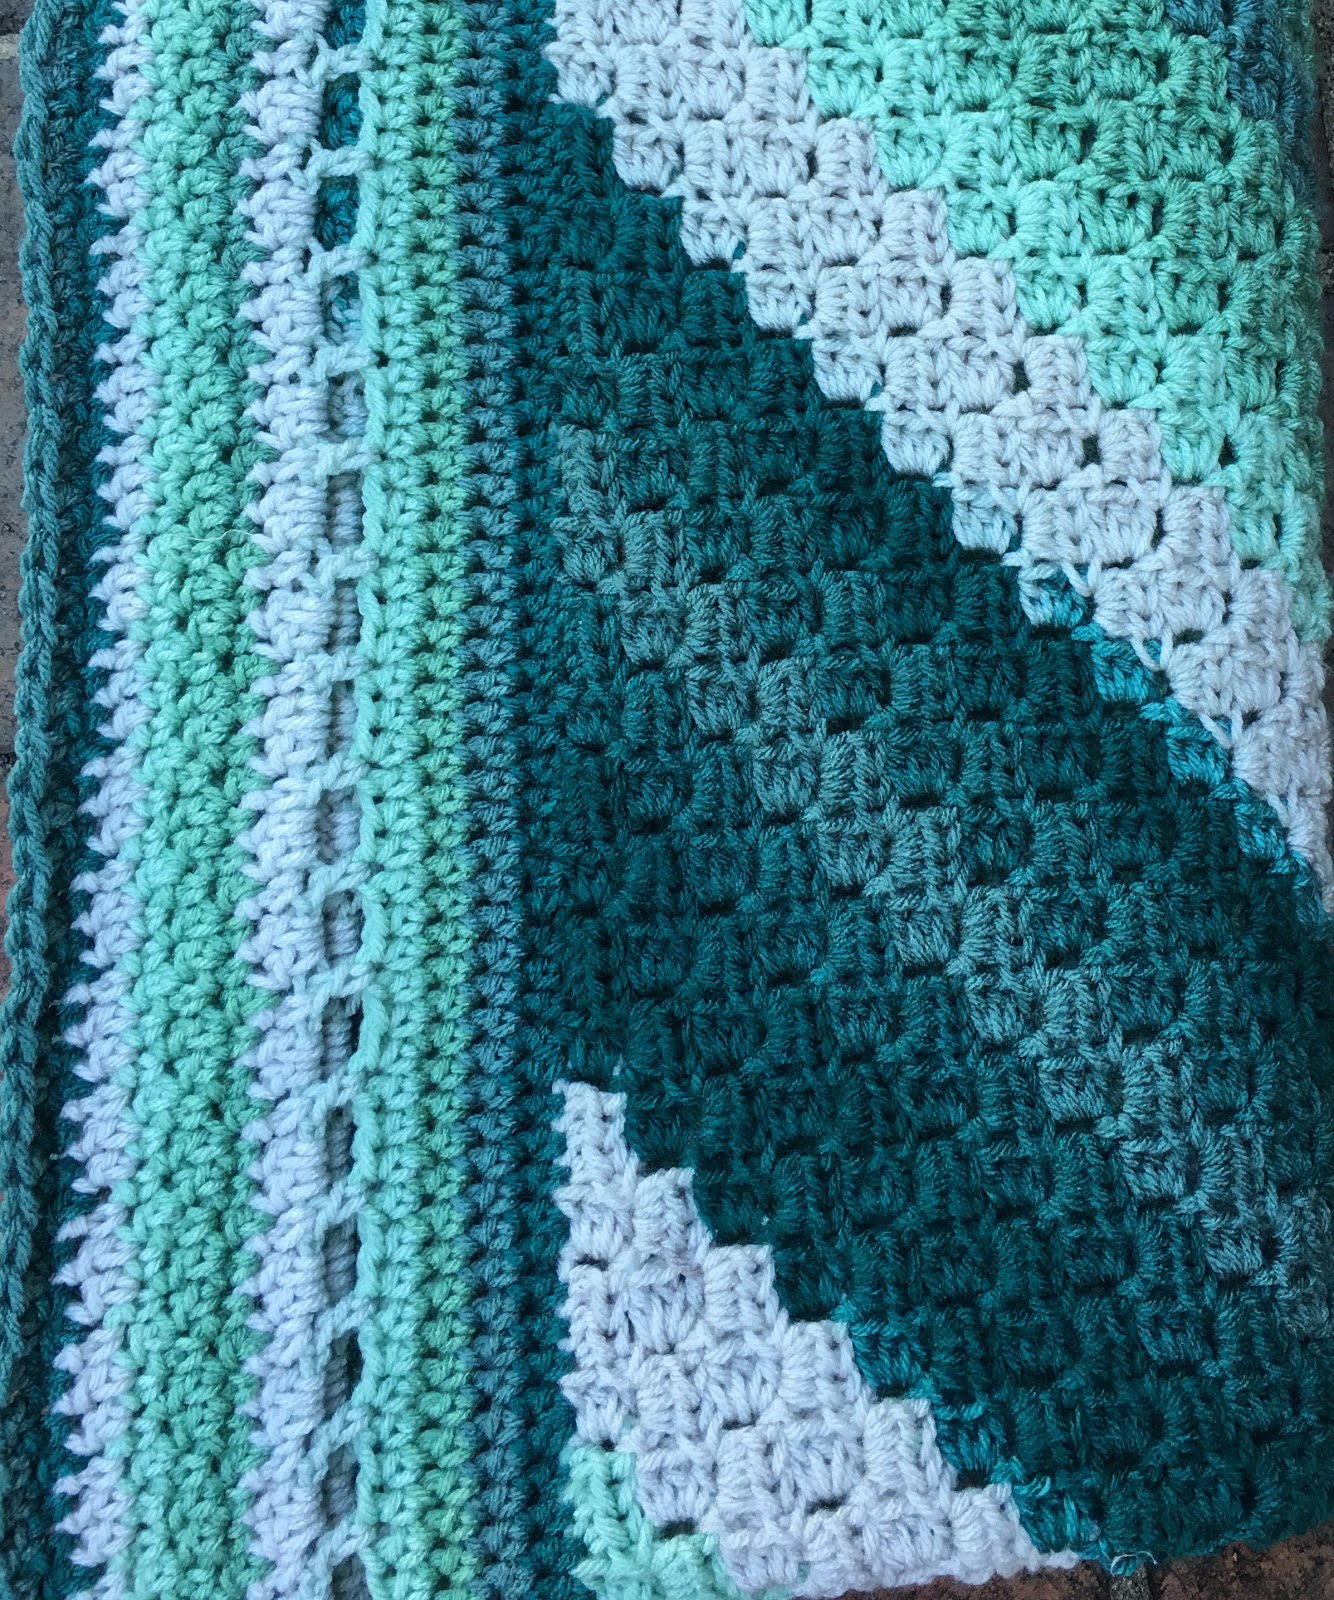
This blanket measures approximately 30” x 30”.  For the blanket portion, I used the C2C (Corner-2-Corner) method with DC stitches.  I think the border I created makes this extra cute...

Ares Swirl Blanket...

And, here’s a picture of my sweet Ares...
Happy Crocheting...


Monday, March 11, 2019

Ares Blanket

This Blanket was designed and made for my newest little cousin, Ares, who lives in Oklahoma.  I used Red Heart Super Saver yarn in light blue, gray and white.  I used a 6.0mm hook.

I designed the C2C graph on Stitch Fiddle.  I used HDC stitches and Ch5.  This was a fairly quick blanket to make.

Ares Blanket
Size:  Approximately 32" x 36"

Materials:
--6.0mm hook
--1 skein each of #4 worsted weight yarn in light blue, gray and white (I used Red Heart Super Saver yarn)
--tapestry needle for weaving

U.S. Stitch Abbreviations:
Ch:  chain
St:  stitch(es)
Sl st:  slip stitch
SC:  single crochet
HDC:  half double crochet
PS:  popcorn stitch
Rep:  repeat
FO:  fasten off

Special Stitch:
1.  Popcorn Stitch (PS):  4 SC stitches in same st, remove hook from last stitch and place in the first SC stitch made (front to back) and then insert back into the hoop of the last stitch and pull through.  

Directions:
Using my C2C Graph below, start in the lower right hand corner and work the pattern diagonally.  I used HDC stitches with Ch5.  If desired, you can use DC stitches and Ch6.

Once I completed the graph portion of the blanket, I then worked on the border design.

Border:
1-3.  With light blue, HDC in each st around, placing 3 HDC st in each corner.  Sl st join to first st and Ch1.  At the end of Round 3, FO light blue yarn and join gray yarn.
4.  1 SC in each st around, placing 3 SC st in each corner.  Sl st join to first st and Ch1.
5.  *1 SC in first 2 st, then 1 PS in next st.* Rep around, placing 3 SC st in each corner.  Sl st join to first st and Ch1.
6.  Rep #4.  Sl st join to first st and FO.  Weave ends.

Simple, yet so pretty!!!  Enjoy...

C2C Graph
Happy Crocheting...
Legal:
--don't use/claim my design as your own
--don't use/claim my pics as your own
--okay to make and sale your finished work
--don't share my pattern electronically or in print format (without prior consent) but provide a link to my blog

Social Media:
If you are on the following sites, let's connect and hook up...
  • Instagram:  Rilla2u
  • Pinterest:  Rilla2u
  • Twitter:  Rilla2u
  • Facebook:  /rilla.edwards 

Sunday, October 14, 2018

Snowman C2C Blanket

I have been working on this project for the past couple of weeks for one of my winter projects.  I wanted a Snowman with a Redbird.  When I was a young girl, I vividly remember painting the Plaster of Paris Cardinals/Redbirds during this time of the year in elementary school — and I loved taking my time and making mine as pretty as I could to gift to my mom.

And, of course, I grew up in the mountains of West Virginia - so I absolutely LOVE snow and wintertime.  Sadly, however, in North Carolina, I don’t get to enjoy the heavy snowfall as I did during my childhood unless I travel back home.


Snowman C2C Blanket 
Size:  Approximately 36" x 36"

Materials:
--6.0mm hook
--1 skein each of #4 worsted weight yarn in light blue, red, white and black; and a very small amount of orange and yellow
--tapestry needle for weaving ends

U.S. Stitch Abbreviations:
Ch:  chain
Sl st:  slip stitch
St:  stitch(es)
SC:  single crochet
HDC:  half double crochet
Sk:  skip
Rep:  repeat
FO:  fasten off

Special Note:
This blanket can be made several ways, using different stitch techniques.  
1.  C2C with HDC and Ch5 stitches;
2.  C2C with DC and Ch6 stitches;
3.  SC stitches working right to left of the graph.

Directions:
I worked my C2C blanket using Ch5 and HDC stitches.  If desired, you can use Ch6 and DC stitches.  If you use DC stitches, please note you may require an extra skein of yarn in light blue and white.

I had so many ongoing projects during the fall that I opted to leave the "Let It" (top border) and "Snow" bottom border off of mine and just completed a few rounds of stitches for my border.

For the C2C version, you will start in the lower right hand corner and work the increase rows diagonally.  Once you complete the center diagonal row, you will then start your decrease rows. 

Below is a picture halfway through this project when I started the decrease rows.
I loved the cardinal on this graph.  I think it looks so pretty.

Border:
Once you complete the graph, you will then either complete the top and bottom graph borders, make your own border or use the border rounds I made.

1.  For the first round of the border, with light blue yarn, you will complete a round of SC st, placing 3 SC st in each corner.  Sl st join to the first st and Ch1.  Here is a picture of the first round of the border completed.
2.  For this round, you will place 1 HDC st in each st around, placing 3 HDC st in each corner.  Sl st join to the first st and Ch1.
3-4.  Rep #2.  At the end of Round 4, FO light blue yarn and weave ends.
5.  Join white yarn in and st and Ch1.  For this round, I made a *blanket st, Ch1, Sk1, SC next st, Ch1, Sk1* rep around, placing 2 HDC, Ch1, 2 HDC in each corner.  (if you have to manipulate a stitch here and there to make this work, then that's okay).  Sl st join to first st and Ch1.
6.  For this round, you will place HDC st into the previous round's st and Ch.  2 HDC, Ch1, 2HDC in each corner.  Sl st join to first st and Ch1.
7-9.  Rep #6
10.  For the final round, *SC in first st, Sk2 st, 5 HDC in next st, Sk2 st,* rep around.  Place 2 HDC, Ch1, 2HDC in each corner.  Sl st join to first st and FO.  Weave ends.

And, here is a picture of the finished border.


C2C Snowman Graph

Top Border:

Bottom Border:


I hope you will enjoy this cute Snowman and Redbird/Cardinal C2C Blanket pattern.  Please comment and/or email me with any questions.
 
Happy Crocheting...
Legal:
--don't use/claim my design as your own
--don't use/claim my pics as your own
--okay to make and sale your finished work 
--don't share my pattern electronically or in print format (without prior consent) but provide a link to my blog

Thursday, August 30, 2018

Taffy Blues Baby Blanket

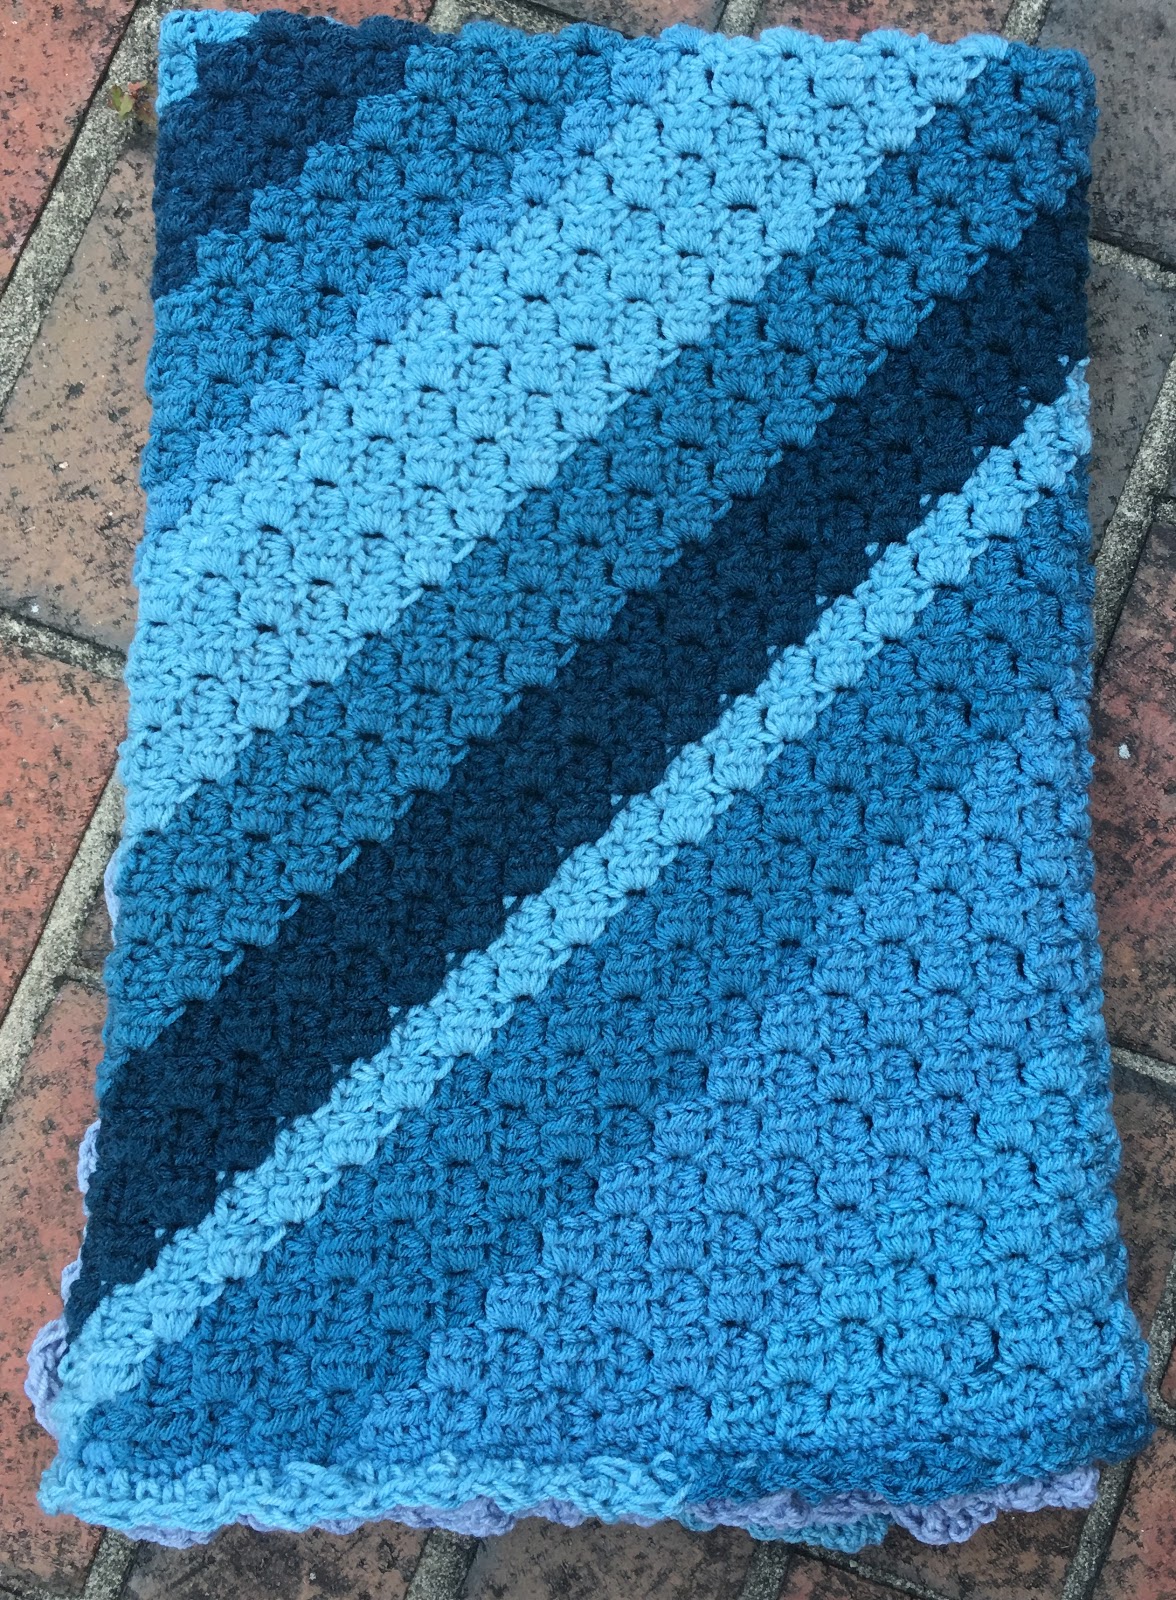
How cute is this “Taffy Blues” Baby Blanket?  I crocheted it within a few days, using the C2C method of crocheting for the blanket portion and then added a border.  The blanket portion uses 4 of Yarn Bee’s Sugarwheels.  The 5th one is for the border and uses less than half.  The remainder would be great to make matching accessories — a hat, booties, bib, etc...

I’m not affiliated with Yarn Bee in any form or fashion but I have to say I love working with the Sugarwheel yarns.  The gradual color changes makes for beautiful projects.  Check out my Forestry C2C Blanket in “Gelato is My Motto” — varying shades of greens that is simply gorgeous.  Here’s the LINK for the FREE pattern...

Taffy Blues Baby Blanket
Size:  Approximately 39” x 39”

Materials:
—6.0mm hook
—(5) Yarn Bee’s Sugarwheel in “Taffy Happy”
—tapestry needle for weaving

U.S. Stitch Abbreviations:
Ch:  chain
St:  stitch(es)
Sl st:  slip stitch
SC:  single crochet
HDC:  half double crochet
DC:  double crochet
TC:  triple crochet
Sk:  skip
Rep:  repeat
FO:  fasten off

Special Note:
The blanket portion is made using the C-2-C (Corner-2-Corner) method with HDC st and ch 5.

Directions:
Blanket portion:
1.  I used 2 Sugarwheels for increase rows.  (54)
2.  I then used 2 Sugarwheels for the decrease rows.
Border:
1.  Join yarn in any st with a sl st and Ch1.  SC in same st and in each st around, placing 3 SC in each corner.  Sl st join to first st.
2.  Ch 4 (counts as first TC).  SC in the next 2 st.  TC in next st.  SC in the next 2 st.  TC in next st.  SC in the next 2 st.  Sk a st.  DC in the next 3 st.  TC into the skipped st.  Then start steps again:  *TC in the next st, SC in next 2 st (rep this 3 times), then sk next st, DC into the next 3 st and go back and place a TC into the skipped st.* Rep from * to * around the blanket, placing 3 TC st in each corner.  (Note: if for some reason, the pattern isn’t working out evenly with your number of stitches, then you can adjust the repeats accordingly to make it work by adding an extra SC st, if needed...)

The varying shades of blue in this blanket are simply gorgeous.  This project worked up fairly quickly and makes a great gift for any little boy.

Enjoy!!!
Happy Crocheting...

Legal:
--don't use/claim my design as your own
--don't use/claim my pics as your own
--okay to make and sale your finished work 
--don't share my pattern electronically or in print format (without prior consent) but provide a link to my blog

Monday, July 30, 2018

Forestry C2C Blanket

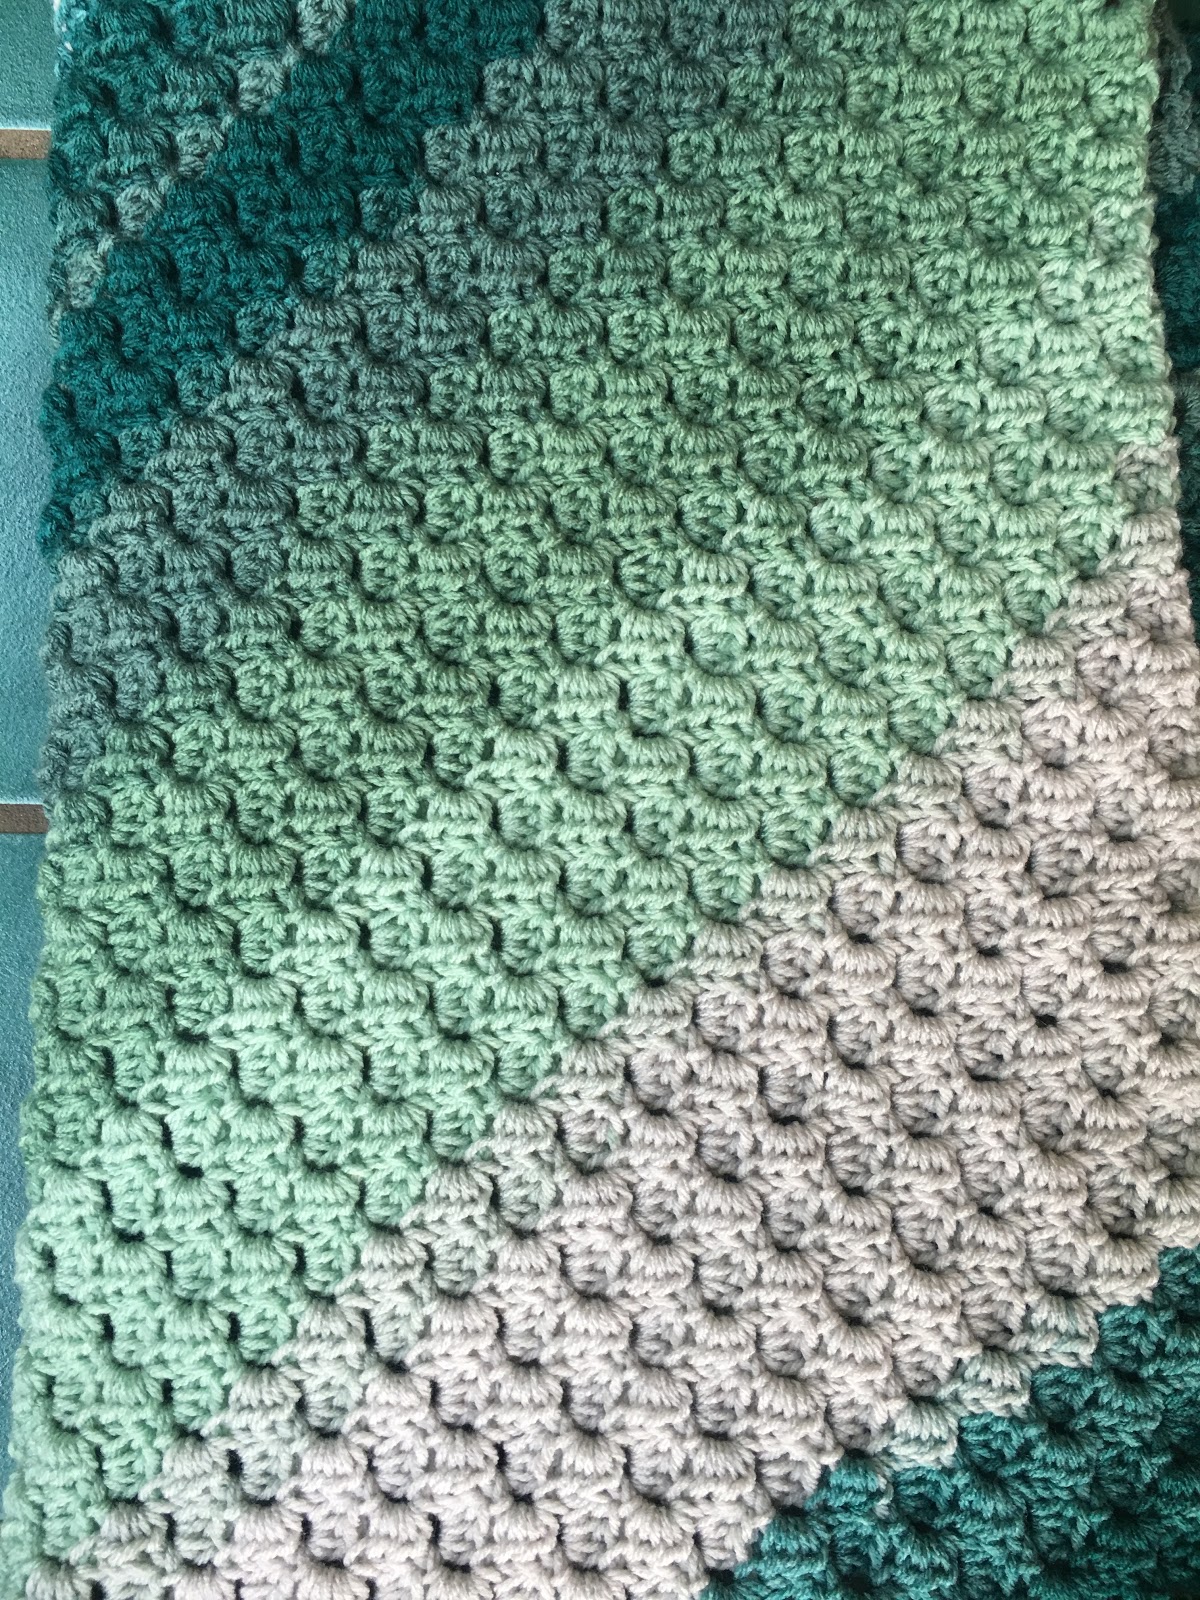
Yarn Bee's Sugarwheel in "Gelato's My Motto" is absolutely gorgeous.  The subtle changes in greens and cream -- simply beautiful.  

I decided to make a C2C (Corner-2-Corner) Blanket with it.  And, then add a border.  This blanket measures approximately 50" x 50".  With all the shades of green in this yarn, I decided to aptly name this project, "Forestry C2C Blanket."

Forestry C2C Blanket
Size:  Approximately 50" x 50"

Materials:
--6.0mm hook
--(6) Yarn Bee's Sugarwheel in "Gelato's My Motto"
--tapestry needle for weaving

U.S. Stitch Abbreviations:
Ch:  chain
Sl st:  slip stitch
St:  stitch(es)
SC:  single crochet
HDC:  half double crochet
DC:  double crochet

Rep:  repeat
Sk:  skip
FO:  fasten off

Special Stitch:
1.  C2C (Corner-2-Corner) - I used HDC stitches with Ch5 (instead of DC stitches and Ch6).  

Directions:
Knowledge of C2C is needed to make this blanket.  There are a lot of great video tutorials on Youtube to teach you how to do C2C.

1.  I used 2 Sugarwheels (355 yds/roll) to make my increase rows with HDC stitches and Ch5.
2.  I then used 2 Sugarwheels to make my decrease rows.

Here is a few pictures of the C2C portion completed:  
 
Border:
For the border, I used 2 Rolls of Sugarwheel. 

1.  I joined my yarn in one of the corner stitches with a sl st, Ch1.  3 HDC in the corner st and then 1 HDC evenly in each st around.  3 HDC st in each corner around.  Sl st join to first st and Ch1. 
2-4.  1 HDC in each st around, 3 HDC st in each corner.  Sl st join to first st and Ch1.  At the end of Round 4, sl st join to first st.  Do not Ch1.
5.  Ch5 (counts as DC and Ch2), *DC in next st, Ch 2, Sk 2 st,*  Rep from * to * around.  Into each corner, place 3 DC st.  Sl st join to first st and Ch1.
6.  SC in first st, 2 DC into the previous row's Ch2 space.  Continue to rep this until you get to the corner.  Now, once you complete the stitch pattern before the corner, (SC in first st, 2 DC into the previous row's Ch2 space) you should have 1 st remaining before the previous row’s 3 DC in the corner - sk this st).  Ch1, sk 1st corner st, then place 3 DC into the corner middle st, then Ch1 and sk 3rd corner st and first st after corner.  This way you can continue with your pattern around.  (Rep this for each corner).  This worked out perfectly for my blanket.  However, if you somehow have an additional stitch, then add an extra chain before and after each corner (and Sk the before and after additional st) .  Sl st join to first st.
7.  Ch3 (counts as first DC), *1 SC into next 2 st, DC in next st.*  Rep this pattern around.  For the corner area, complete same as #6, except you will use 3 SC st in the corners.  Sl st join to first st.
8.  Ch1.  SC in same st as Ch1.  *1 DC into next 2 st, SC in next st.*  Rep this pattern around.  For the corner area, complete as #6. 
9.  Rep #7.
10.  Rep #8.
11.  Rep #7.
12.  Rep #8.

Essentially, what you are doing is placing a SC st into the previous row's DC st and DC st into the previous row's SC st.  

Now, this will make your blanket approximately 50" x 50".  I went to Hobby Lobby today and bought 2 more Sugarwheels to continue with my border rounds to increase the size of my blanket.  

I hope my pattern makes sense.  If you have any questions, please feel free to comment, email/message me and I would be glad to help you.  
 
  Happy Crocheting...

Legal:
--don't use/claim my design as your own
--don't use/claim my pics as your own
--okay to make and sale your finished work 
--don't share my pattern electronically or in print format (without prior consent) but provide a link to my blog

Friday, March 23, 2018

Easter Lamb Baby Blanket

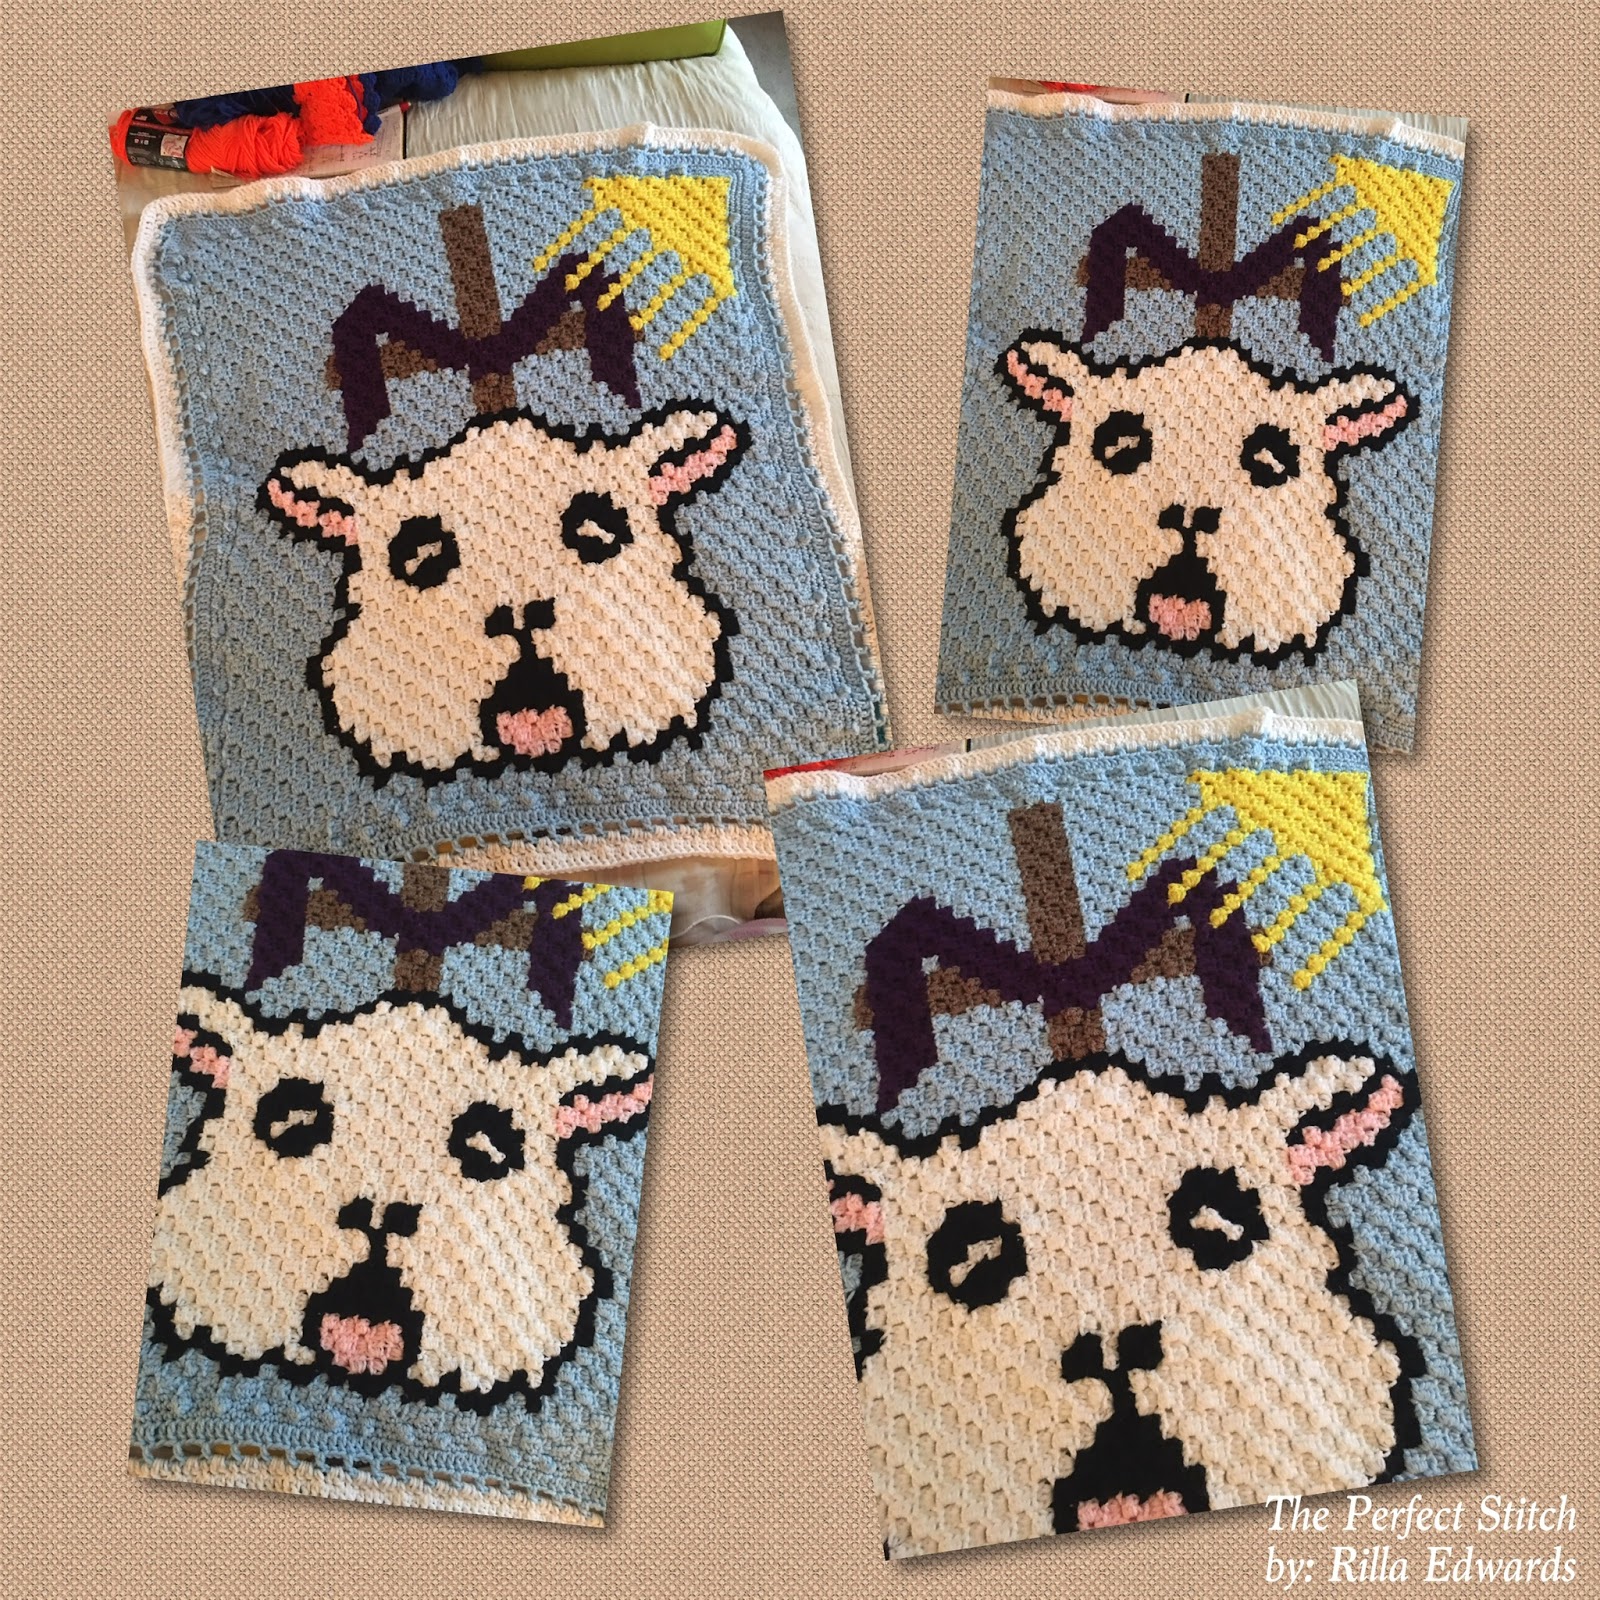
I woke up in the wee hours of this morning with this C2C graph design idea.  So, I opened up my Excel app and got this completed.  I'm so excited to make this graph into a blanket.  It is the true representation of what Easter means to me:  The Cross, The Lamb, The Son (sun)...

I'm going to go ahead and share my graph for those who may want to make this before Easter.  I will update this post as I progress/complete my blanket.

I plan to use a 6.0mm hook with the altered C2C method of crocheting -- Chain5, HDC stitches/Chain2.  I'm not sure yet if I will be using Red Heart Super Saver or I Love This Yarn.  I will have to go through my stash and make a choice by what I have on hand...

I hope you all will enjoy this one...

                                  Easter Lamb Baby Blanket 


Size:  Approximately 30" x 35”

Materials:
--6.0mm hook 
--#4 worsted weight yarn in Light Blue, White, Black, Pink, Brown and Yellow (I used Red Heart Super Saver yarn)
--tapestry needle for weaving

Stitch Abbreviations:
Ch:  chain
Sl st:  slip stitch
SC:  single crochet
HDC:  half double crochet 
FO:  fasten off 

Special Stitch:
1.  Popcorn Stitch (PS):  4 SC in same stitch, pull up loop, remove hook and place in first SC stitch (front to back), then join back in loop and pull through.

Directions:  
Blanket:
(The blanket is made using Corner-2-Corner - C2C - method)
1.  Use the C2C pixel graph below, starting in lower right corner.  I used Ch5 and HDC stitches, instead of Ch6 and DC stitches, to make the blanket.  

Border:  
1.  SC evenly around Blanket.  3 SC in each corner.  Sl st join to first st and Ch1.  
2.  For this round, I made Popcorn Stitches.   *PS in first st, 1 SC in the next 3 st.* repeat around.  3 SC in each corner.
3.  Repeat #1.  
4.  1 HDC st in each st around, placing 3 HDC st in each corner.  Sl St join and Ch1.  
5.  *1 HDC in first st, Ch2, Sk2,* Rep around, placing 3 HDC st in each corner.  Sl St join and FO.  Weave ends.  
6.  Join white yarn in any HDC st of previous round and Ch1.  HDC in first st, 2 HDC in ch2 space. Rep around, placing 3 HDC st in each corner.  Sl St join and Ch1.  
7.  1 HDC st in each st around.  3 HDC st in each corner.  Sl St join and FO.  Weave ends.  

Happy Crocheting...


Legal:
--don't use/claim my design as your own
--don't use/claim my pics as your own
--okay to make and sale your finished work
--don't share my pattern electronically or in print format (without prior consent) but provide a link to my blog

Thursday, November 16, 2017

Gingerbread Man Pixel Graph...


Dec. 6, 2017:
Well, I have completed my gorgeous Ginbgerbread Man.  It measures approximately 33" x 38". You can easily add more rounds of border to make him bigger.

Size:  approximately 33" x 38"

Materials:
--6.0mm hook
--#4 worsted weight yarn of your choice (see graph for the colors I chose); 800 - 1100 yds in Sea Blue, Warm Brown, Chocolate, White, Cherry Red, Black, Gold, Purple, Hunter Green, Blue, Yellow and Orange
--tapestry needle for weaving

U.S. Stitch Abbreviations:
Ch:  chain
Sl st:  slip stitch
DC:  double crochet
FO:  fasten off

Directions:
1.  You will need to be familiar with the C2C (corner-2corner) method of crocheting.
2.  For increases, I made Ch6.  I worked Ch3 and DC stitches throughout.
3.  You will start in the lower right corner and work diagonally until you complete the last stitch in the upper left corner.

For the border:
1.  With Sea Blue Yarn, I worked 1 DC st in each st around, place 3 DC in each corner.  Sl st join to first st and FO.
2-3.  Join White Yarn, 1 DC in each st around, placing 3 DC in each corner.  Sl st jointo first st at end of 2nd round and Ch1.  At the end of the 3rd round, FO and weave ends.
Happy Crocheting...
---------------------------------------------
I completed this Gingerbread Man Pixel Graph today.  I think he's going to make a super cute C2C (corner-2nd-corner) blanket.

I chose random Christmas colors but you can choose whatever colors you like or have on hand in your stash.

I will share pics of my blanket once I complete it.  Hope you all will enjoy my festive & happy Gingerbread Man...

Gingerbread Man Pixel Graph 
Happy Crocheting 

Legal:
--don't claim my pattern/design as your own
--don't use my pics as your own
--don't share my pattern/design electronically or in print format but provide a link to my blog
--okay to make and sale your finished work

Friday, October 27, 2017

Christmas Polar Bear Pixel Graph

Well, I've had a stomach bug past 2 days and not up to crocheting...so, I did the next best thing - worked on a Christmas Pixel Graph to make into a blanket!!! I haven't decided yet if I want to do this in blanket yarn, bulky yarn or worsted weight yarn.

I think my Polar Bear turned out super cute and will make a great addition to my seasonal decor.  

So, please feel free to use my graph if you would like. 

Christmas Polar Bear Pixel Graph


 Christmas Polar Bear Blanket Pattern

Size:  approximately 32" x 38"

Materials:
--6.0mm hook
--#4 worsted weight yarn; I used "I Love This Yarn" from Hobby Lobby in Dark Olive (for background) - 1 and 1/2 skeins, Sea Blue & Sungold (for small present) - small amount, Navy & Red (for large present) - small amount, White, Black & Red (for polar bear) - less than 1 skein of each
--tapestry needle for weaving 

U.S. Stitch Abbreviations:
Ch:  chain
Sl st:  slip stitch
St:  stitch(es)
Rep:  repeat
SC:  single crochet
DC:  double crochet 
FO:  fasten off 

Special Note:  This blanket was made using C2C Crocheting.  There's a lot of tutorials on the internet to help you with this.  

Directions:
For the blanket portion, I used my above pixel graph and the standard C2C (Corner-2-Corner) method of Crocheting.  I worked this pattern using Ch6 and DC stitches.  Once I completed the graph portion, I then added the border.

Border:  
1.  With Dark Olive, evenly SC around the perimeter of the blanket, placing 3 SC st in each corner.   Sl st join to first st.  
2-3.  DC in each st around, placing 3 DC st in each corner.  Sl st join to first st.  At the end of Round 3, FO Dark Olive yarn and join White yarn.  
4.  With White yarn, SC around, placing 3 SC st in each corner.  Sl st join to first st.  FO and weave ends.  

Happy Crocheting....

Legal:
--don't claim my pattern/design as your own
--don't use my pictures as your own
--don't share my pattern/design electronically or in print format, without my consent, but provide a link to my blog
--it's okay to make and sale your finished work on any of my patterns/designs; I just ask that you credit me as the designer