Dinosaurs

Who doesn't love dinosaurs? Purple, blue, pink, orange - or whatever color you want to make them; simply put they are just way too cute not to want to make!!!!
I used worsted weight yarn and 3.0mm hook on my blue "party hat" dinosaur and my "top hat" purple dinosaur. However, I used different yarn brands and as you can see the size of each is slightly different. But, the only difference was the yarn brand used in making the dinosaur itself. For the party hats, bow tie and bandanna, I used cotton yarn - that's just because I had it on hand and within grasp. But, you can opt to use worsted weight.
This cute pattern is great to make for a baby shower gift, nursery, toddler or to use as part of a birthday or shower theme....
THIS is a LONG pattern. I have the PDF available in my ETSY SHOP. Here is the LINK:
Dinosaur PDF Pattern...
SO, let's get started.
Dinosaur Pattern
Materials:
--3.0mm hook
--worsted weight yarn in your choice and brand; for the blue I used Lion Brand yarn; for the purple I used Craft Smart Value (from Michael's)
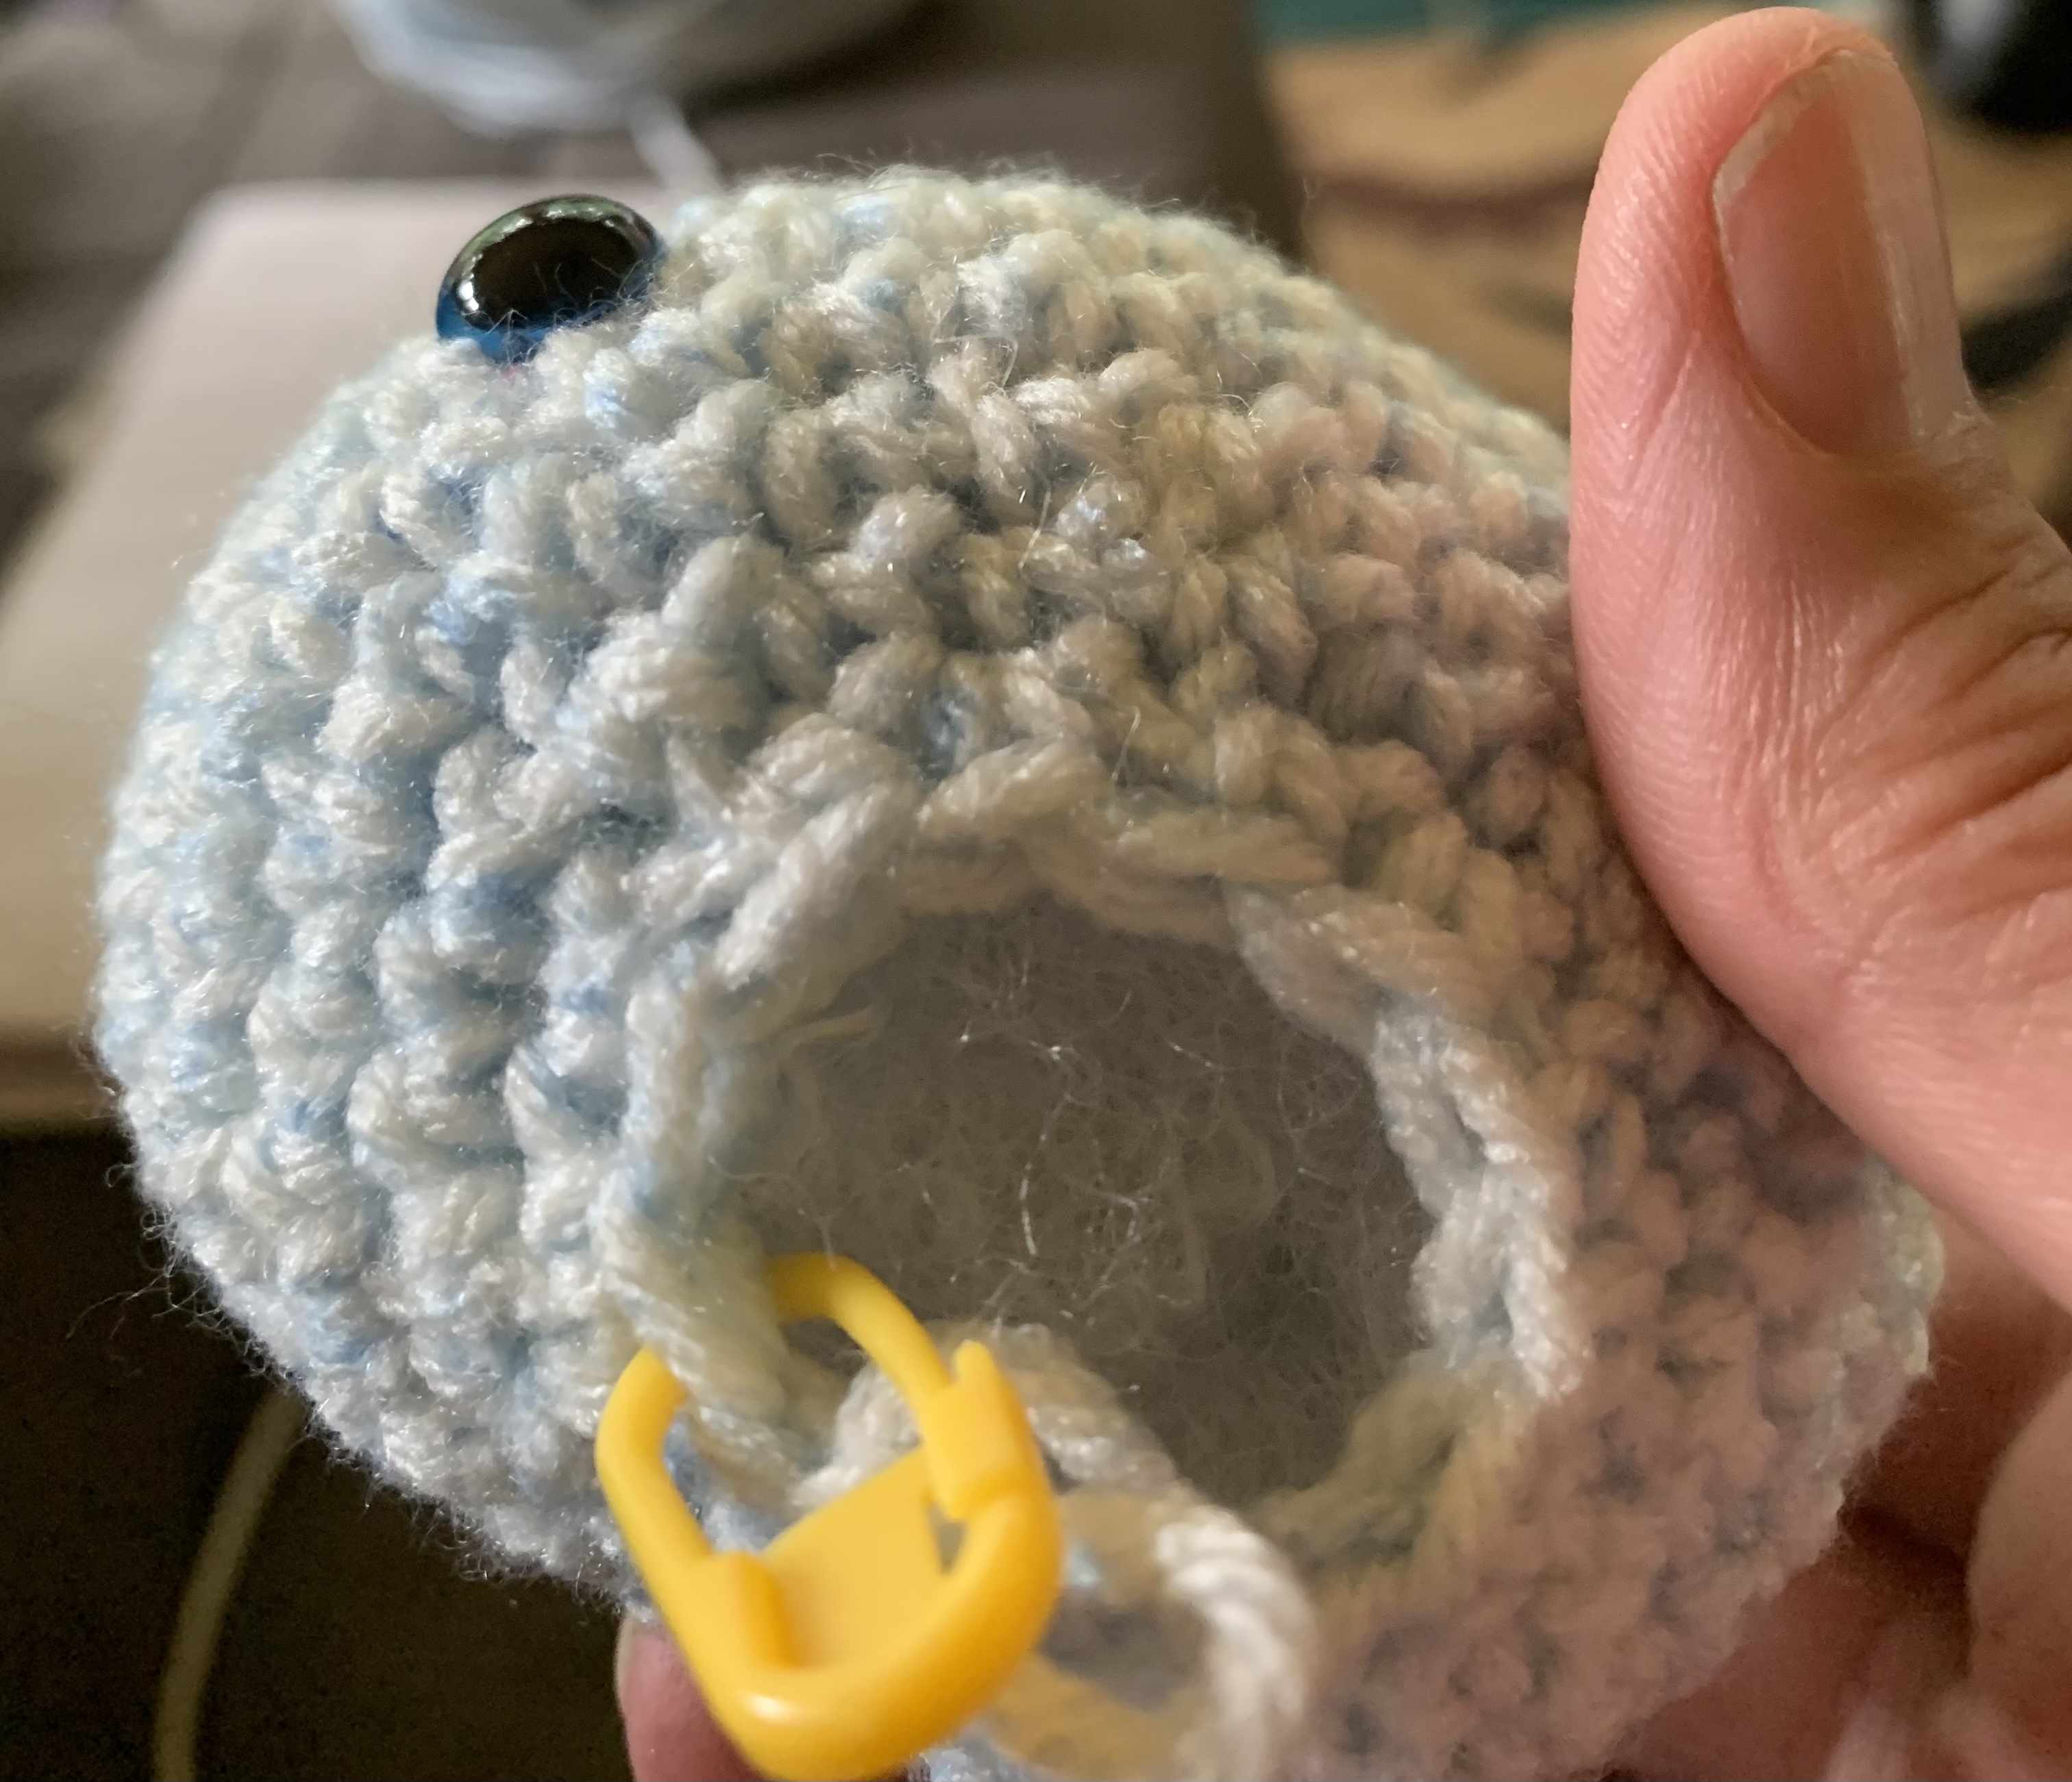
--2 black safety eyes in 6 or 8mm size (if making for a baby, I'd opt to make crocheted eyes)
--Polyfil
--1 Pipe cleaner (chenille stem) for the tail
-9 stitch markers (1 to keep track of the rounds; 8 for when we make the legs)
--Tapestry needle for weaving
Size: approximately 10" tall without the hat on
U.S. Stitch Abbreviations:
Ch: chain
St: stitch
Sl st: slip stitch
SC: single crochet
SC2tog: single crochet 2 stitches together (decrease stitch)
MR: magic ring
FO: fasten off
Rep: repeat
Sk: skip
Note:
The pattern is worked in the round so place a stitch marker in the first stitch match to keep track of the beginning rounds.
Directions:
Head:
1. Ch8. SC in 2nd ch from hook (place stitch marker) and next 5 ch. 2 SC in last ch. Rotate. SC on the opposite side of the base in each ch. There will be 6 ch to crochet into. (14)
2. 2 SC in first st. SC in the next 5 st. 2 SC next st, 2 SC next st, SC in the next 5 st and 2 SC in the last st. (18)
3. 2 SC in the first st, 2 SC in next st, 2 SC in next st, SC in the next 5 st, 2 SC in the next st, 2 SC in the next st, 2 SC in the next st, 2 SC in the next st, SC in the next 5 st and 2 SC in the last st. (26)
4. 2 SC in each of the next 4 st, SC in the next 8 st, 2 SC in each of the next 5 st, SC in the next 8 st and 2 SC in the last. (36)
5. 1 SC in each st around. (36)
6-10. Rep #5. (36)
11. *SC2tog, SC in the next 4 st,* rep from * to * around. (30)
12. *SC in the next 3 st, SC2tog,* rep from * to * around. (24)
13. *SC2tog, SC in the next 2 st,* rep from * to * around. (18)
Eye placement:
You will place the first eye on one of the short ends of Round 8/9, [you will see your stitch marker on R13], count 2 stitches backward on Round 8/9 by looking at the stitch marker. For the 2nd eye, count over to the 9th st and place the second eye. If you want your eyes closer, that's fine. You could just skip 4 or 5 stitches over and place the 2nd eye. There's no set rule. Play around and see what you like best.
14. *SC2tog, SC in the next st,* rep from * to * around. (12)
Stuff head firmly.
Neck:
15. 1 SC in each st around. (12)
16-18. Rep #15. (12)
19. *2 SC, SC in the next 3 st,* rep from * to * around. (15)
20. 1 SC in each st around. (15)
21-23. Rep #20. (15)
24. *2 SC, SC in the next 4 st,* rep from * to * around. (18)
25. 1 SC in each st around. (18)
26-28. Rep #25. FO at the end of round 28. Weave ends.
Stuff neck firmly.
Body:
Note: Join yarn in the center back of the neck (make sure the eyes aren't facing you)
1. Join yarn with a sl st in the center back. Ch 10. SC in 2nd ch from hook. Place st marker. This is now your first st of the round. SC in the remaining 8 ch. (9) SC around the neck (17). Now, SC up the opposite side of the chain just made (9). You will not have 18 st for the neck since we joined yarn in one of the st. (35)
2. 2 SC in each of the next 2 st, SC in the next 31 st, 2 SC in each of the last 2 st. (39)
3. 2 SC in each of the next 3 st, SC in the next 33 st, 2 SC in each of the last 3 st. (45)
4. 2 SC in each of the next 4 st, SC in the next 37 st, 2 SC in each of the last 4 st. (53)
5. SC2tog, 1 SC in each st around. (52)
6. 1 SC in each st around. (52)
7-12. Rep #6. (52)
Pull yarn up to make a big loop and set hook aside while we place stitch markers for the legs. We will join the hook back in the same spot .
Legs:
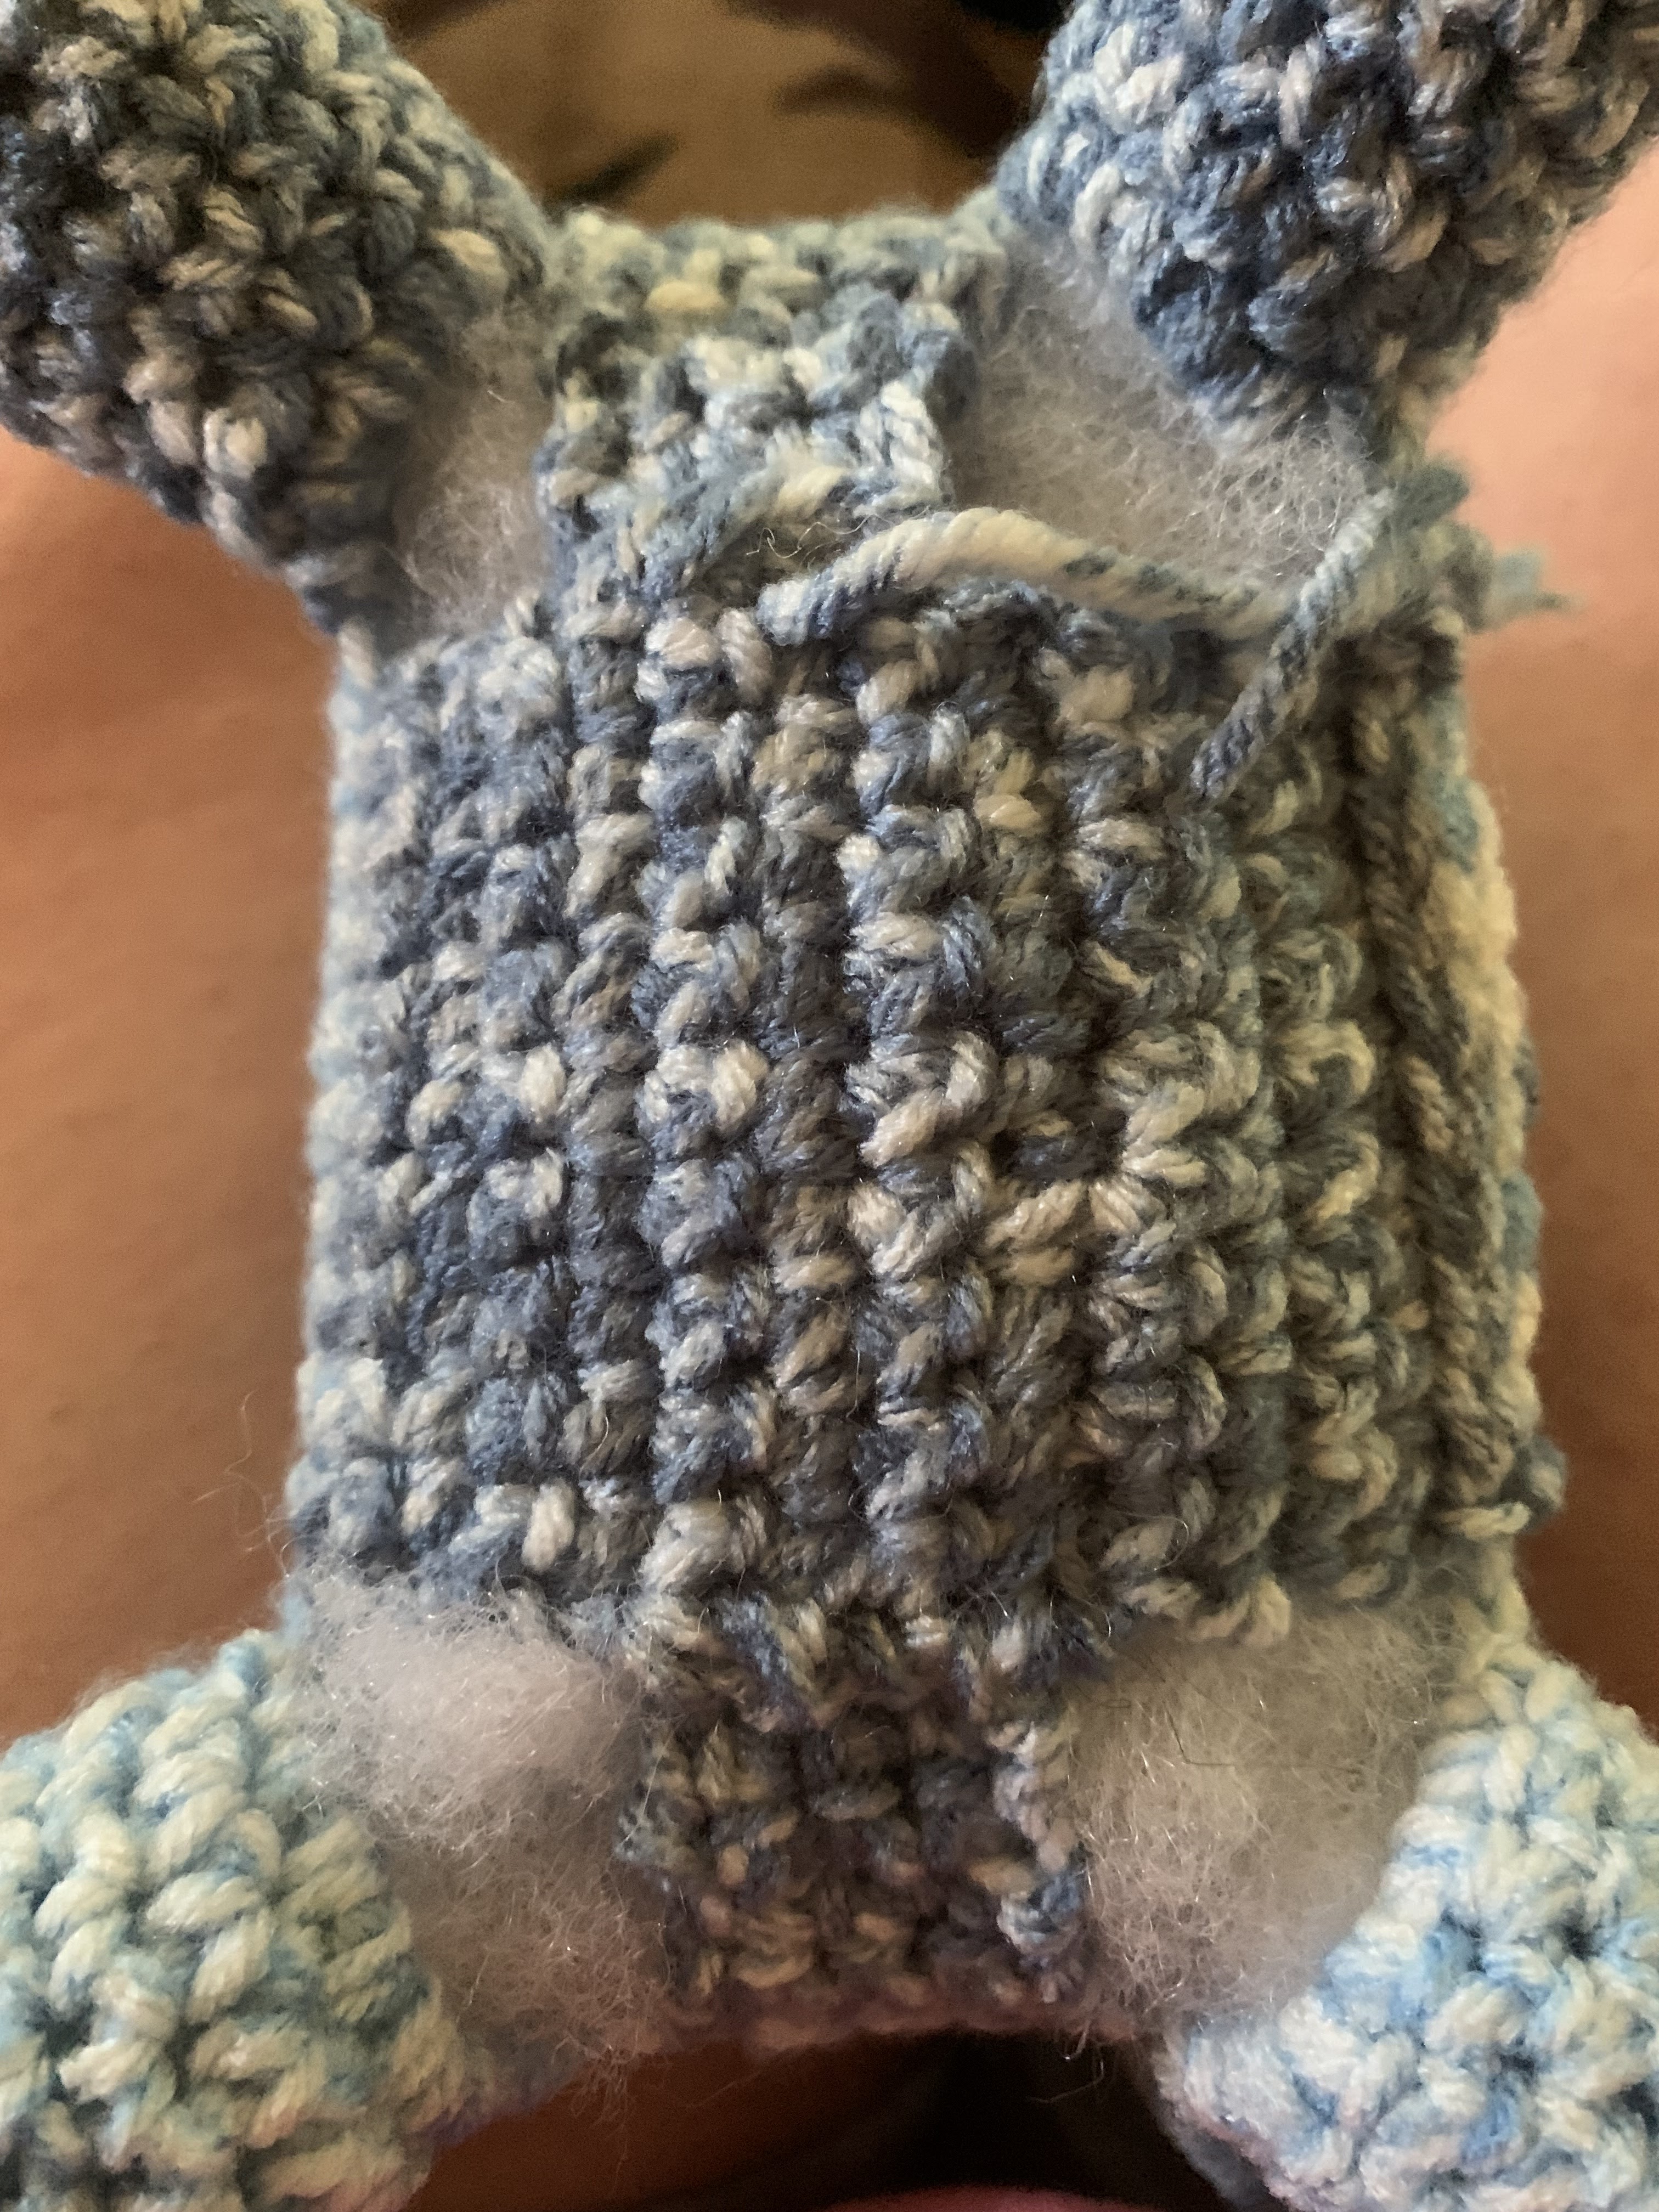
Place stitch marker in the last st made. Go backward 5 st and place stitch marker. Sk 10 st. Place a stitch marker in the next st. Sk 4 st and place stitch marker in the next st. Sk 4 st and place stitch marker in the next st. Sk 4 st and place stitch marker in the next st. Sk 10 st and place stitch marker in the next st. Sk 4 st and place stitch marker in the next st.
As you can see here, this creates your 4 legs. You will be working your stitches from stitch marker to stitch marker with the 4 st space.
First leg:
1. Place hook back into loop and pull the yarn loop back down to start back working. Turn hook and Ch 6. Sl st into the next stitch marker. This will form the first leg.
Work 6 SC st into the ch 6 space. Work a SC in the same st as the stitch marker and SC in the next 4 st and the last st with the 2nd stitch marker. This will make a total of 12 stitches. (12)
2. 1 SC in each st around. (12)
3-9. Rep #2. (12)
10. SC2tog. Rep this around for a total of 6 times. FO. Stuff firmly and weave tail. (6)
Repeat 1-10 (3) more times in the remaining stitch marker placements to make each leg.
Belly Cover:
For the belly cover, there will be a long section to go across and then 2 short ends. 1 short end between the front legs; the other between the back legs. The short ends will join to the long section and this will close up the belly.
On the short ends, I left 4 stitches open between the front legs and 4 stitches open between the back legs. So, this is the area where you will make the short ends.
1. Join yarn with a sl st and chain 1. SC 4 times. Turn. Ch1. (4)
2. SC across. Ch1. Turn. (4)
3-5. Rep # 2. At the end of Row 5, FO and leave a tail to weave ends. (4)
Repeat this on the opposite short end side.
Now, for the long section, it doesn't matter which long side you work on. There are 10 stitches open on both sides.
1. So, join yarn with a sl st and chain 1 at the end stitch and SC 10. Ch1 and turn. (10)
2. SC across. Ch1 and turn. (10)
3-13. Rep # 2. (10)
Stuff firmly.
14. SC across. FO and leave a long tail to whipstitch to the opposite side. (I initially slip stitched mine, but it leaves a bridged layer, which is fine, but I think the whipstitch will look a lot more cleaner). (10)
Make sure to whipstitch your short ends to the leg, long section and second leg to completely close up the bottom. If needed, add additional stuffing as you are closing up the ends.
Tail:
1. 6 SC into a MR. (6)
2. SC around. (6)
3-10. Rep #2. (6)
11. *2 SC, 1 SC,* rep from * to * around. (9)
12. SC around. (9)
13-17. Rep #12. (9)
18. *2 SC, 1 SC in next 2 st,* rep from * to * around. (12)
19. SC around. (12)
20-24. Rep #19. (12)
25. SC around. FO. Leave tail for attaching.
Fold pipe cleaner in half and insert. Stuff firmly. Attach to the backside of the dinosaur.
For the spots, I made small and large.
(3) Small:
1. 6 SC into a MR. Sl st join to first st and FO. Leave tail to attach. (6)
(2) Large:
1. 6 SC into a MR. Sl st join to first st. (6)
2. *2SC, 1 SC,* rep from * to * around. Sl st join to first st and FO. Leave tail to attach. (9)
And that's it - RAWR!!!!! You have made a super cute dinosaur....
Accessories:
Top Hat:
1. With 3.0mm hook, 6 SC into MR. (6)
2. 2 SC in each st around. (12)
3. *2 SC, 1 SC,* rep around. (18)
4. *2 SC, 1 SC next 2 st,* rep around. (24)
5. In BLO, SC around. (24)
6-10. SC in each st around. (24)
11. In FLO, *2 SC, 1 SC,* rep around. (36)
12. *2 SC, 1 SC next 2 st,* rep around. (48)
13. Ch 25. Sl st 24. SC 23. Sl st next st. Ch 25. Sl st 24. SC 23. FO. Weave ends.
Bow Tie:
1. With 3.0mm hook, make a MR. Ch4. 3 Triple Crochet. Sl st into MR. Ch4. 3 Triple Crochet. Sl st into MR. Pull tail to close center. FO and leave a long tail to wrap around center and for attaching to the dinosaur.
Party Hat:
1. With 3.0mm hook, 6 SC into MR. (6)
2-3. 7 SC. (7)
4-5. 8 SC. (8)
6-7. 9 SC. (9)
8-9 12 SC. (12)
10-11. 15 SC. (15)
12-13. 18 SC (18)
14. Ch 25. Sl st 24. SC 9. Sl st into next st. Ch 25. Sl st 24. Continue to SC around. Sl st join. FO and weave ends. Use fabric glue and attach a small pom to the top. Use yarn to weave in and out of the hat to add a little "sparkle."
Bandanna:
1. Ch 2. SC 1. Ch1 and turn. (1)
2. 2 SC. Ch1 and turn. (2)
3. 2 SC, 1 SC. Ch1 and turn. (3)
4. 2 SC, 1 SC, 2 SC. Ch 1 and turn. (5)
5. 2 SC, 1 SC 3 times, 2 SC. Ch1 and turn. (7)
6. 2 SC, 1 SC 5 times, 2 SC. Ch 1 and turn. (9)
7. 2 SC, 1 SC 7 times, 2 SC. Ch 1 and turn. (11)
8. Ch 25. Sl st 24. SC across. Ch 25. Sl st 24. SC down and around. Sl st join to first st. FO and weave ends.
Happy Crocheting...
Legal:
--don't use/claim my design as your own
--don't use/claim my pics as your own
--okay to make and sale your finished work
--don't share my pattern electronically or in print format (without prior consent) but provide a link to my blog
Social Media:
If you are on the following sites, let's connect and hook up...
- Instagram: Rilla2u
- Pinterest: Rilla2u
- Twitter: Rilla2u
- Facebook: /rilla.edwards
- Etsy: rilla2u
- TikTok: rillae2u