Wednesday, June 26, 2019

Glory Beach Blanket

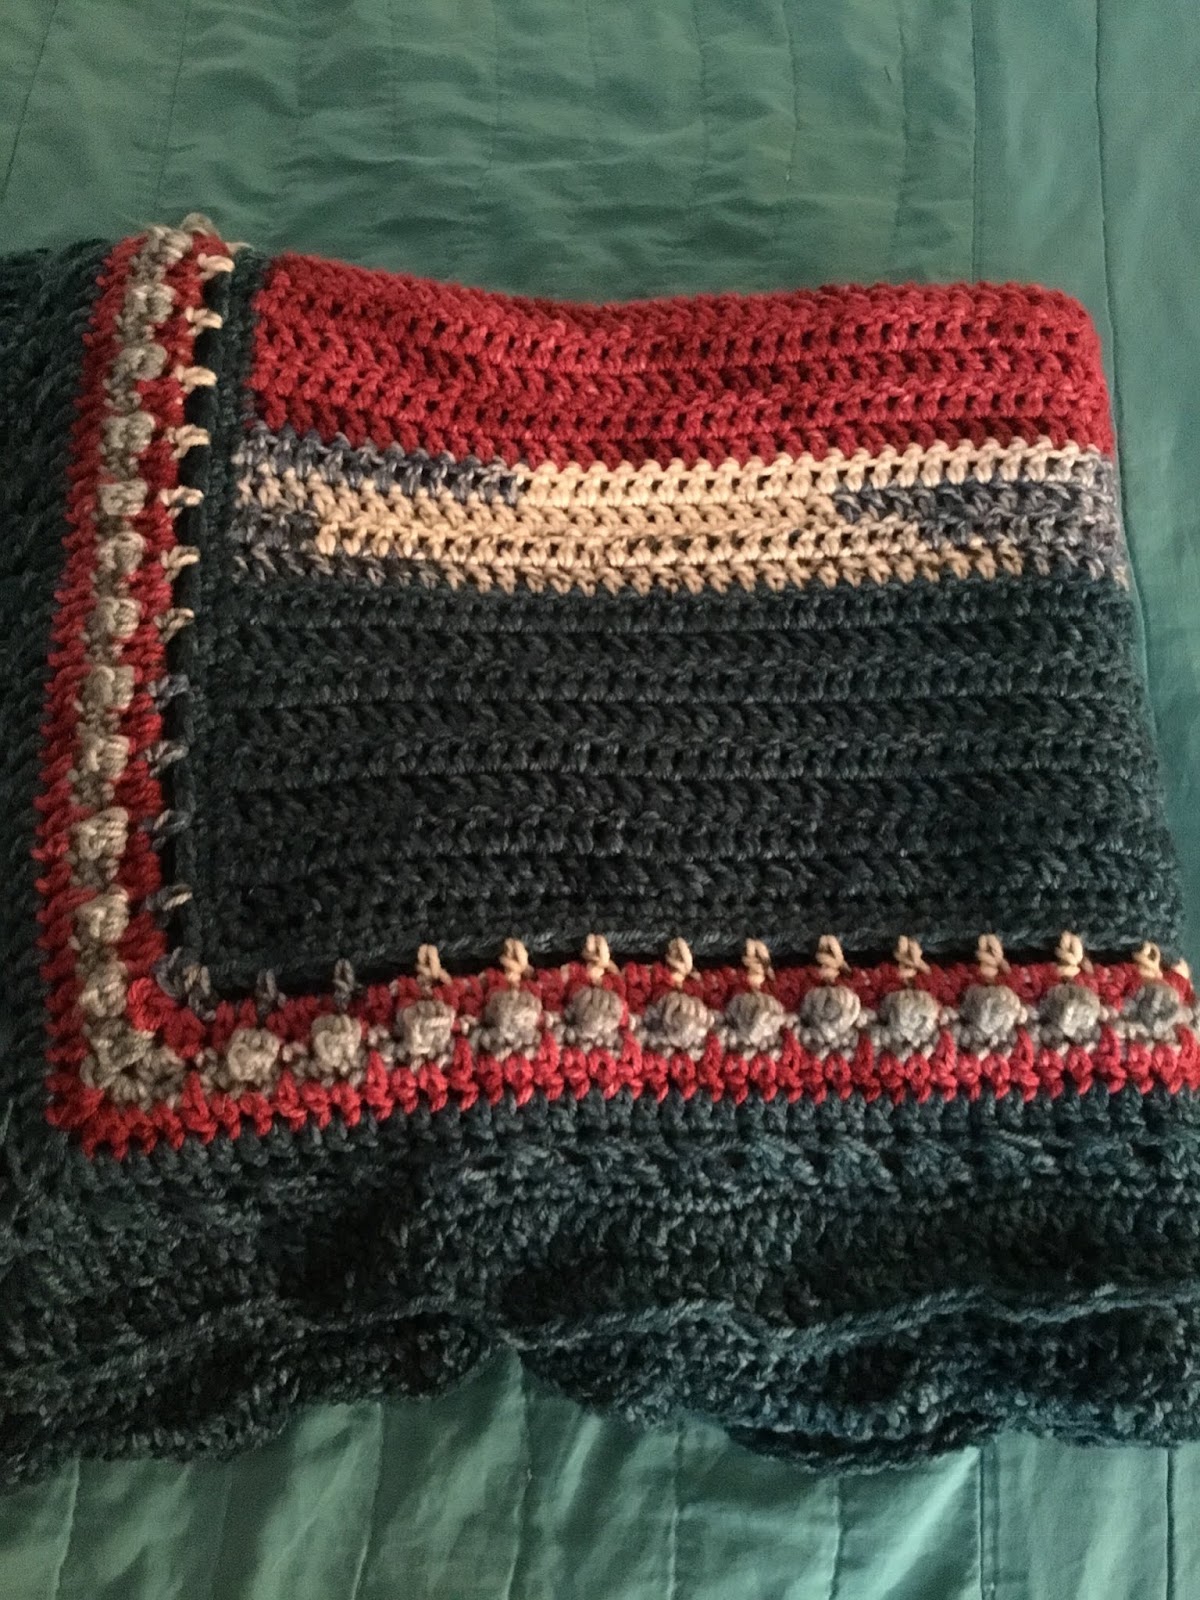
Hey Guys!!!  With summer in full swing here in North Carolina, I wanted to share a few pictures of a recent project I completed.  The yarn reminds me so much of "Old Glory," that I aptly named this design, Glory Beach Blanket.

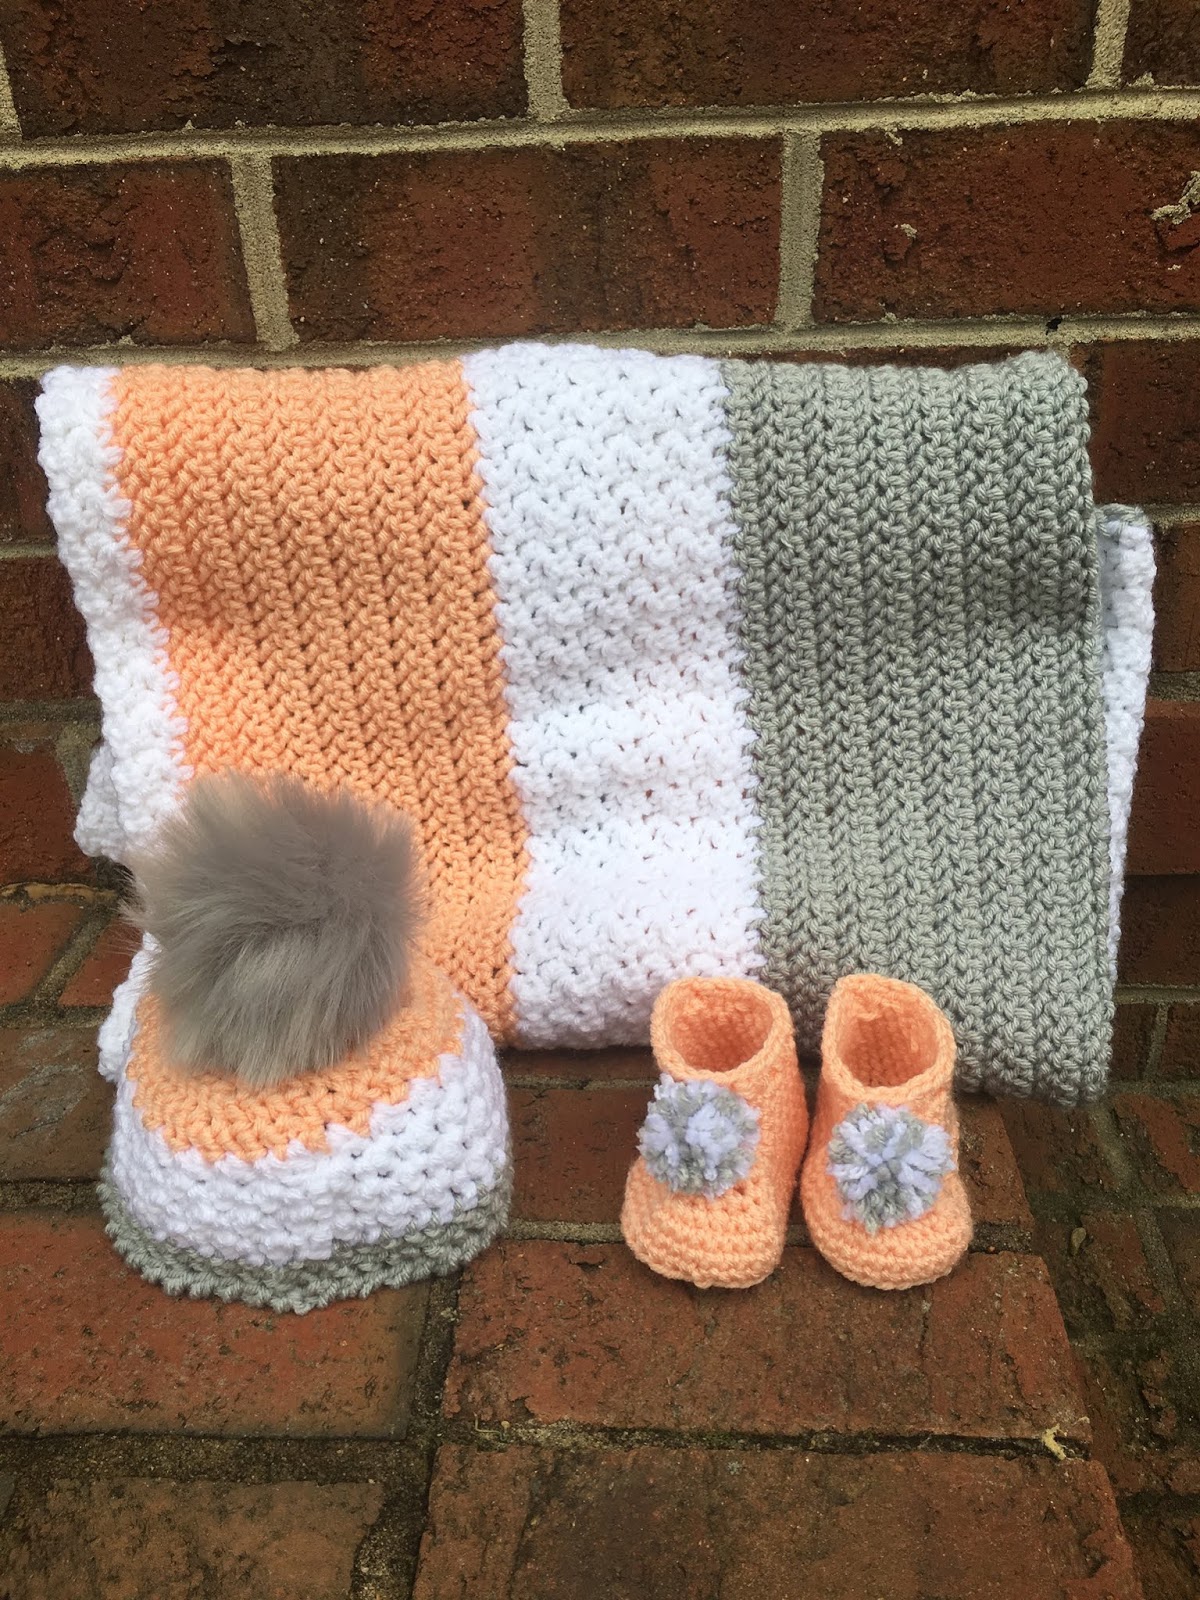
This blanket is the perfect size for the beach.  Place on a lounge chair or on the sand to catch some sunrays.  This fun size is different and sure to stand out wherever you go.

I plan to get my blog updated soon with the pattern.  So, click on the pin button in the left hand corner OR you can click on any picture below to save this link!!!!  Check back often for pattern availability.

Until then,
Happy Crocheting...  

Glory Beach Blanket


Happy Crocheting...

Legal:
--don't use/claim my design as your own
--don't use/claim my pics as your own
--okay to make and sale your finished work
--don't share my pattern electronically or in print format (without prior consent) but provide a link to my blog

Social Media:
If you are on the following sites, let's connect and hook up...
  • Instagram:  Rilla2u
  • Pinterest:  Rilla2u
  • Twitter:  Rilla2u
  • Facebook:  /rilla.edwards

Sunday, June 23, 2019

Grilled Calzone Sandwich Recipe

On Saturday, I made homemade Calzones for dinner.  Well, today, after church, I noticed I still had all the ingredients for Calzones but no pizza crusts.  And, since I love a grilled cheese sandwich, my mind started spinning with making a “Grilled Calzone Sandwich.”  And, to my delight, it turned out so yummy.  Although my blog is primarily crafting-related, I wanted to share the simplicity and yumminess of this Sandwich.  Now, if you’re looking for low fat and low calories this isn’t the recipe for you, but if you want a “comfort food” lunch to enjoy, then give it a try....


Grilled Calzone Sandwich Recipe
Quick, Simple and Easy Lunch.  Yummy Oozing cheese.  Delicious!!!  This is a wonderful alternative/variation to eating a Grilled Cheese Sandwich.

Prep. Time:  10 mins

Cook Time:  3 - 4 mins

Ingredients:
—2 slices of sandwich bread
—1 slice of salami
—4 slices pepperoni
—2 teaspoons pizza sauce
—toppings:  sliced black olives, banana peppers, sliced mushrooms, diced bell pepper, diced onion
—shredded mozzarella cheese
—Olive Oil spray

Directions:
1.  Preheat burner and then turn to medium heat.
2.  Spray frying pan and place one slice of bread.
3.  Layer in the following order:  salami, pepperoni, toppings, sauce and last cheese.  Place second slice of bread on top.


4.  Lightly spray bread with spray.
5.  Cook for 1 1/2 - 2 mins on each side, giving time for the cheese to melt.

6.  Enjoy this tasty Sandwich. 

NOTE:  Add as few or as much toppings as you like.  

Please feel free to SHARE and Re-Pin this on Pinterest.  If you try it, I'd love to hear from you.  So, click the comments section below and give me your thoughts.

Thursday, June 13, 2019

Deer Lovey

I made this super cute "Deer Lovey" a few months ago for my little baby cousin, Kaden, in Texas.  And, he is enjoying this as much as I enjoyed making it.  I hope you all will enjoy it as well.  It's super easy to make.

Quick AND Easy = my kind of projects!!!

I used #4 worsted weight yarn, "I Love This Yarn," from Hobby Lobby in several colors.  You can use any yarn brand of your choosing; just note, there may be a slight variation in overall size.  But, that is no biggie!!!

Deer Lovey
Size:

Materials:

U.S. Stitch Abbreviations:

Directions:


Happy Crocheting...

Legal:
--don't use/claim my design as your own
--don't use/claim my pics as your own
--okay to make and sale your finished work
--don't share my pattern electronically or in print format (without prior consent) but provide a link to my blog

Social Media:
If you are on the following sites, let's connect and hook up...
  • Instagram:  Rilla2u
  • Pinterest:  Rilla2u
  • Twitter:  Rilla2u
  • Facebook:  /rilla.edwards


Everything is Peachy Baby Blanket...


I have been forever behind on getting my blog updated with all of the new patterns I have been working on.  Springtime has just been busy around the house, with home schooling my grandson, umpiring baseball and working on new projects.

And, then deciphering my scribbled notes has proved to be a little time consuming...lol.  I made this design for a co-worker of my hubby's for a baby shower gift.  And, I absolutely love the combination of peach, white and gray.  It is so girly and just happy colors.

I used #4 worsted weight yarn, "I Love This Yarn," from Hobby Lobby.

“Everything is Peachy” Baby Blanket Pattern
Size:  30” x 36”

Materials for the Blanket:
-- 6.0mm hook
--1 skein each of #4 worsted weight yarn in Light Peach, White and Gray (I used “I Love This Yarn,” from Hobby Lobby)
--tapestry needle for weaving

U.S. Stitch Abbreviations:
Ch:  chain
St:  stitch(es)
Sl st:  slip stitch
SC:  single crochet
HHDC:  herringbone half double crochet
DC:  double crochet
Rep:  repeat
FO:  fasten off

Directions:
1.  With Peach, Ch101. HHDC in 2nd ch from hook and each ch across.  Ch1 and turn.  (100)
2-15.  1 HHDC in each st across.  Ch1 and turn.  At the end of Row 15, FO Peach yarn and join White yarn and Ch1.  (100)
16.  With White yarn, *1 SC in the first st, 1 DC in the next st.* Rep from * to * across.  Ch1 and turn.  (100)
17-25.  Rep #16.  At the end of Row 25, FO White yarn and join Gray yarn with a Ch1.  (100)
26.  With Gray yarn, 1 HHDC in each st across.  Ch1 and turn.  (100)
27-40. Rep #26.  At the end of Row 40, FO Gray yarn and join White yarn with a Ch1.  (100)
41.  With White yarn, *1 SC in the first st, 1 DC in the next st.* Rep from * to * across.  Ch1 and turn.  (100)
42-50.  Rep #41.  At the end of Row 25, FO White yarn and join Peach yarn with a Ch1.  (100)

51.  With Peach yarn, 1 HHDC in each ch across.  Ch1 and turn.  (100)
52-65.  1 HHDC in each st across.  Ch1 and turn.  At the end of Row 65, FO Peach yarn and join White yarn and Ch1.  (100)
66.  With White yarn, *1 SC in the first st, 1 DC in the next st.* Rep from * to * across.  Ch1 and turn.  (100)
67-75.  Rep #66.  At the end of Row 75, FO White yarn and join Gray yarn with a Ch1.  (100)
76.  With Gray yarn, 1 HHDC in each st across.  Ch1 and turn.  (100)
77-90. Rep #26.  At the end of Row 90, Ch 1 and turn.  (100)
Border:
1.  With Gray yarn, 1 SC in each st around, placing 3 SC st in each corner.  Sl st join to the first st and FO.  Weave ends.

And, that's it for my gorgeous "Everything is Peachy" Baby Blanket.  Enjoy!!!


I had enough yarn leftover to make a matching hat and booties in newborn-sized.  I used an oversized gray pom for the hat and made small yarn poms for the booties.  I just think the hat and booties are so super cute to go with this blanket.

Here is the LINK to my Everything Is Peachy Hat & Booties...

And, here is my LINK to myEverything Is Peachy Lovey... 

Happy Crocheting...

Legal:
--don't use/claim my design as your own
--don't use/claim my pics as your own
--okay to make and sale your finished work
--don't share my pattern electronically or in print format (without prior consent) but provide a link to my blog

Social Media:
If you are on the following sites, let's connect and hook up...
  • Instagram:  Rilla2u
  • Pinterest:  Rilla2u
  • Twitter:  Rilla2u
  • Facebook:  /rilla.edwards

Cocoa Moss Stitch Blanket

First off, this gorgeous Fall blanket takes a little time to make using the Moss Stitch, but it is so worth it.  Look how beautiful the colors look.

I used the Sugarwheel yarn from Hobby Lobby in "Go Go Cocoa" to work on this project with a 5.0mm hook. 


Happy Crocheting...