Showing posts with label Blankets. Show all posts

Saturday, February 6, 2021

Teal Twist Throw Blanket

Teal Twist Throw Blanket 

I made this super soft and cozy throw blanket using Bernat Blanket yarn.  It is a super easy pattern and works up really fast!!!

Size: 41” Width x 60” Length

Materials:
--10.0mm hook
--4 big skeins (10.5 oz) of Bernat Blanket yarn in “Teal Twist” = 880 yards
--tapestry needle for weaving

U.S. Stitch Abbreviations:
Ch:  chain
St:  stitch(es)
Sk:  skip
Sl st:  slip stitch
DC:  double crochet
Rep:  repeat
FO:  fasten off

Note:  Ch 3 counts as first DC in each row

Directions:
1.  Ch 102.  DC in the 4th st from ch and across. (99 + beginning ch 3= 100 DC). Ch 3 and turn. 
2.  Skip first st of row. Ch 3 is first st. DC in each st across. Ch 3 and turn. (100) 

I continued my rows until I completed using 4 big skeins of yarn.  I’m 5’9” and the length and width is snuggle perfect for me. 

Here’s my grandson staying warm with it...

Happy Crocheting...

Legal:
--don't use/claim my design as your own
--don't use/claim my pics as your own
--okay to make and sale your finished work
--don't share my pattern electronically or in print format (without prior consent) but provide a link to my blog

Social Media:
If you are on the following sites, let's connect and hook up...
  • Instagram:  Rilla2u
  • Pinterest:  Rilla2u
  • Twitter:  Rilla2u
  • Facebook:  /rilla.edwards 

Friday, June 12, 2020

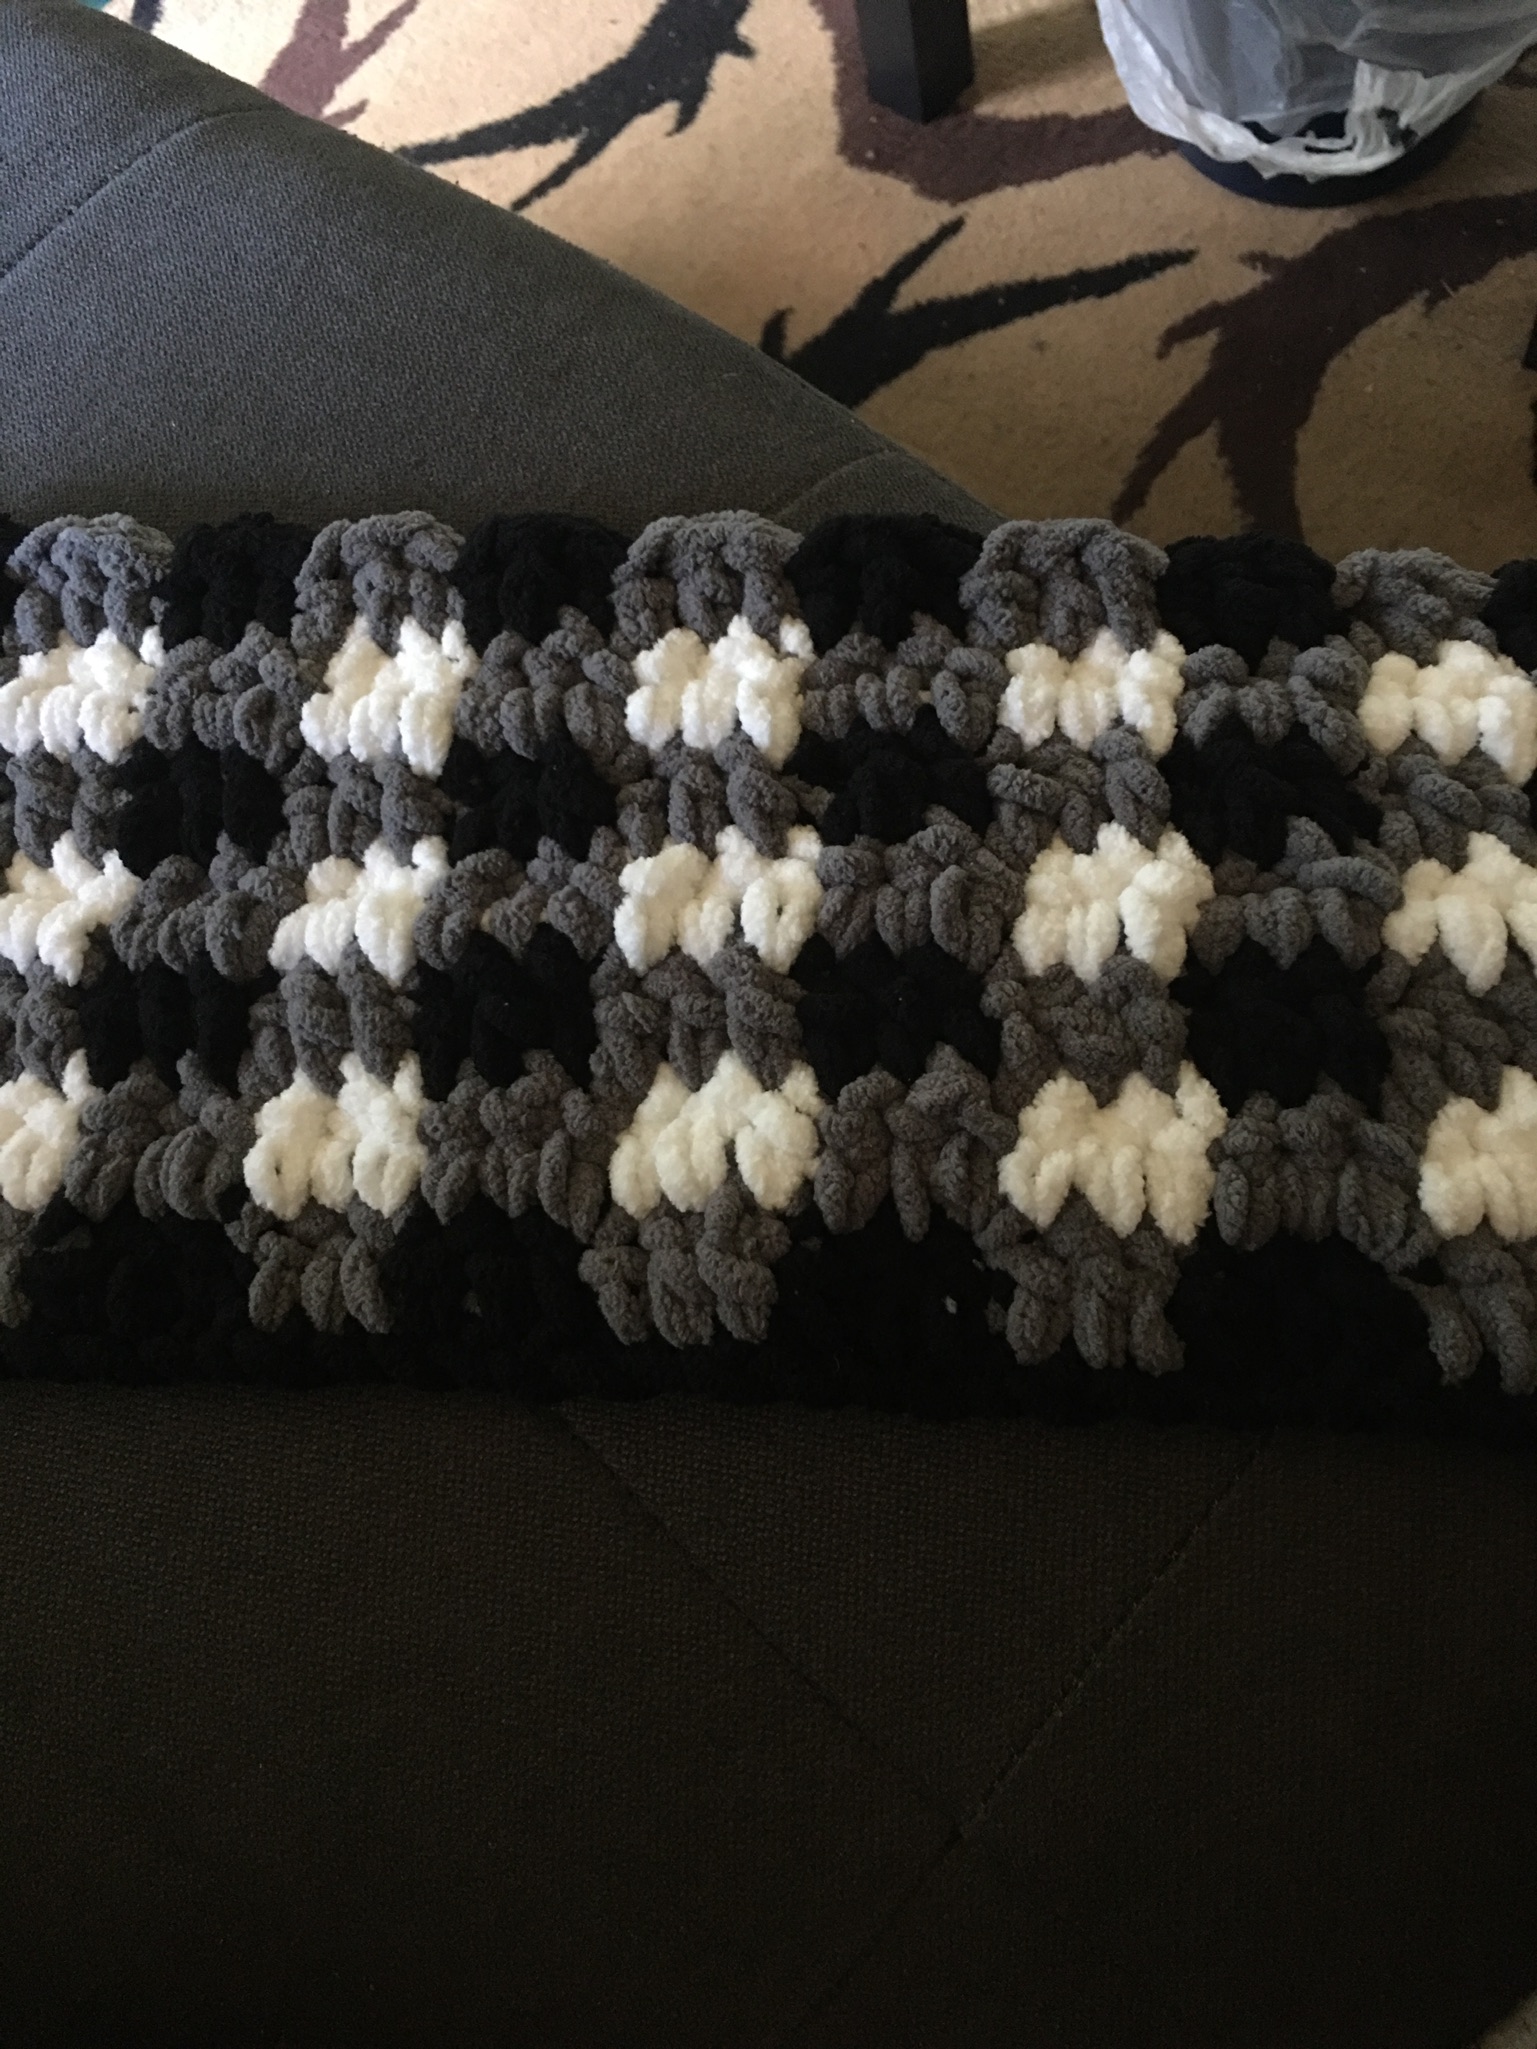
Super Soft Plaid Blanket...

I’m working on this super soft, Bernat Blanket yarn, Buffalo Plaid Blanket, in Black, Grey and White yarn.   

Once finished, this beautiful blanket will measure 5’ x 7’ (60” x 84”).  

I’m using a 10mm hook for this project.  

Super Soft Plaid Blanket

Starting a plaid project can seem daunting but it is so worth the time and energy. The finished project is stunning. 


You can make this blanket as big or as small as you would like. Just remember you are working in multiples of 6 plus 1.  

Here is the finished blanket....

       Happy Crocheting 

Thursday, March 19, 2020

Simply Magical Blanket

With the current health crisis crippling our country, I wanted something quick, easy, fun and pretty to crochet while binge watching, "The Mentalist," on Amazon Prime.

I wanted a project that didn't really require a lot of "thinking" about the stitch sequence or count.  Something easy on the mind to just work up here and there.  I completed this 55"x75" blanket in less than a week's time, working on it a few hours each day.

I used Hobby Lobby's, "Crafter's Secret."  This is a wonderful and affordable yarn brand to use for all of your projects at only $2.99/skein.

I hope you will enjoy making this as much as I did.

Enjoy!!!

"Simply Magical Blanket"

Size:  55" x 75"

Materials:
--6.5mm hook
--2 skeins each of Crafter's Secret in Fabulous, Turqoise, Hot Rose, Pink and Black
--scissors
--tapestry needle for weaving

U.S. Stitch Abbreviations:
Ch:  chain
St:  stitch(es)
Sl st:  slip stitch
HDC:  half double crochet
FHDC:  foundation half double crochet
Rep:  repeat
FO:  fasten off

Special Stitch:
1.  Variation of the Larksfoot Stitch:  single crochet in each of the next two stitches, then complete a half double crochet stitch in the previous row's stitch (not working the stitch in the current row, but the previous row). 

Directions:
Yarn color sequence:
--Fabulous
--Turquoise
--Hot Rose
--Pink
--Black

Note:  Please feel free to use your own color sequence and/or desired colors.
 
1.  With Fabulous yarn, FHDC 135 OR Ch136 and into the second ch and each ch across, 1 HDC st.  Ch1 and turn.  (135)
2-10.  1 HDC in each st across. Ch1 and turn.  At the end of Row 10, FO and weave ends.  (135)
11.  With Turquoise yarn, 1 HDC in each st across.  Ch1 and turn.  (135)
12-20.  Rep #11.  At the end of Row 20, FO and weave ends.  (135)
21.  With Hot Rose yarn, 1 HDC in each st across.  Ch1 and turn.  (135)
22-30.  Rep #21.  At the end of Row 30, FO and weave ends.  (135)
31.  With Pink yarn, 1 HDC in each st across.  Ch1 and turn.  (135)
32-40.  Rep #31.  At the end of Row 40, FO and weave ends.  (135)
41.  With Black yarn, 1 HDC in each st across.  Ch1 and turn.  (135)
42-50.  Rep #41.  At the end of Row 50, FO and weave ends.  (135)

Now, repeat this color sequence two (2) more times.

Last, you will want to complete Rows 1-10 again.  This way the beginning and the ending of your blanket is in the same color.

Border:
1.  For the border, I first used Fabulous yarn and placed 1 SC in each st around.  For the corners, I placed 3 SC st.  Sl st join to the first st.  FO and weave ends.
2.  For the second round, I used Turquoise yarn and completed as the first round.  Sl st join to the first st.  FO and weave ends.
3.  For the final round, I used Hot Rose yarn.  My sequence pattern was as follows:  SC, SC, then HDC in the third st in the row below it (the second round).  I skipped the 3rd st of the third round and worked the stitch in the second round.  This creates a variant of the Larksfoot Stitch.  If so desired, you could complete a double crochet stitch instead of the half double crochet stitch.  Sl st join to the first st and FO.  Weave ends.  

My grandson, Gabriel, was trying to help out.  I think, however, he was enjoying snuggling up with it more than actually helping me...lol. 

Isn't the colors so pretty to snuggle up under as you binge watch your favorite TV shows?   
This is a fun and easy project that will produce a lovely blanket in a short amount of time.  If you make this blanket, please be sure to tag me on social media:  #rilla2u @rilla2u

Happy Crocheting...

Legal:
--don't use/claim my design as your own
--don't use/claim my pics as your own
--okay to make and sale your finished work
--don't share my pattern electronically or in print format (without prior consent) but provide a link to my blog

Social Media:
If you are on the following sites, let's connect and hook up...
  • Instagram:  Rilla2u
  • Pinterest:  Rilla2u
  • Twitter:  Rilla2u
  • Facebook:  /rilla.edwards


Wednesday, June 26, 2019

Glory Beach Blanket

Hey Guys!!!  With summer in full swing here in North Carolina, I wanted to share a few pictures of a recent project I completed.  The yarn reminds me so much of "Old Glory," that I aptly named this design, Glory Beach Blanket.

This blanket is the perfect size for the beach.  Place on a lounge chair or on the sand to catch some sunrays.  This fun size is different and sure to stand out wherever you go.

I plan to get my blog updated soon with the pattern.  So, click on the pin button in the left hand corner OR you can click on any picture below to save this link!!!!  Check back often for pattern availability.

Until then,
Happy Crocheting...  

Glory Beach Blanket


Happy Crocheting...

Legal:
--don't use/claim my design as your own
--don't use/claim my pics as your own
--okay to make and sale your finished work
--don't share my pattern electronically or in print format (without prior consent) but provide a link to my blog

Social Media:
If you are on the following sites, let's connect and hook up...
  • Instagram:  Rilla2u
  • Pinterest:  Rilla2u
  • Twitter:  Rilla2u
  • Facebook:  /rilla.edwards

Thursday, June 13, 2019

Cocoa Moss Stitch Blanket

First off, this gorgeous Fall blanket takes a little time to make using the Moss Stitch, but it is so worth it.  Look how beautiful the colors look.

I used the Sugarwheel yarn from Hobby Lobby in "Go Go Cocoa" to work on this project with a 5.0mm hook. 


Happy Crocheting...

Sunday, March 10, 2019

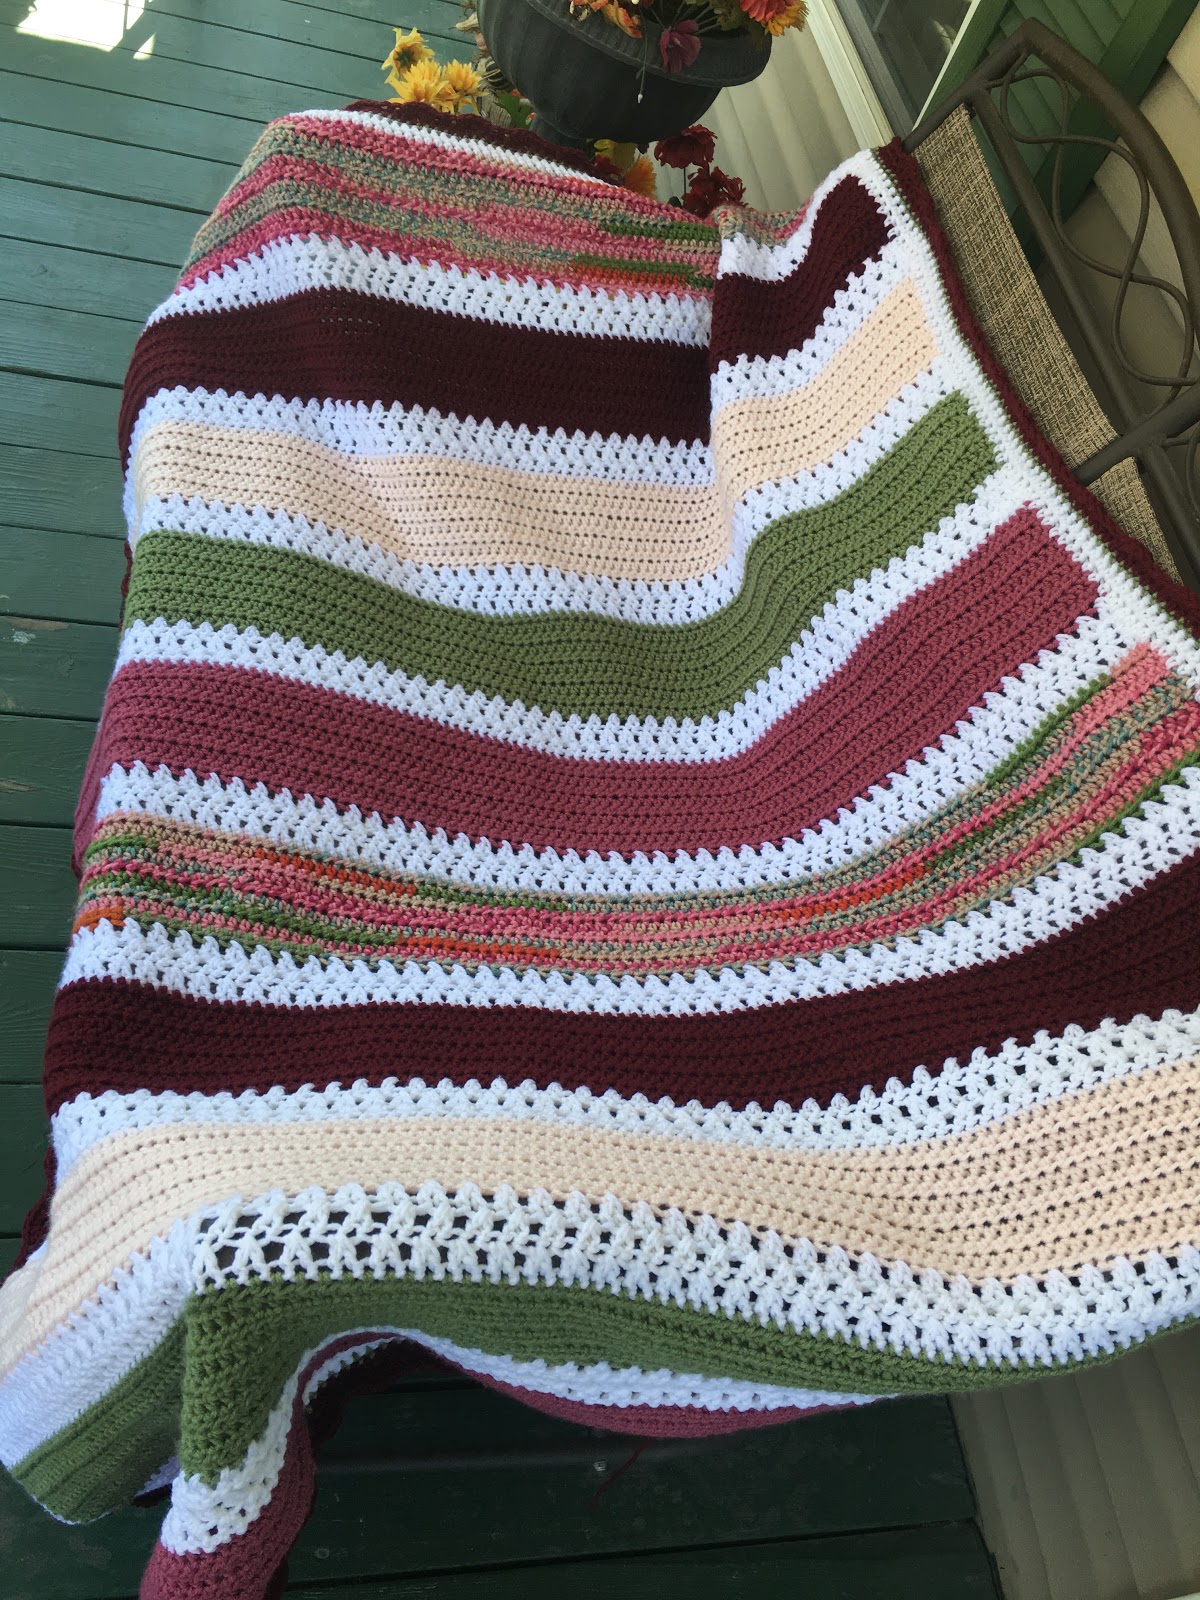
Delightful Stripes Throw Blanket

When I started this project, I wasn’t exactly sure of the colors I was going to use or if there was even going to be any alternating stitches.  As I progressed along on this blanket, I just let it create itself, so to speak.

And, guess what?

I’m absolutely in love with the outcome of this blanket.  The colors are rich and beautiful.  I couldn’t be more happier with this blanket.

I hope you will enjoy it as much as I do.  I used “I Love This Yarn” from Hobby Lobby and a 6.0mm hook.  The overall size is 45” x 65”.

Delightful Stripes Blanket
Size:  45” x 65”

Materials:
—6.0mm hook
—1 skein each of Calico Stripes, White, Soft Pink, Mid Green and Old Rose and 2 skeins of Aubergine (NOTE:  it was a close call with the Calico Stripes, I barely had enough to finish the second set of 10 rows; so please be mindful if you have a loose tension.  You may want a second skein to be safe)
—tapestry needle for weaving

U.S. Stitch Abbreviations:
Ch:  chain
St:  stitch(es)
Sl st:  slip stitch
SC:  single crochet
HDC:  half double crochet
DC:  double crochet
Rep:  repeat
Sk:  skip
FO:  fasten off

Special Stitch:
1.  DC Crossover Stitch:  DC in the first st of the row.  *Sk next st.  DC in the next st.  Then DC in the sk st.* Rep from * to * until the last st.  DC in last st.    

Directions:
1.  With Calico Stripes, Ch121.  HDC in 2nd ch from hook and across.  Ch1.  (120)
2-10.  1 HDC in each st across.  Ch1 and turn.  (120)

At the end of the 10th Row, you will fasten off and weave ends.  Join next color.

11-13.  Join White yarn.  Ch1.  DC in first st.  DC Crossover across.  DC in last st.  Ch1 and turn.  (120)

At the end of Row 13, you will fasten off and weave ends.  Join next color.

Continue to complete Rows 1-13 with the Order of Colors below:

Order of Colors:
10 Rows:  Calico Stripes
3 Rows:  White
10 Rows:  Aubergine
3 Rows:  White
10 Rows:  Soft Pink
3 Rows:  White
10 Rows:  Mid Green
3 Rows:  White
10 Rows:  Old Rose
3 Rows:  White
10 Rows:  Calico Stripes
3 Rows:  White
10 Rows:  Aubergine
3 Rows:  White
10 Rows:  Soft Pink
3 Rows:  White
10 Rows:  Mid Green
3 Rows:  White
10 Rows:  Old Rose


Border:
1.  With White yarn, join in any st and Ch1.  HDC in each st st across the top and the bottom, place 3 HDC st in each corner, and when working down or up the sides you will place 1 HDC st in each of the "10 Row" sections and 2 HDC st in each of the "3 Row" sections.
2.  1 HDC in each st around, placing 3 HDC in each corner.  FO and weave ends.
3.  Join Mid Green yarn, 1 SC in each st around, placing 3 SC in each corner.  FO and weave ends.
4.  Join Aubergine, 1 HDC in each st around, placing 3 HDC st in each corner.
5.  Last Round:  fan stitch:  *1 SC in first st, sk 2 st, 5 HDC in next st, sk 2 st.* Rep from * to * around, placing 3 HDC in each corner.  It's okay if you have to skip a stitch here or there to make your fan stitch pattern work.  FO and weave ends.
 Happy Crocheting...
Legal:
--don't use/claim my design as your own
--don't use/claim my pics as your own
--okay to make and sale your finished work
--don't share my pattern electronically or in print format (without prior consent) but provide a link to my blog

Social Media:
If you are on the following sites, let's connect and hook up...
  • Instagram:  Rilla2u
  • Pinterest:  Rilla2u
  • Twitter:  Rilla2u
  • Facebook:  /rilla.edwards  


Thursday, August 30, 2018

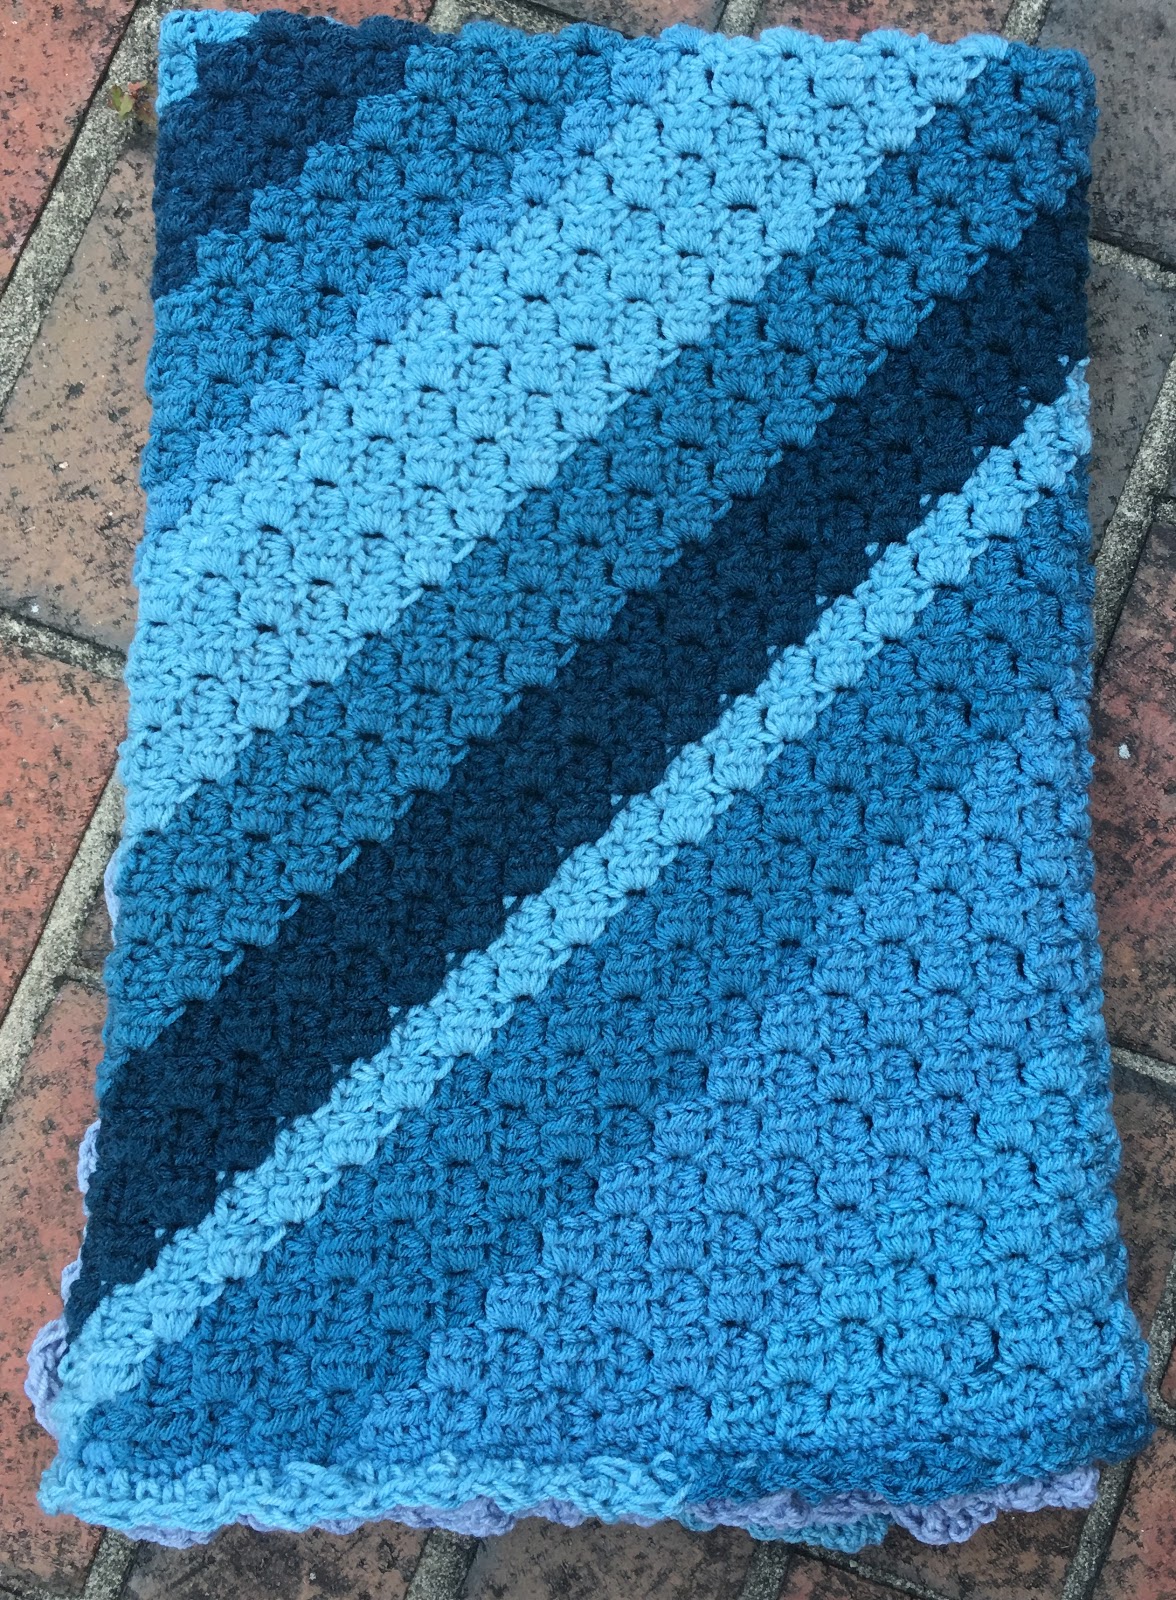
Taffy Blues Baby Blanket

How cute is this “Taffy Blues” Baby Blanket?  I crocheted it within a few days, using the C2C method of crocheting for the blanket portion and then added a border.  The blanket portion uses 4 of Yarn Bee’s Sugarwheels.  The 5th one is for the border and uses less than half.  The remainder would be great to make matching accessories — a hat, booties, bib, etc...

I’m not affiliated with Yarn Bee in any form or fashion but I have to say I love working with the Sugarwheel yarns.  The gradual color changes makes for beautiful projects.  Check out my Forestry C2C Blanket in “Gelato is My Motto” — varying shades of greens that is simply gorgeous.  Here’s the LINK for the FREE pattern...

Taffy Blues Baby Blanket
Size:  Approximately 39” x 39”

Materials:
—6.0mm hook
—(5) Yarn Bee’s Sugarwheel in “Taffy Happy”
—tapestry needle for weaving

U.S. Stitch Abbreviations:
Ch:  chain
St:  stitch(es)
Sl st:  slip stitch
SC:  single crochet
HDC:  half double crochet
DC:  double crochet
TC:  triple crochet
Sk:  skip
Rep:  repeat
FO:  fasten off

Special Note:
The blanket portion is made using the C-2-C (Corner-2-Corner) method with HDC st and ch 5.

Directions:
Blanket portion:
1.  I used 2 Sugarwheels for increase rows.  (54)
2.  I then used 2 Sugarwheels for the decrease rows.
Border:
1.  Join yarn in any st with a sl st and Ch1.  SC in same st and in each st around, placing 3 SC in each corner.  Sl st join to first st.
2.  Ch 4 (counts as first TC).  SC in the next 2 st.  TC in next st.  SC in the next 2 st.  TC in next st.  SC in the next 2 st.  Sk a st.  DC in the next 3 st.  TC into the skipped st.  Then start steps again:  *TC in the next st, SC in next 2 st (rep this 3 times), then sk next st, DC into the next 3 st and go back and place a TC into the skipped st.* Rep from * to * around the blanket, placing 3 TC st in each corner.  (Note: if for some reason, the pattern isn’t working out evenly with your number of stitches, then you can adjust the repeats accordingly to make it work by adding an extra SC st, if needed...)

The varying shades of blue in this blanket are simply gorgeous.  This project worked up fairly quickly and makes a great gift for any little boy.

Enjoy!!!
Happy Crocheting...

Legal:
--don't use/claim my design as your own
--don't use/claim my pics as your own
--okay to make and sale your finished work 
--don't share my pattern electronically or in print format (without prior consent) but provide a link to my blog

Monday, July 30, 2018

Forestry C2C Blanket

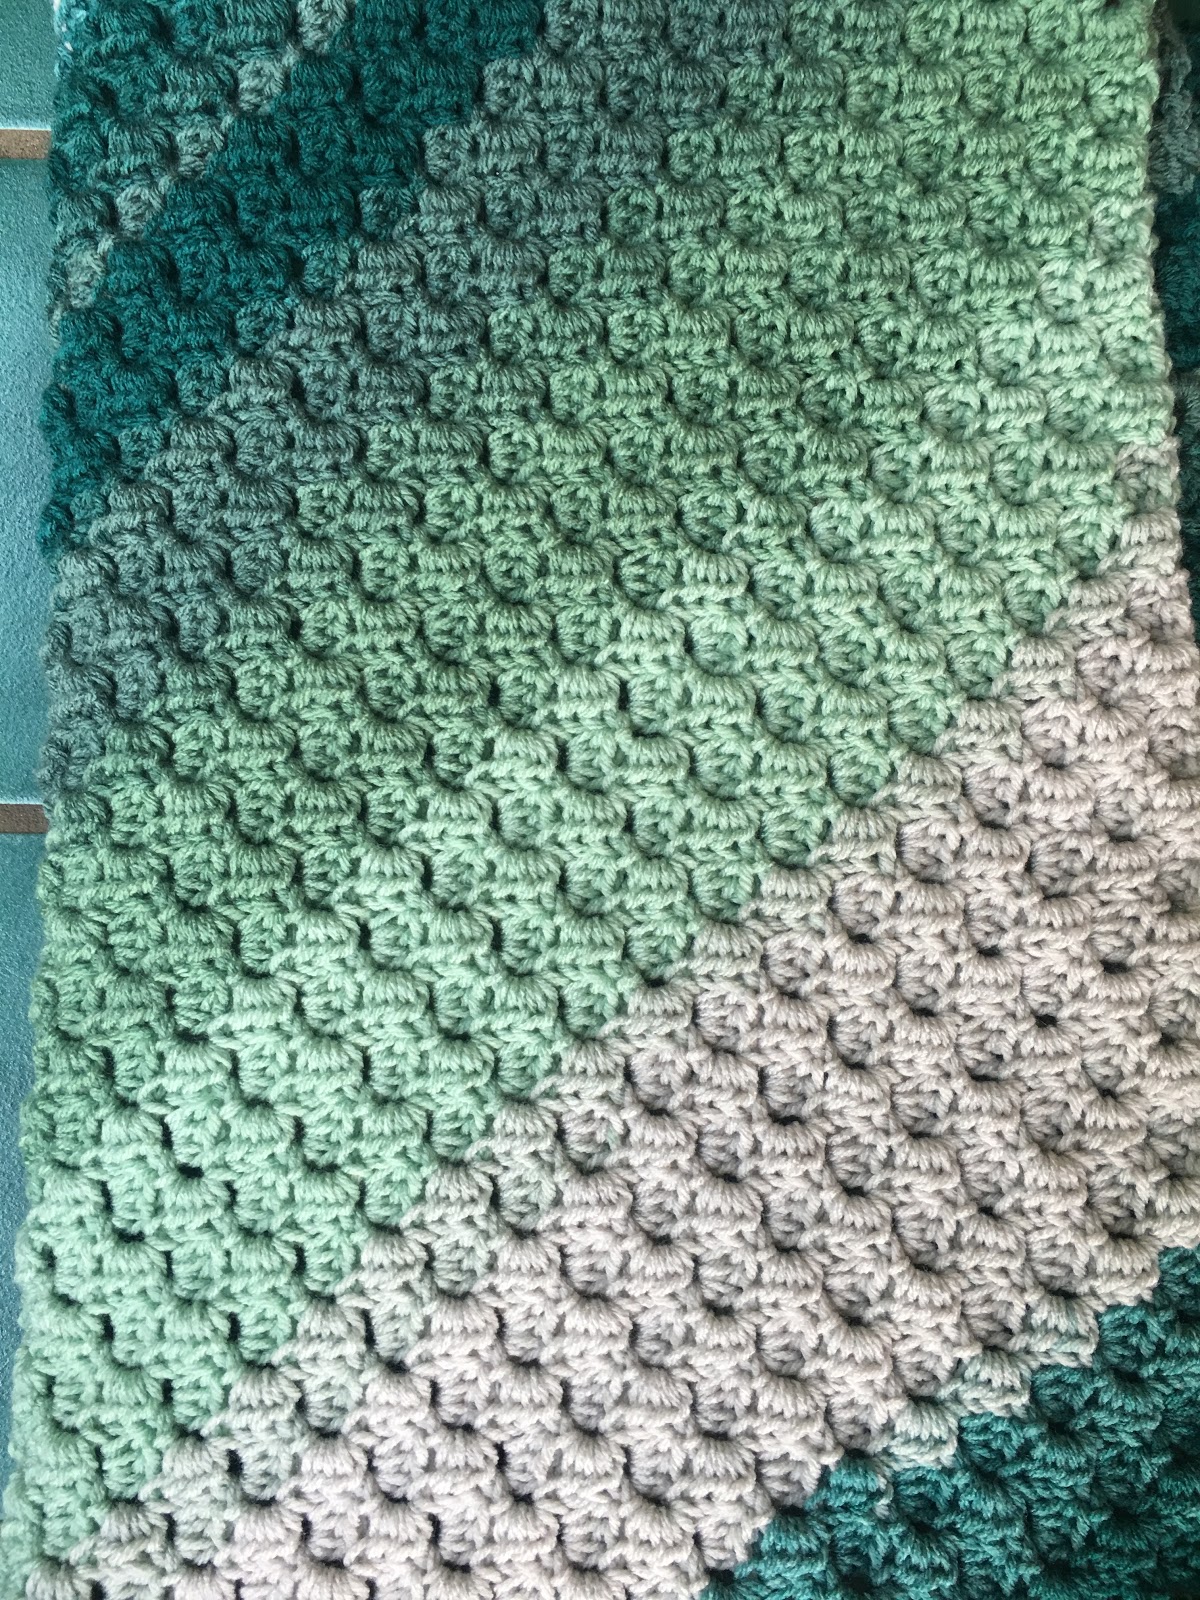
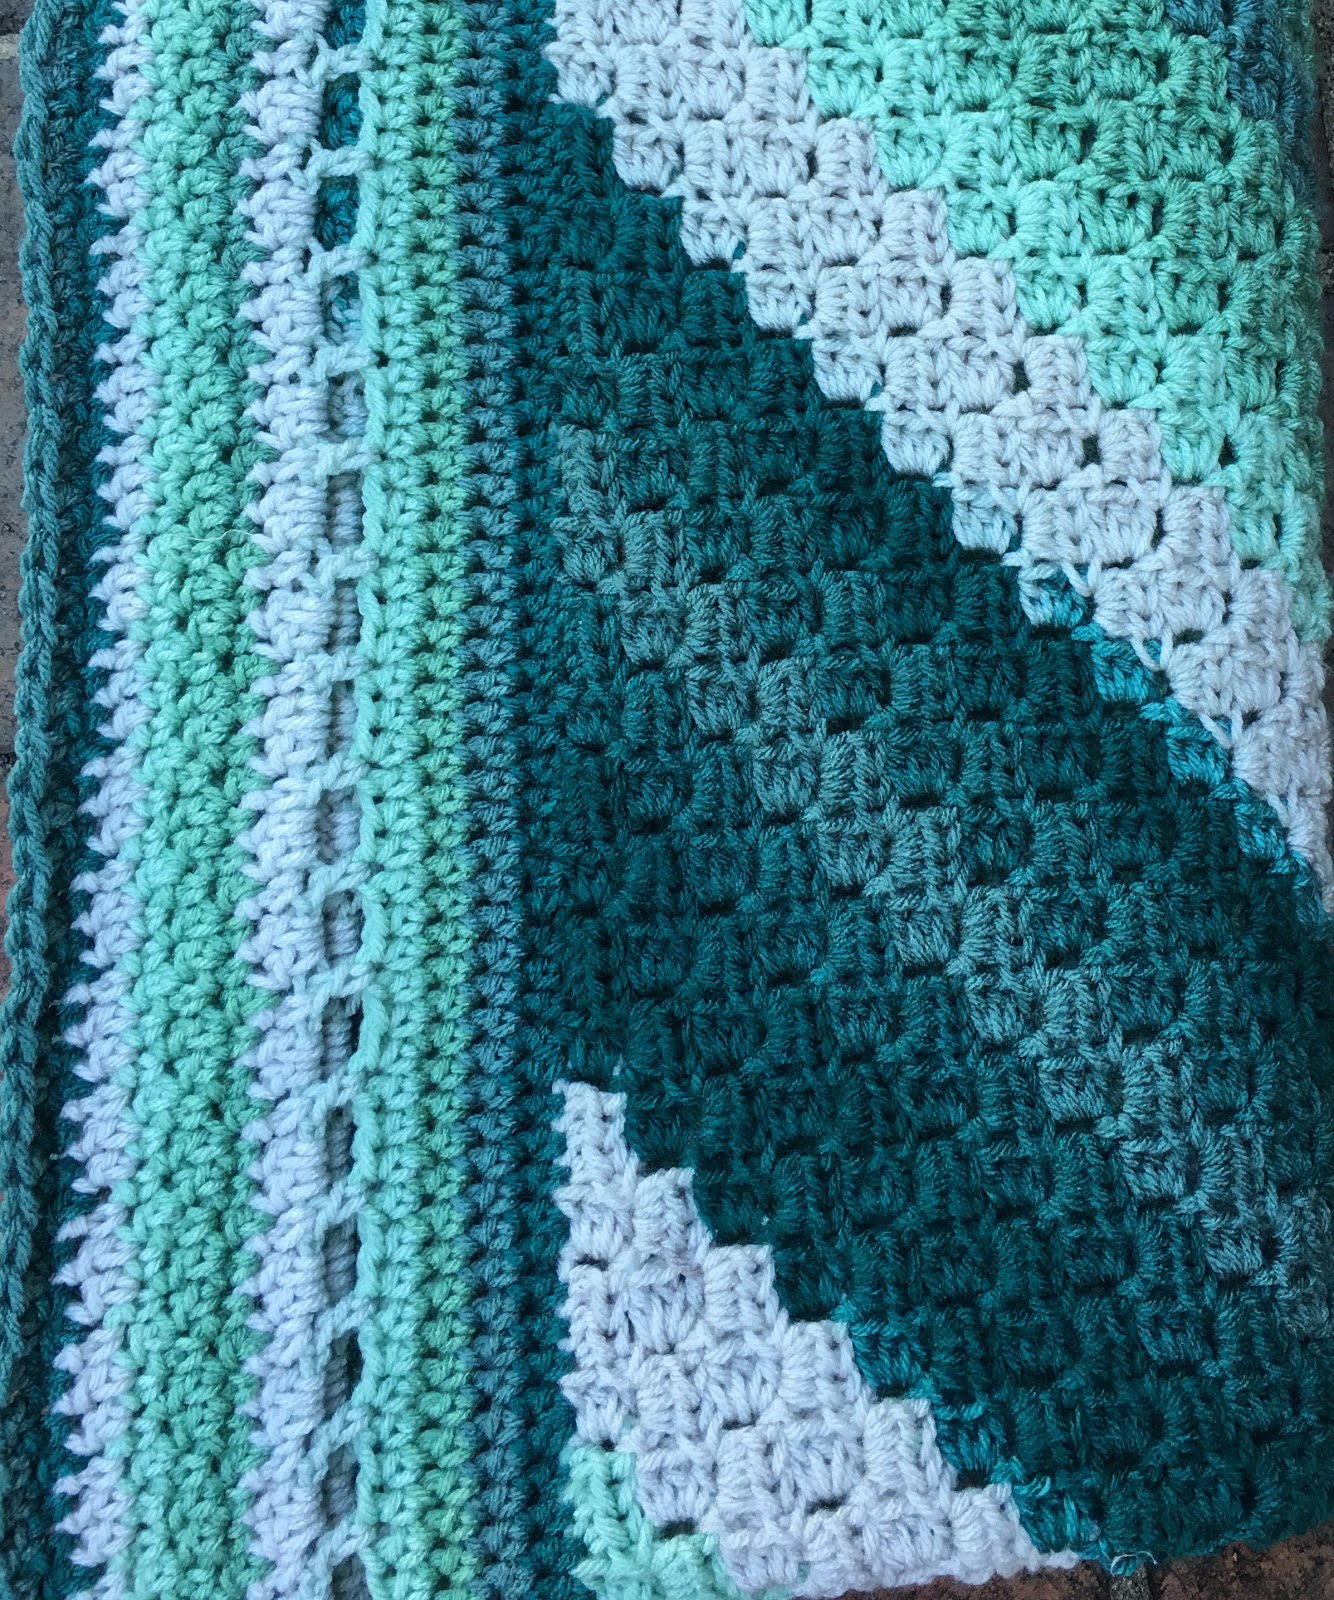
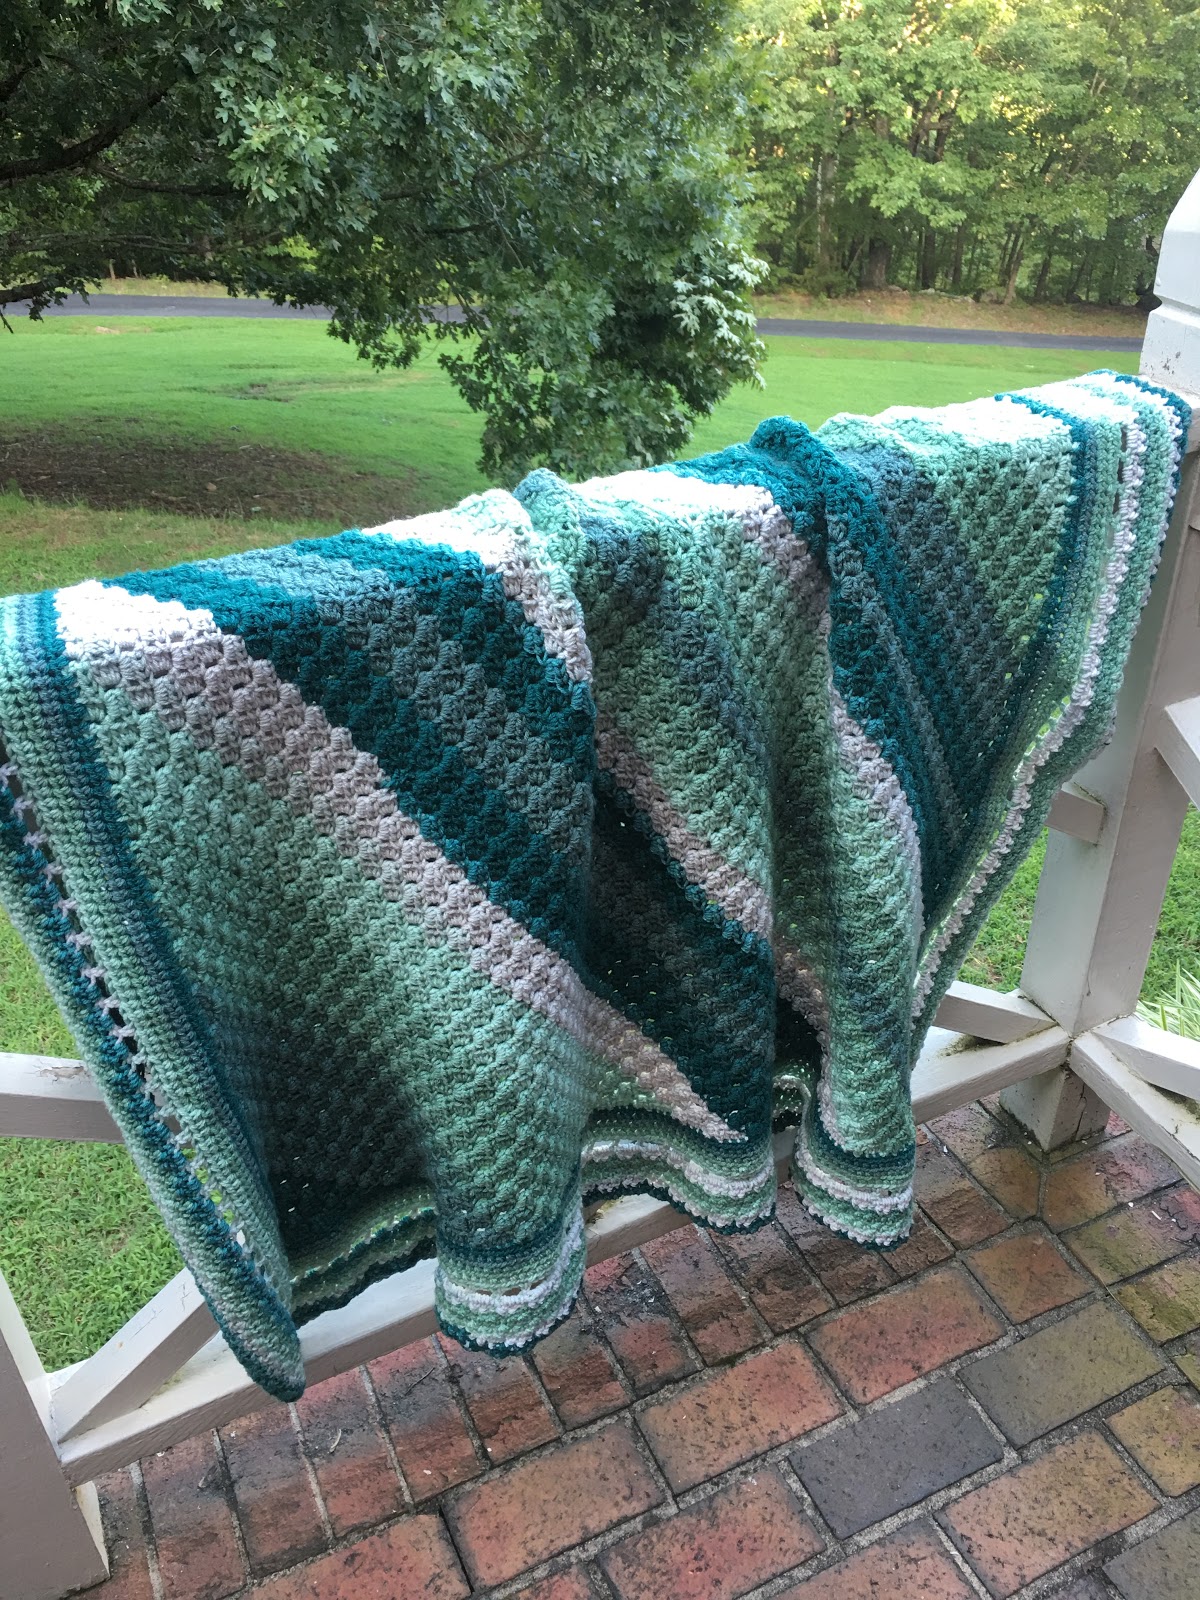
Yarn Bee's Sugarwheel in "Gelato's My Motto" is absolutely gorgeous.  The subtle changes in greens and cream -- simply beautiful.  

I decided to make a C2C (Corner-2-Corner) Blanket with it.  And, then add a border.  This blanket measures approximately 50" x 50".  With all the shades of green in this yarn, I decided to aptly name this project, "Forestry C2C Blanket."

Forestry C2C Blanket
Size:  Approximately 50" x 50"

Materials:
--6.0mm hook
--(6) Yarn Bee's Sugarwheel in "Gelato's My Motto"
--tapestry needle for weaving

U.S. Stitch Abbreviations:
Ch:  chain
Sl st:  slip stitch
St:  stitch(es)
SC:  single crochet
HDC:  half double crochet
DC:  double crochet

Rep:  repeat
Sk:  skip
FO:  fasten off

Special Stitch:
1.  C2C (Corner-2-Corner) - I used HDC stitches with Ch5 (instead of DC stitches and Ch6).  

Directions:
Knowledge of C2C is needed to make this blanket.  There are a lot of great video tutorials on Youtube to teach you how to do C2C.

1.  I used 2 Sugarwheels (355 yds/roll) to make my increase rows with HDC stitches and Ch5.
2.  I then used 2 Sugarwheels to make my decrease rows.

Here is a few pictures of the C2C portion completed:  
 
Border:
For the border, I used 2 Rolls of Sugarwheel. 

1.  I joined my yarn in one of the corner stitches with a sl st, Ch1.  3 HDC in the corner st and then 1 HDC evenly in each st around.  3 HDC st in each corner around.  Sl st join to first st and Ch1. 
2-4.  1 HDC in each st around, 3 HDC st in each corner.  Sl st join to first st and Ch1.  At the end of Round 4, sl st join to first st.  Do not Ch1.
5.  Ch5 (counts as DC and Ch2), *DC in next st, Ch 2, Sk 2 st,*  Rep from * to * around.  Into each corner, place 3 DC st.  Sl st join to first st and Ch1.
6.  SC in first st, 2 DC into the previous row's Ch2 space.  Continue to rep this until you get to the corner.  Now, once you complete the stitch pattern before the corner, (SC in first st, 2 DC into the previous row's Ch2 space) you should have 1 st remaining before the previous row’s 3 DC in the corner - sk this st).  Ch1, sk 1st corner st, then place 3 DC into the corner middle st, then Ch1 and sk 3rd corner st and first st after corner.  This way you can continue with your pattern around.  (Rep this for each corner).  This worked out perfectly for my blanket.  However, if you somehow have an additional stitch, then add an extra chain before and after each corner (and Sk the before and after additional st) .  Sl st join to first st.
7.  Ch3 (counts as first DC), *1 SC into next 2 st, DC in next st.*  Rep this pattern around.  For the corner area, complete same as #6, except you will use 3 SC st in the corners.  Sl st join to first st.
8.  Ch1.  SC in same st as Ch1.  *1 DC into next 2 st, SC in next st.*  Rep this pattern around.  For the corner area, complete as #6. 
9.  Rep #7.
10.  Rep #8.
11.  Rep #7.
12.  Rep #8.

Essentially, what you are doing is placing a SC st into the previous row's DC st and DC st into the previous row's SC st.  

Now, this will make your blanket approximately 50" x 50".  I went to Hobby Lobby today and bought 2 more Sugarwheels to continue with my border rounds to increase the size of my blanket.  

I hope my pattern makes sense.  If you have any questions, please feel free to comment, email/message me and I would be glad to help you.  
 
  Happy Crocheting...

Legal:
--don't use/claim my design as your own
--don't use/claim my pics as your own
--okay to make and sale your finished work 
--don't share my pattern electronically or in print format (without prior consent) but provide a link to my blog

Saturday, January 13, 2018

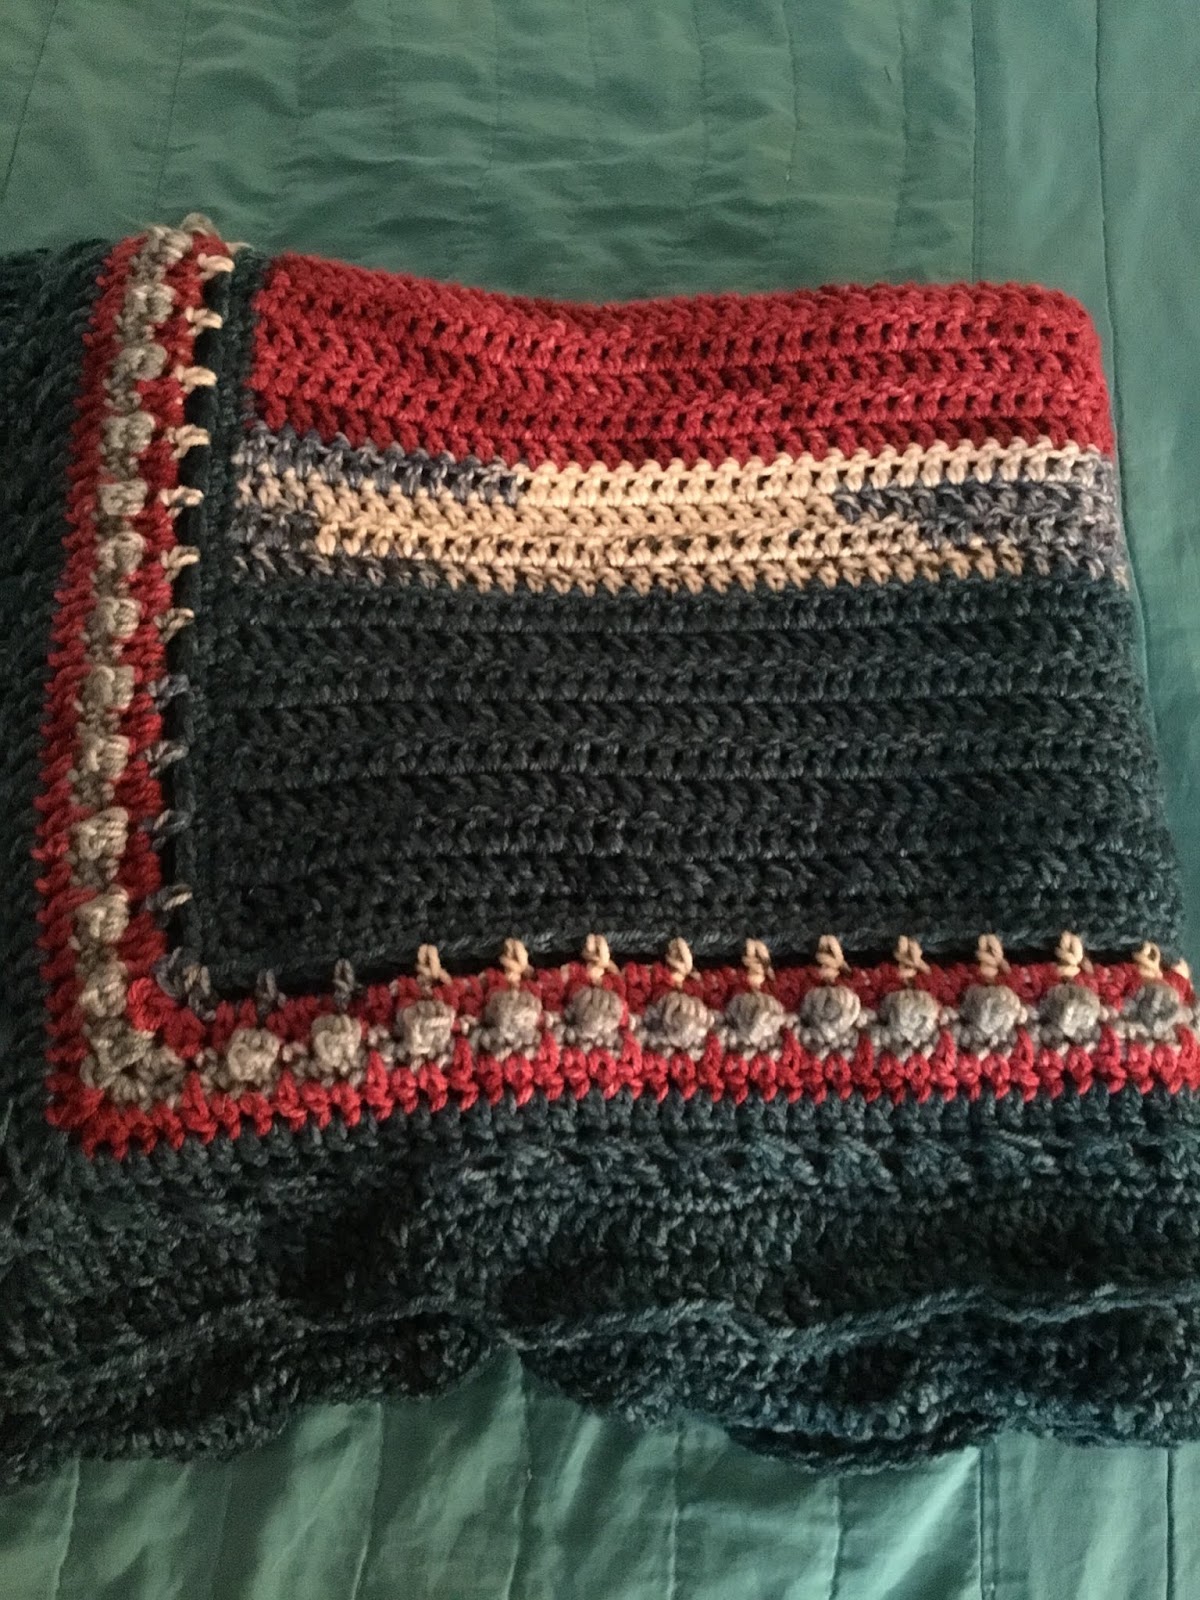
"The Anchor Holds" Blanket

I finished up the border tonight for my "The Anchor Holds" Throw Blanket I have been working on.  I'm happy with the end result and love the little ripple-like waves for the border.

This throw blanket was made using "I Love This Yarn" from Hobby Lobby and a 6.0mm hook.  It measures approximately 40" x 58".

January 28, 2018:
The PDF pattern is now available in my Etsy Shop for $5.00.  Here is the LINK to the pattern:

The Anchor Holds - In Spite of the Storm...


Happy Crocheting... 

Legal: 
--don't claim my pattern/design as your own
--don't use my pics as your own
--don't share my patterns/designs electronically or in print format, without my prior consent, but provide a link to my blog 
--it is okay to make and sale your finished work, just credit me as the designer