

Yarn Bee's Sugarwheel in "Gelato's My Motto" is absolutely gorgeous. The subtle changes in greens and cream -- simply beautiful.
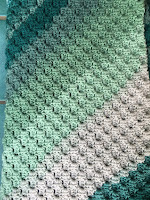
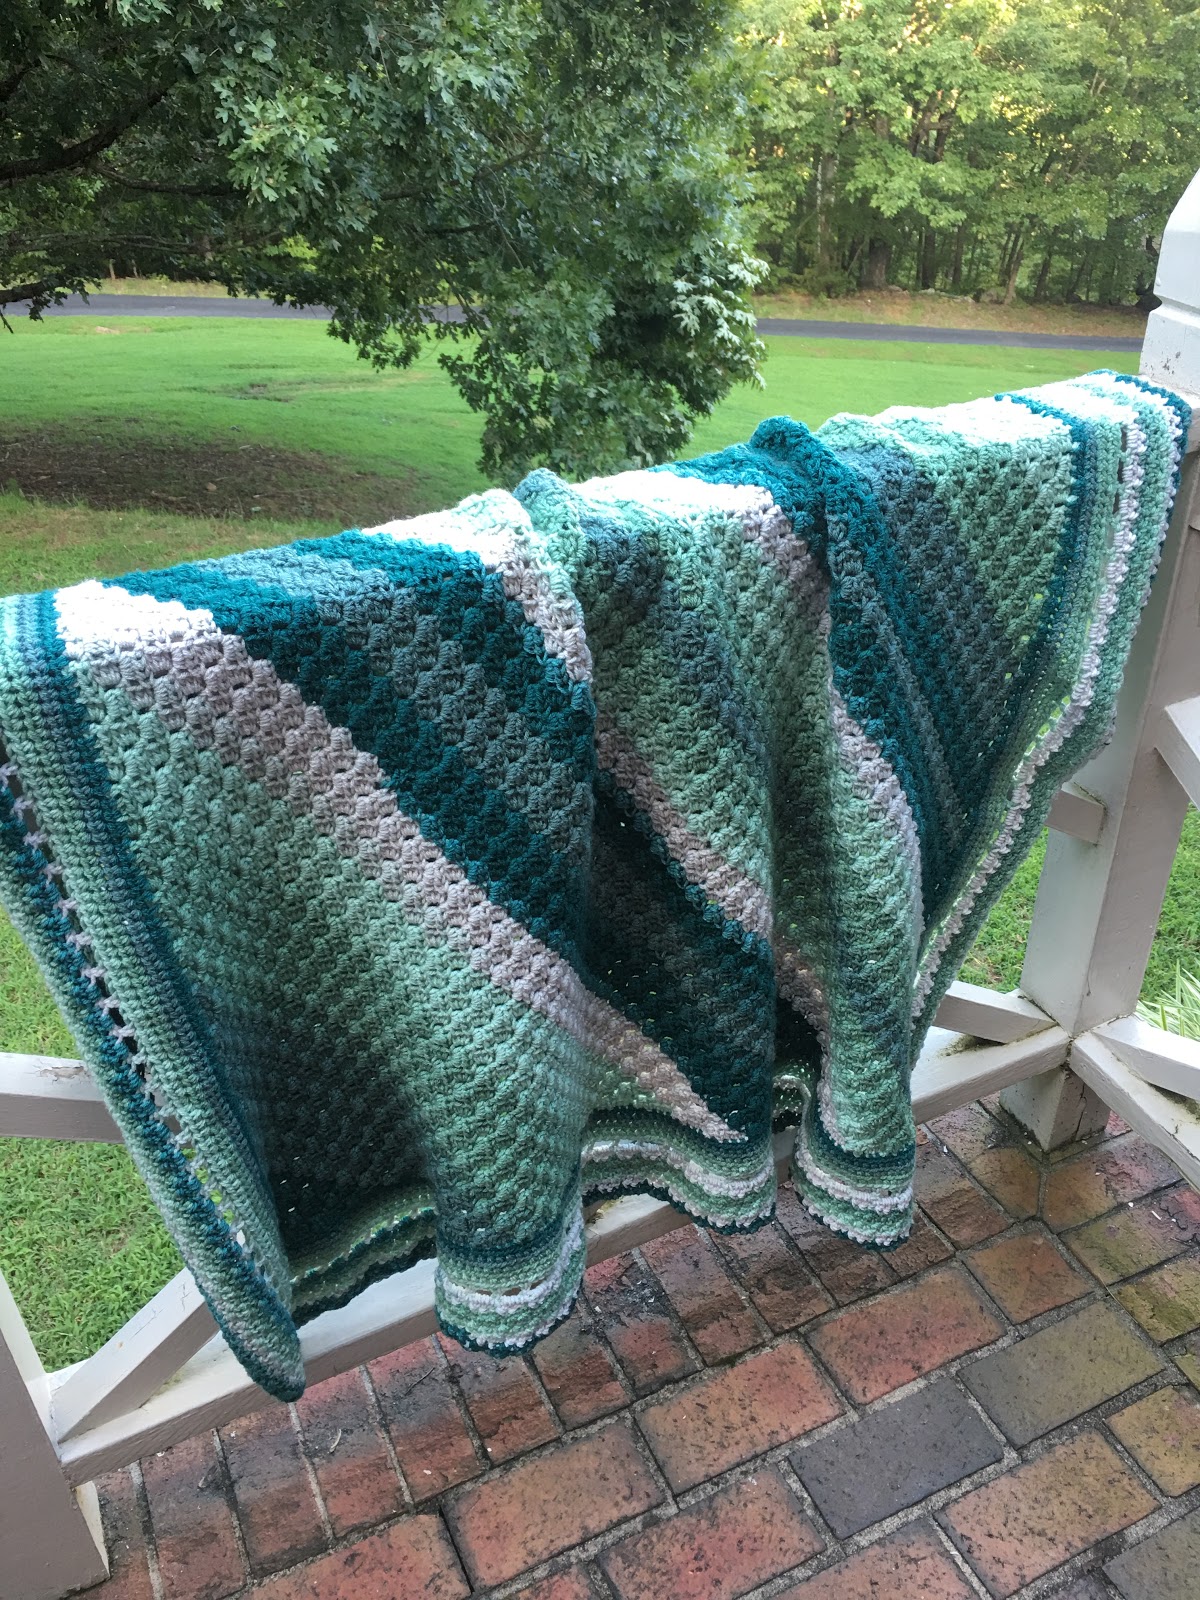
I decided to make a C2C (Corner-2-Corner) Blanket with it. And, then add a border. This blanket measures approximately 50" x 50". With all the shades of green in this yarn, I decided to aptly name this project, "Forestry C2C Blanket."

Materials:
--6.0mm hook
--(6) Yarn Bee's Sugarwheel in "Gelato's My Motto"
--tapestry needle for weaving
U.S. Stitch Abbreviations:
Ch: chain
Sl st: slip stitch
St: stitch(es)
SC: single crochet
HDC: half double crochet
DC: double crochet
Rep: repeat
Sk: skip
FO: fasten off
Special Stitch:
1. C2C (Corner-2-Corner) - I used HDC stitches with Ch5 (instead of DC stitches and Ch6).
Directions:
Knowledge of C2C is needed to make this blanket. There are a lot of great video tutorials on Youtube to teach you how to do C2C.
1. I used 2 Sugarwheels (355 yds/roll) to make my increase rows with HDC stitches and Ch5.
2. I then used 2 Sugarwheels to make my decrease rows.
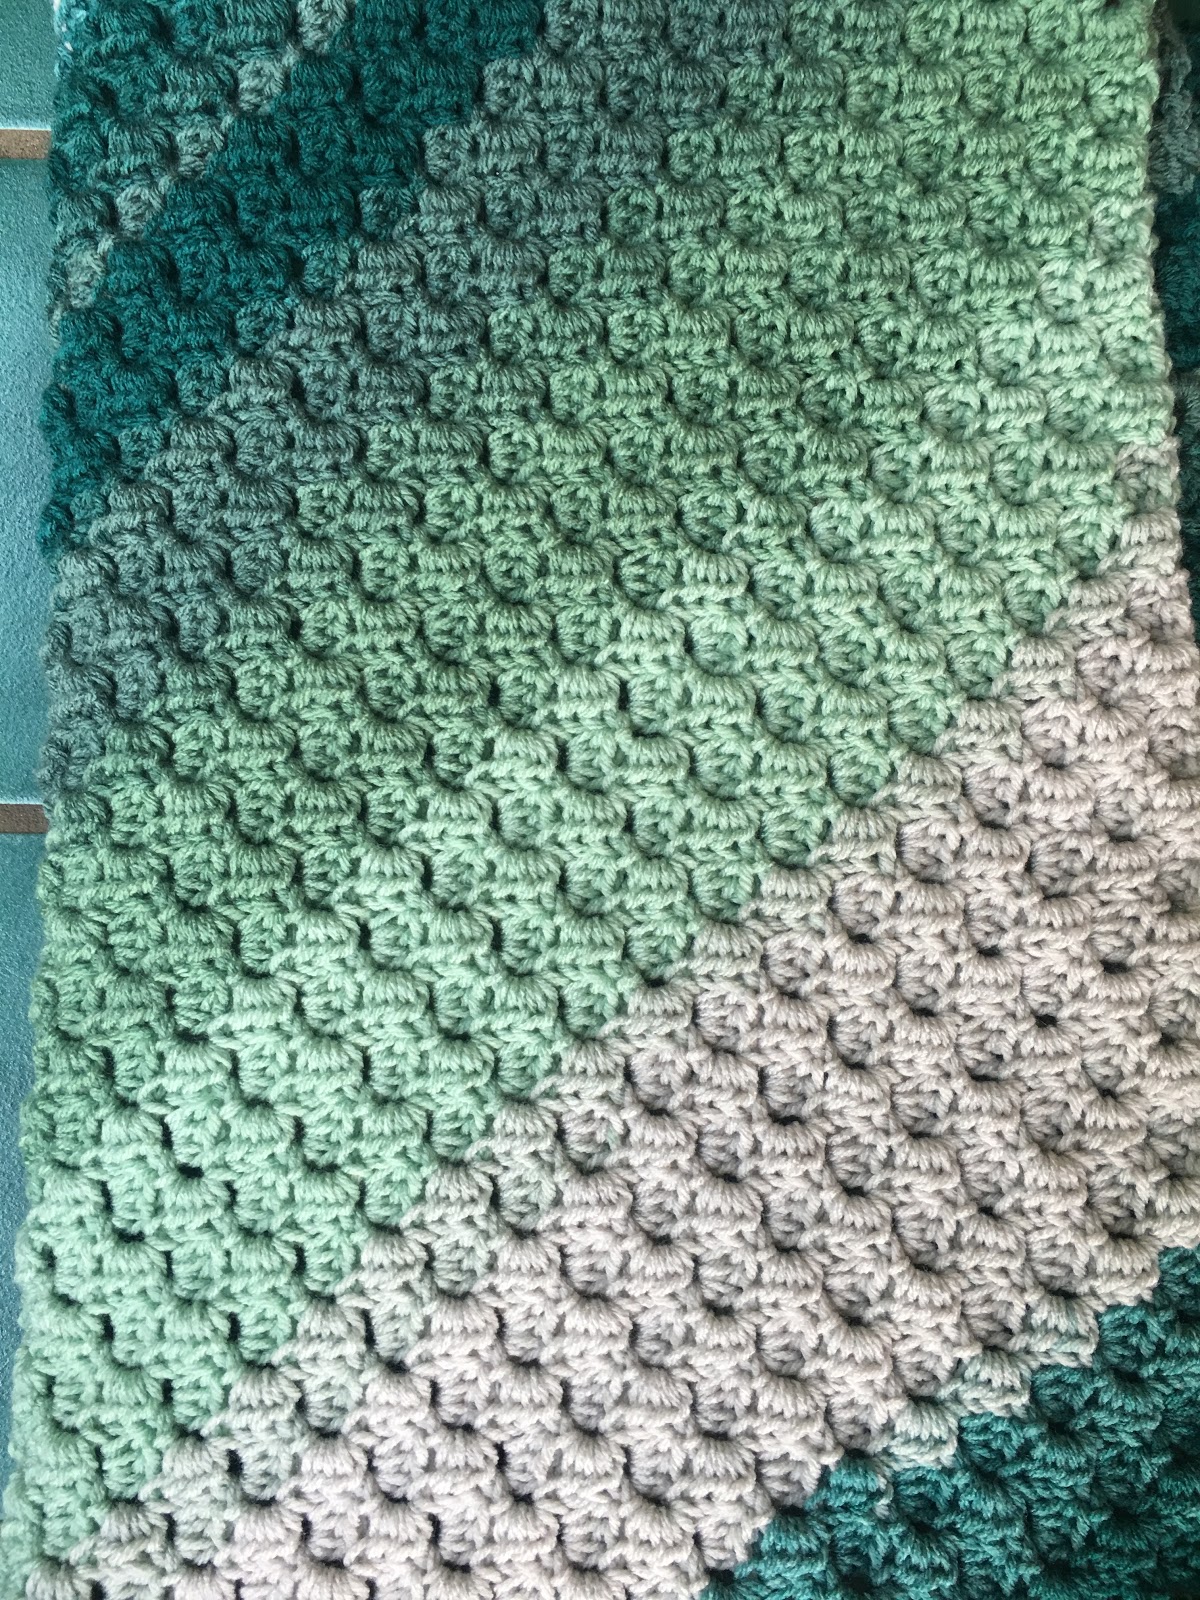
Here is a few pictures of the C2C portion completed:


Legal:
I decided to make a C2C (Corner-2-Corner) Blanket with it. And, then add a border. This blanket measures approximately 50" x 50". With all the shades of green in this yarn, I decided to aptly name this project, "Forestry C2C Blanket."
Forestry C2C Blanket

Size: Approximately 50" x 50"
--6.0mm hook
--(6) Yarn Bee's Sugarwheel in "Gelato's My Motto"
--tapestry needle for weaving
U.S. Stitch Abbreviations:
Ch: chain
Sl st: slip stitch
St: stitch(es)
SC: single crochet
HDC: half double crochet
DC: double crochet
Rep: repeat
Sk: skip
FO: fasten off
Special Stitch:
1. C2C (Corner-2-Corner) - I used HDC stitches with Ch5 (instead of DC stitches and Ch6).
Directions:
Knowledge of C2C is needed to make this blanket. There are a lot of great video tutorials on Youtube to teach you how to do C2C.
1. I used 2 Sugarwheels (355 yds/roll) to make my increase rows with HDC stitches and Ch5.
2. I then used 2 Sugarwheels to make my decrease rows.
Here is a few pictures of the C2C portion completed:


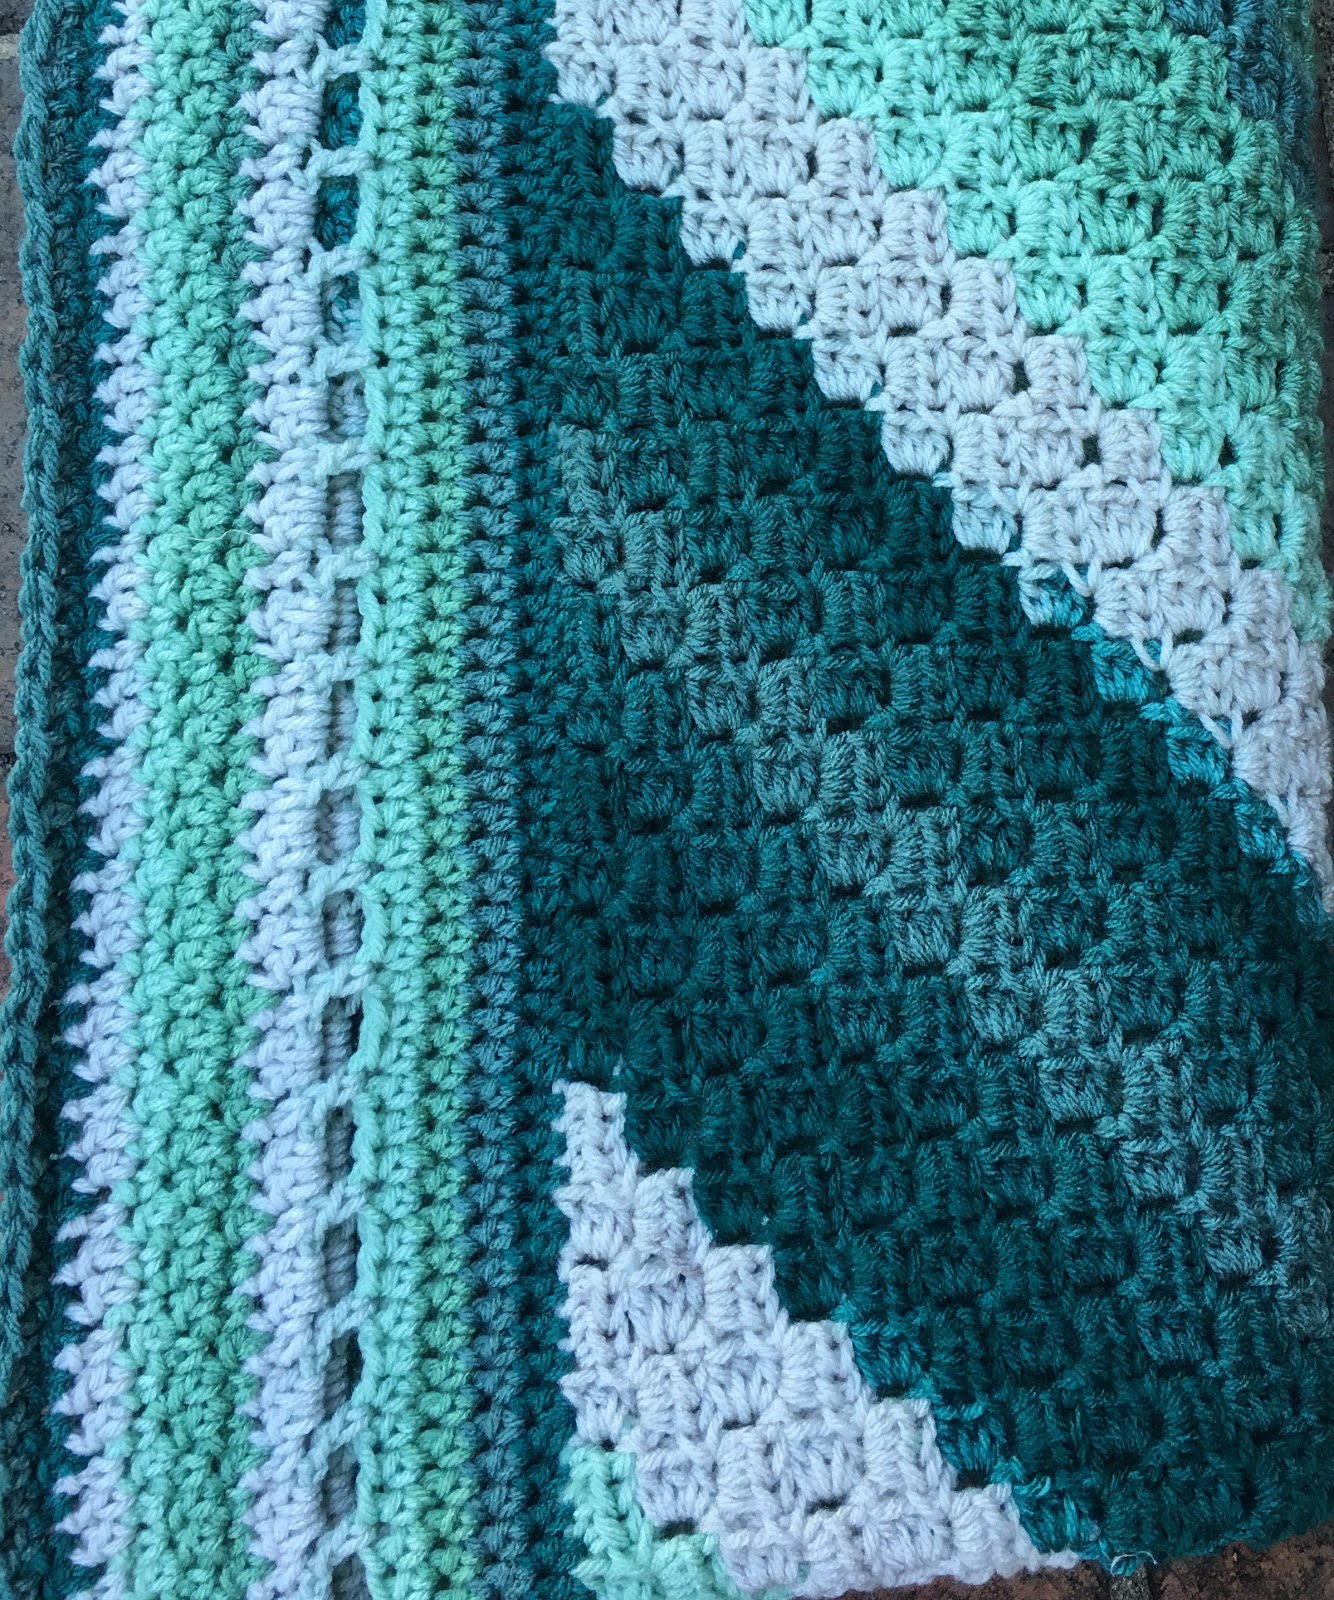
Border:
For the border, I used 2 Rolls of Sugarwheel.
1. I joined my yarn in one of the corner stitches with a sl st, Ch1. 3 HDC in the corner st and then 1 HDC evenly in each st around. 3 HDC st in each corner around. Sl st join to first st and Ch1.
2-4. 1 HDC in each st around, 3 HDC st in each corner. Sl st join to first st and Ch1. At the end of Round 4, sl st join to first st. Do not Ch1.
5. Ch5 (counts as DC and Ch2), *DC in next st, Ch 2, Sk 2 st,* Rep from * to * around. Into each corner, place 3 DC st. Sl st join to first st and Ch1.
6. SC in first st, 2 DC into the previous row's Ch2 space. Continue to rep this until you get to the corner. Now, once you complete the stitch pattern before the corner, (SC in first st, 2 DC into the previous row's Ch2 space) you should have 1 st remaining before the previous row’s 3 DC in the corner - sk this st). Ch1, sk 1st corner st, then place 3 DC into the corner middle st, then Ch1 and sk 3rd corner st and first st after corner. This way you can continue with your pattern around. (Rep this for each corner). This worked out perfectly for my blanket. However, if you somehow have an additional stitch, then add an extra chain before and after each corner (and Sk the before and after additional st) . Sl st join to first st.
7. Ch3 (counts as first DC), *1 SC into next 2 st, DC in next st.* Rep this pattern around. For the corner area, complete same as #6, except you will use 3 SC st in the corners. Sl st join to first st.
8. Ch1. SC in same st as Ch1. *1 DC into next 2 st, SC in next st.* Rep this pattern around. For the corner area, complete as #6.
9. Rep #7.
10. Rep #8.
11. Rep #7.
12. Rep #8.
Essentially, what you are doing is placing a SC st into the previous row's DC st and DC st into the previous row's SC st.
Now, this will make your blanket approximately 50" x 50". I went to Hobby Lobby today and bought 2 more Sugarwheels to continue with my border rounds to increase the size of my blanket.
I hope my pattern makes sense. If you have any questions, please feel free to comment, email/message me and I would be glad to help you.

Happy Crocheting...
Legal:
--don't use/claim my design as your own
--don't use/claim my pics as your own
--okay to make and sale your finished work
--don't share my pattern electronically or in print format (without prior consent) but provide a link to my blog
For this reason of familycookware.page.tl, you must be somewhat cautious whilst buying the greatest weighted blanket for you.
ReplyDeleteIf you enjoy a bunch of Best Weighted Blanket Reviews and Buying Guide [2018] - Family Cookware on top of you once you sleep or merely watch tv. Microwave and dry clean shouldn't be used.
ReplyDeleteWhere is the link to be able to print off this pattern please
ReplyDeleteThere is no pdf format. You can highlight the above pattern and print that way.
DeleteI guess I must be a little dense, but there are so many different corner to corner patterns available, which one are you referring to? As far as I can tell, all you have given us is the border pattern. Did I miss something?
ReplyDeleteAs stated above, I used the Chain 5 with HDC stitches for the C2C portion of the blanket. I worked the increase rows until I completed 2 sugarwheels. I then started the decrease rows and used 2 more sugarwheels to complete. The standard C2C is Chain 6 with DC stitches. But, I chose to use Chain 5 and HDC stitches. Thank you.
DeleteAll I see is instructions for the border, where is the instructions for the body?
ReplyDeleteAs noted, the body is made using C2C crochet. Knowledge of C2C is needed for this project. I used 4 Sugarwheels to make the blanket itself. 2 Sugarwheels on increase rows and then 2 to complete the decrease rows. Thanks for asking.
DeleteIt’s beautiful, and I get exact what you are meaning! You need to be able to do the original C2C then you will understand that you just made adjustments to the pattern! I love the border, thank you so much!
ReplyDeleteHow big is blanket before border was added?
ReplyDeleteI no longer have the blanket but it was full/queen size. —Rilla
ReplyDeleteBeautifully crafted and super comfortable. sheep rug
ReplyDelete