

With allergies reeking havoc on my body this week, I was slow completing my “Valentine’s” project. Seems the start of this year has been filled with more sickness than creativity. I’m praying the remainder of this year proves better.
I wanted something easy, cute and fun. This project doesn’t use a lot of yarn and is the perfect size for kiddos, measuring approximately 7” x 7”. I added a pocket on the backside for goodies. This would make a great little pillow to secure fallen baby teeth for the Tooth Fairy.

Size: 7” x 7”
Materials:
—4.0mm & 5.5mm hooks
—“I Love This Yarn” in red, pink and white
—poly-fil
—1 set of 15mm safety eyes
—tapestry needle
U.S. Stitch Abbreviations:
Ch: chain
Sl St: slip stitch
St: stitch(es)
SC: single crochet
HDC: half double crochet
HDC2tog: half double crochet 2 stitches together (creates a decrease)
Rep: repeat
MR: magic ring
FO: fasten off
Directions:
(make 2 heart panels):
1.With Pink yarn, Ch3. HDC in 2nd ch from hook and next ch. Ch1 and turn. (2)
2. 2 HDC in each st across. Ch1 and turn. (4)
3. 2 HDC in first st, 1 HDC in next 2 st, 2 HDC in last st. Ch1 and turn. (6)
4. 2 HDC in first st, 1 HDC in next 4 st, 2 HDC in last st. Ch1 and turn. (8)
5. 2 HDC in first st, 1 HDC in next 6 st, 2 HDC in last st. Ch1 and turn. (10)
6. 2 HDC in first st, 1 HDC in next 8 st, 2 HDC in last st. Ch1 and turn. (12)
7. 2 HDC in first st, 1 HDC in next 10 st, 2 HDC in last st. Ch1 and turn. (14)
8. 2 HDC in first st, 1 HDC in next 12 st, 2 HDC in last st. Ch1 and turn. (16)
9. 2 HDC in first st, 1 HDC in next 14 st, 2 HDC in last st. Ch1 and turn. (18)
10. 2 HDC in first st, 1 HDC in next 16 st, 2 HDC in last st. Ch1 and turn. (20)
11. 2 HDC in first st, 1 HDC in next 18 st, 2 HDC in last st. Ch1 and turn. (22)
12. 2 HDC in first st, 1 HDC in next 20 st, 2 HDC in last st. Ch1 and turn. (24)
13-19. 1 HDC in each st across. Ch1 and turn. (24)
Forming first lobe:
20. HDC2tog, 1 HDC in next 8, HDC2tog. Ch1 and turn. (10)
21. HDC2tog, 1 HDC in next 6, HDC2tog. Ch1 and turn. (8)
22. HDC2tog, 1 HDC in next 4, HDC2tog. Ch1 and turn. (6)
23. HDC2tog, 1 HDC in next 2, HDC2tog. FO and weave ends. (4)
Forming second lobe:
Rep steps 20-23 on the opposite side of Row 19.
Make a 2nd panel piece.
(This STEP is optional):
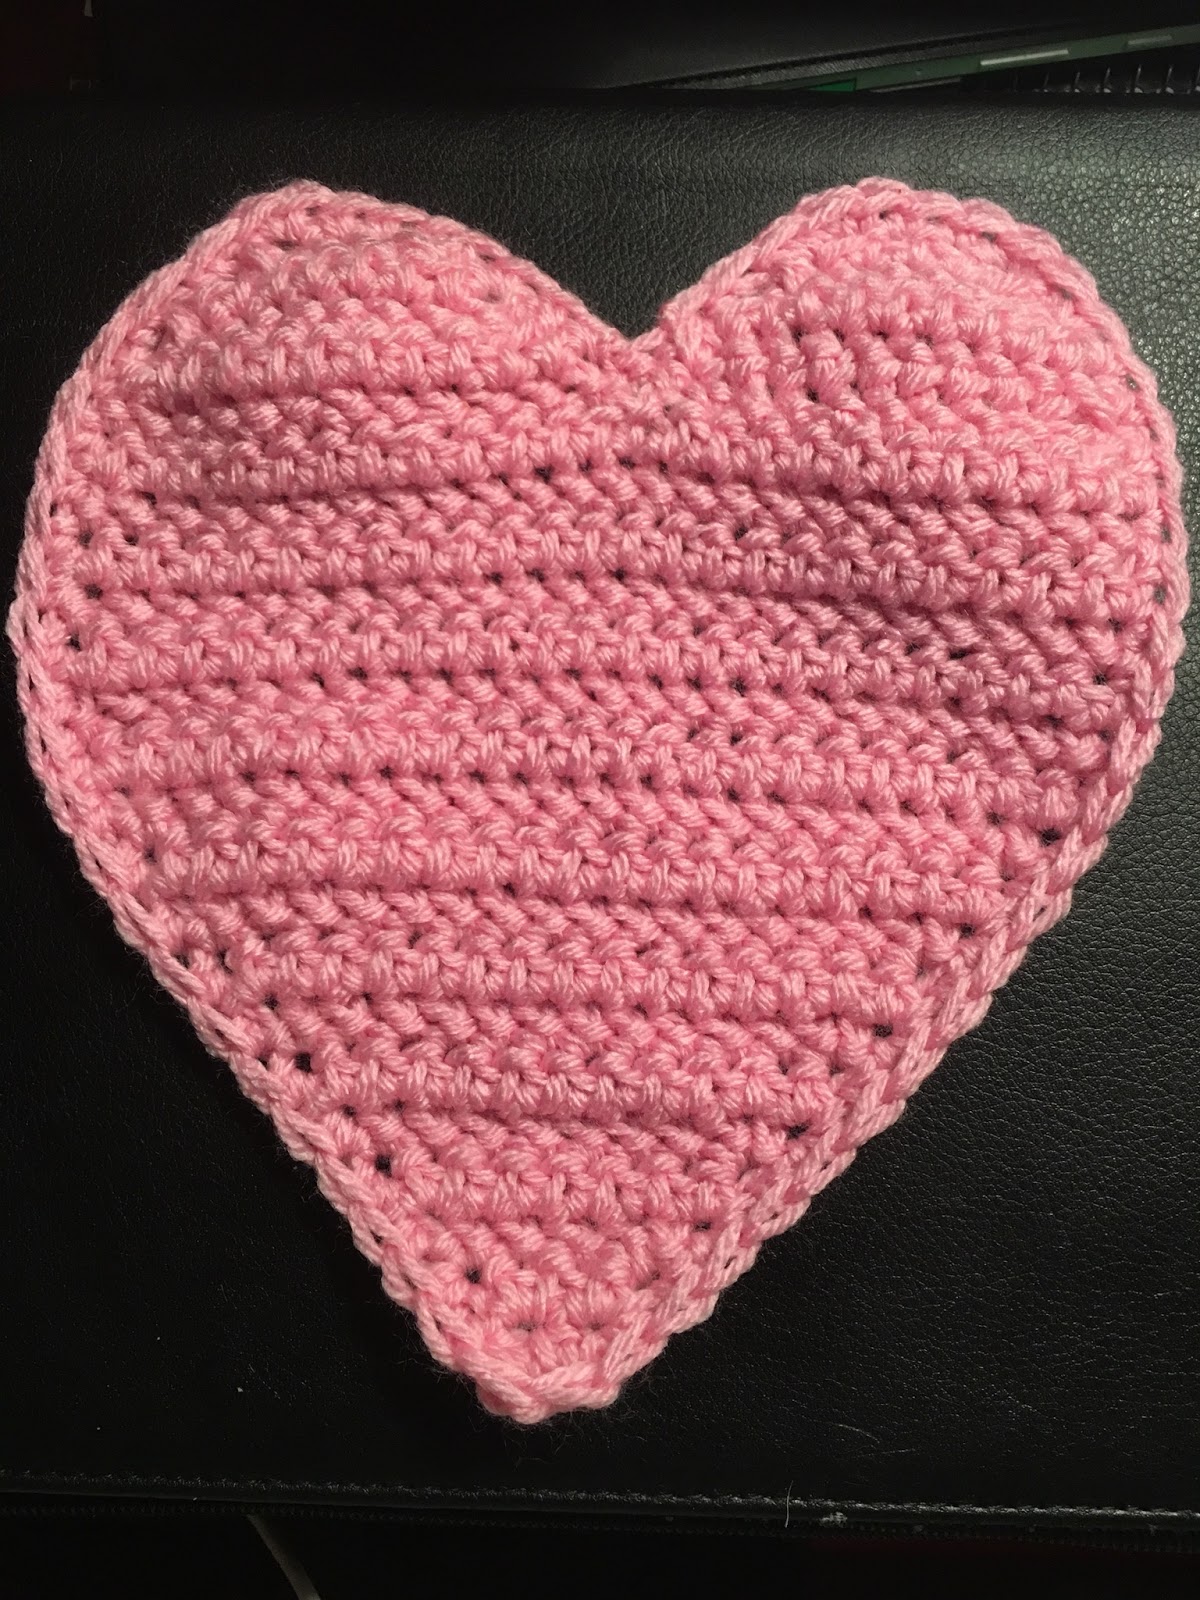
Once I had the panels made. I wanted to give them a clean look. So, I joined Pink yarn in any stitch and SC evenly around the perimeter of each panel. Of course, this is optional, since the 2 panel pieces will be joined together and either SC together or whipstitched.
 Now, we are ready to make one panel the front side for the face. But first:
SPECIAL NOTE: If you don't know how to surface crochet, you can opt to just embroider the features on or you could make chain stitches and attach.
So, let's proceed with what I did:
1. With a 4.0mm hook and Red yarn, I surfaced sl st crocheted around the heart. I worked mine 1 stitch in all the way around. FO and weave ends.

2. Eyes: I used a set of 15mm black safety eyes. The eyes are added at Row 13, center, with a 5 stitch gap between the 2. (see below pic)

 3. Cheeks (make 2): With 4.0mm hook and Red yarn, 6 SC into MR. Pull center to tighten. And, then for the 2nd round, place 2 SC in each st around. Sl st join to the first st and FO. Leave a long enough tail for attaching each cheek. (see above pic)
4. Eyebrows: With 4.0mm hook and Red yarn, I surface sl st crochet 7 st for each eyebrow. FO and weave ends. Rep for 2nd eyebrow. (see below pic)
 5. Mouth: With 4.0mm hook and Red yarn, I surface sl st crochet 7 st for my slightly lopsided-grin. FO and weave ends. (see above pic)
Tag (make 2):
1. With 4.0mm hook and White yarn, Ch8. SC in 2nd ch from hook and across. Ch1 and turn. (7)
2-4. 1 SC in each st across. Ch1 and turn. (7)
5. When you turn, you will be working down the short side (the end). 1 SC in each end st. Ch1 and turn. (4)
6. 1 SC in each st across. Ch1 and turn. (4)
7. 1 SC in first st. SC2tog. 1 SC in last st. Ch1 and turn. (3)
8. 1 SC in each st across. Ch1 and turn. (1)
9. SC3tog. Ch1 and turn. (1)
10. 1 SC in st. FO and leave a long tail for attaching.
Rep 1 - 10 for 2nd tag.
XOX:
1. First, you are going to use one Tag to place XOX. I used pink embroidery thread for this. Any lightweight yarn will work. I freehand embroidered the XOX and tied double and triple knots on the backside to secure.

2. Now, join the second tag to the first tag and whipstitch around to secure the 2 together, hiding the backside of your embroidering.
3. Now use a few whipstitches to join your tag to the heart lobe. (see below pic)

Pocket:
1. With 5.5mm hook and Pink yarn, Ch16. SC in 2nd ch from hook and across. Ch1 and turn. (15)
2-12. SC across. Ch1 and turn. However, at the end of Row 12, FO and leave a long tail for attaching the sides and bottom to the center, back side of the heart. Leave the top of the pocket open.


And, that's it for this super cute, quick and easy project for Valentine's Day!!!! I think this "Happy Valentine Pillow Pal" would also make a great accessory to use for any baby tooth that may fall out in the month of February. The pocket is a great place to secure the baby tooth for the Tooth Fairy to retrieve and to leave a surprise...
Few ideas:
1. This would be cute in yellow, blue, green - basically any color if you want to use it as a Tooth Fairy Pillow....
2. Make the front panel and use as an Applique.
3. Make the tag portion circular and then you can hang this heart on a door, in a bathroom around a knob for kids to have easy access to their toothbrushes and toothpaste in the back side pocket.
4. I'm sure there's lots of different ways to use this cute Pillow Pal. I'd love to see your creations and ideas from this!!!
Enjoy!!!
Legal:
I wanted something easy, cute and fun. This project doesn’t use a lot of yarn and is the perfect size for kiddos, measuring approximately 7” x 7”. I added a pocket on the backside for goodies. This would make a great little pillow to secure fallen baby teeth for the Tooth Fairy.
I used “I Love This Yarn” in red, pink and pink. The safety eyes are 15mm. I surfaced crocheted with a slip stitch for the red border, the eyebrows and the mouth. Of course, you could embroider this or make chain stitches and attach.
Happy Valentine Pillow Pal Pattern

Size: 7” x 7”
Materials:
—4.0mm & 5.5mm hooks
—“I Love This Yarn” in red, pink and white
—poly-fil
—1 set of 15mm safety eyes
—tapestry needle
U.S. Stitch Abbreviations:
Ch: chain
Sl St: slip stitch
St: stitch(es)
SC: single crochet
HDC: half double crochet
HDC2tog: half double crochet 2 stitches together (creates a decrease)
Rep: repeat
MR: magic ring
FO: fasten off
Directions:
(make 2 heart panels):
1.With Pink yarn, Ch3. HDC in 2nd ch from hook and next ch. Ch1 and turn. (2)
2. 2 HDC in each st across. Ch1 and turn. (4)
3. 2 HDC in first st, 1 HDC in next 2 st, 2 HDC in last st. Ch1 and turn. (6)
4. 2 HDC in first st, 1 HDC in next 4 st, 2 HDC in last st. Ch1 and turn. (8)
5. 2 HDC in first st, 1 HDC in next 6 st, 2 HDC in last st. Ch1 and turn. (10)
6. 2 HDC in first st, 1 HDC in next 8 st, 2 HDC in last st. Ch1 and turn. (12)
7. 2 HDC in first st, 1 HDC in next 10 st, 2 HDC in last st. Ch1 and turn. (14)
8. 2 HDC in first st, 1 HDC in next 12 st, 2 HDC in last st. Ch1 and turn. (16)
9. 2 HDC in first st, 1 HDC in next 14 st, 2 HDC in last st. Ch1 and turn. (18)
10. 2 HDC in first st, 1 HDC in next 16 st, 2 HDC in last st. Ch1 and turn. (20)
11. 2 HDC in first st, 1 HDC in next 18 st, 2 HDC in last st. Ch1 and turn. (22)
12. 2 HDC in first st, 1 HDC in next 20 st, 2 HDC in last st. Ch1 and turn. (24)
13-19. 1 HDC in each st across. Ch1 and turn. (24)
Forming first lobe:
20. HDC2tog, 1 HDC in next 8, HDC2tog. Ch1 and turn. (10)
21. HDC2tog, 1 HDC in next 6, HDC2tog. Ch1 and turn. (8)
22. HDC2tog, 1 HDC in next 4, HDC2tog. Ch1 and turn. (6)
23. HDC2tog, 1 HDC in next 2, HDC2tog. FO and weave ends. (4)
Forming second lobe:
Rep steps 20-23 on the opposite side of Row 19.
Make a 2nd panel piece.
(This STEP is optional):
Once I had the panels made. I wanted to give them a clean look. So, I joined Pink yarn in any stitch and SC evenly around the perimeter of each panel. Of course, this is optional, since the 2 panel pieces will be joined together and either SC together or whipstitched.
SPECIAL NOTE: If you don't know how to surface crochet, you can opt to just embroider the features on or you could make chain stitches and attach.
So, let's proceed with what I did:
1. With a 4.0mm hook and Red yarn, I surfaced sl st crocheted around the heart. I worked mine 1 stitch in all the way around. FO and weave ends.

2. Eyes: I used a set of 15mm black safety eyes. The eyes are added at Row 13, center, with a 5 stitch gap between the 2. (see below pic)


4. Eyebrows: With 4.0mm hook and Red yarn, I surface sl st crochet 7 st for each eyebrow. FO and weave ends. Rep for 2nd eyebrow. (see below pic)

Tag (make 2):
1. With 4.0mm hook and White yarn, Ch8. SC in 2nd ch from hook and across. Ch1 and turn. (7)
2-4. 1 SC in each st across. Ch1 and turn. (7)
5. When you turn, you will be working down the short side (the end). 1 SC in each end st. Ch1 and turn. (4)
6. 1 SC in each st across. Ch1 and turn. (4)
7. 1 SC in first st. SC2tog. 1 SC in last st. Ch1 and turn. (3)
8. 1 SC in each st across. Ch1 and turn. (1)
9. SC3tog. Ch1 and turn. (1)
10. 1 SC in st. FO and leave a long tail for attaching.
Rep 1 - 10 for 2nd tag.
XOX:
1. First, you are going to use one Tag to place XOX. I used pink embroidery thread for this. Any lightweight yarn will work. I freehand embroidered the XOX and tied double and triple knots on the backside to secure.

2. Now, join the second tag to the first tag and whipstitch around to secure the 2 together, hiding the backside of your embroidering.
3. Now use a few whipstitches to join your tag to the heart lobe. (see below pic)

Pocket:
1. With 5.5mm hook and Pink yarn, Ch16. SC in 2nd ch from hook and across. Ch1 and turn. (15)
2-12. SC across. Ch1 and turn. However, at the end of Row 12, FO and leave a long tail for attaching the sides and bottom to the center, back side of the heart. Leave the top of the pocket open.


And, that's it for this super cute, quick and easy project for Valentine's Day!!!! I think this "Happy Valentine Pillow Pal" would also make a great accessory to use for any baby tooth that may fall out in the month of February. The pocket is a great place to secure the baby tooth for the Tooth Fairy to retrieve and to leave a surprise...
Few ideas:
1. This would be cute in yellow, blue, green - basically any color if you want to use it as a Tooth Fairy Pillow....
2. Make the front panel and use as an Applique.
3. Make the tag portion circular and then you can hang this heart on a door, in a bathroom around a knob for kids to have easy access to their toothbrushes and toothpaste in the back side pocket.
4. I'm sure there's lots of different ways to use this cute Pillow Pal. I'd love to see your creations and ideas from this!!!
Enjoy!!!
Happy Crocheting...
Legal:
--don't use/claim my design as your own
--don't use/claim my pics as your own
--okay to make and sale your finished work
--don't share my pattern electronically or in print format (without prior consent) but provide a link to my blog
Social Media:
If you are on the following sites, let's connect and hook up...
- Instagram: Rilla2u
- Pinterest: Rilla2u
- Twitter: Rilla2u
- Facebook: /rilla.edwards
No comments:
Post a Comment