

Here's a cute, Fall (seasonal) project I worked on yesterday. I decided to "doll up" my faux pumpkins. I bought all 3 of these pumpkins at Hobby Lobby - each 40% off. They measure 3", 4" and 5" tall.
Joann’s also has a great selection of pumpkins AND at 60% off. Click on the LINK on the sidebar for great deals on faux pumpkins...
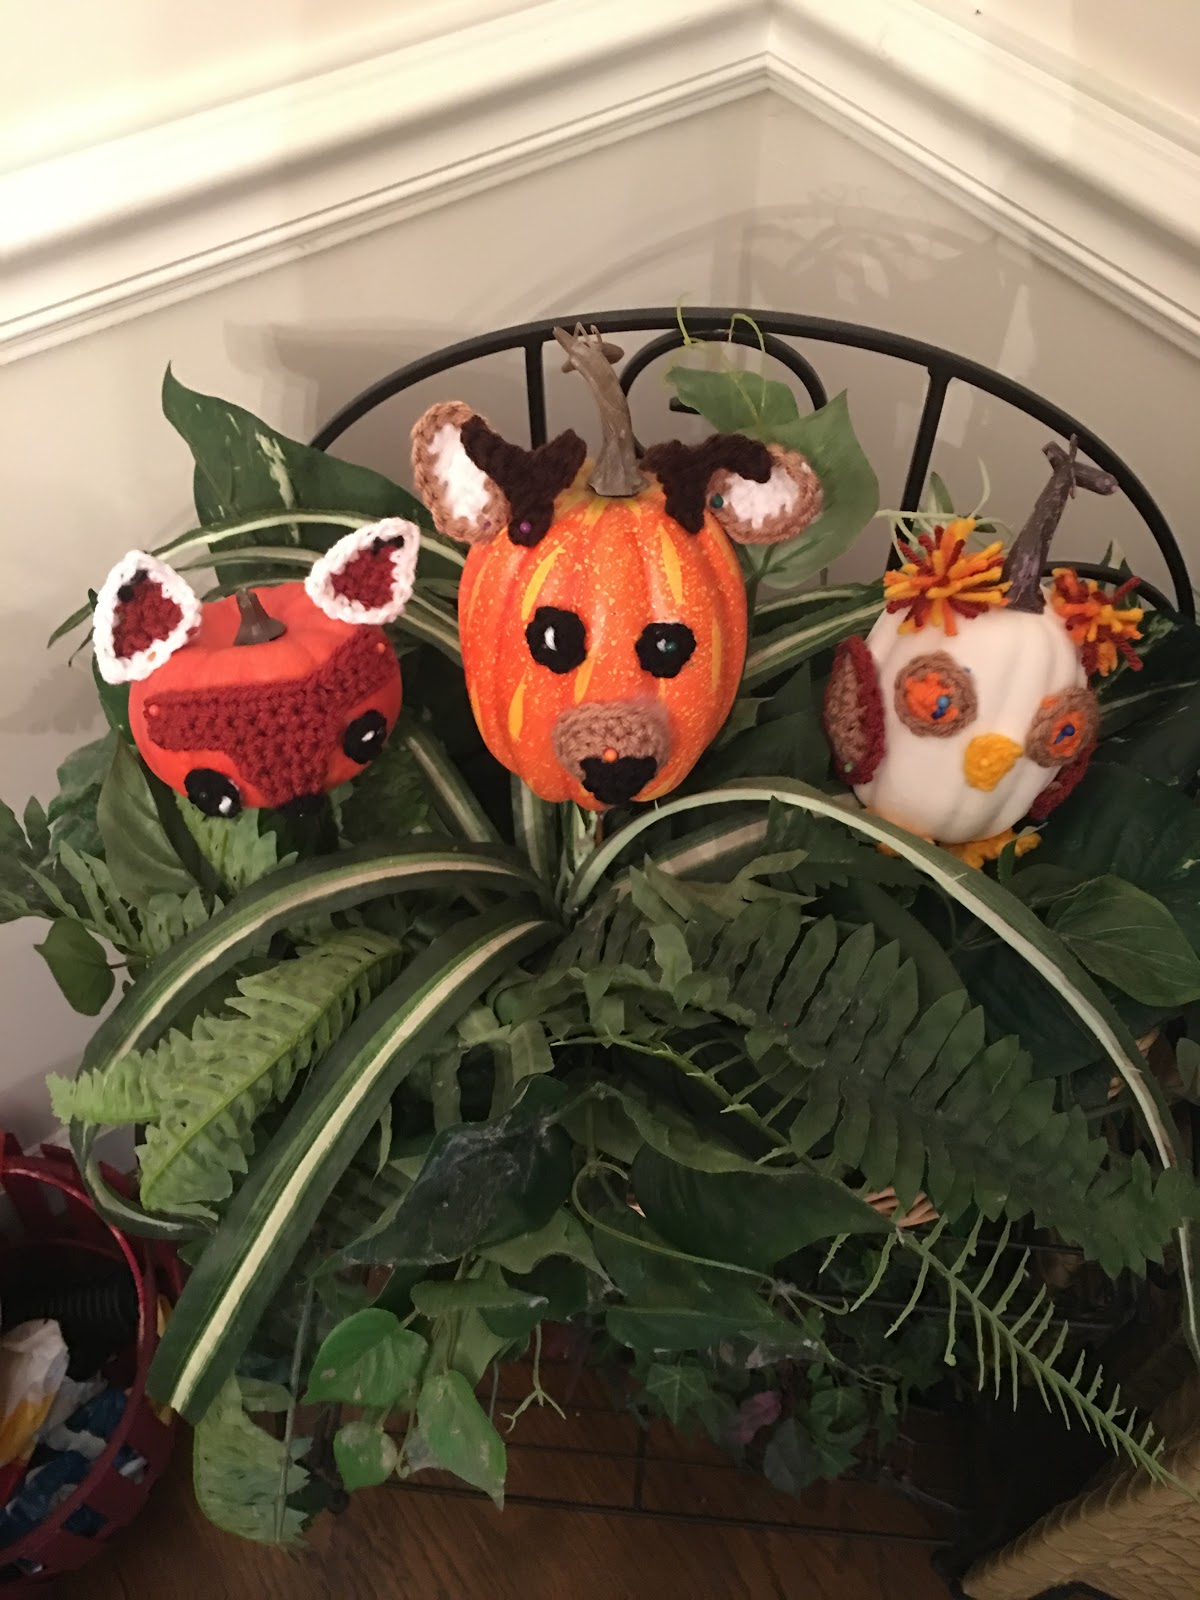
I decided my pumpkins needed a Woodland Animal theme to them...lol. So, I came up with: a Fox, a Deer and an Owl design for mine.
I supposed you could use real pumpkins, if you have them or find them cheap.
Each design was super simple and quick to make.


I hope you all will enjoy this simple project to add a little "dress-up" to faux (or real) pumpkins for the fall season...
Joann’s also has a great selection of pumpkins AND at 60% off. Click on the LINK on the sidebar for great deals on faux pumpkins...
I decided my pumpkins needed a Woodland Animal theme to them...lol. So, I came up with: a Fox, a Deer and an Owl design for mine.
I supposed you could use real pumpkins, if you have them or find them cheap.
Each design was super simple and quick to make.
Woodland Pumpkins

Materials:
--3 pumpkins (3", 4" and 5")
--4.5mm hook
--#4 worsted weight yarn (Terra Cotta, Taupe, Black, White, Light & Dark Brown, Yellow, Orange)
--stick pins, craft glue, hot glue or Velcro (some form of medium for attaching features to each pumpkin
--tapestry needle for weaving
U.S. Stitch Abbreviations:
Ch: chain
Sl st: slip stitch
St: stitch(es)
SC: single crochet
HDC: half double crochet
DC: double crochet
SC2tog: single crochet 2 stitches together (creates a decrease)
SC3tog: single crochet 3 stitches together (creates a decrease)
Picot: chain 4 and sl st into first chain
Rep: repeat
MR: magic ring
FO: fasten off
Here's a picture of the pumpkins I purchased at Hobby Lobby...

Directions:
Fox:

I used the 3" tall pumpkin.
Head/Nose Strip:
1. With Terra Cotta yarn, Ch3. SC in 2nd ch from hook and next ch. Ch1 and turn. (2)
2. 2 SC in first st, 1 SC in next st. Ch1 and turn. (3)
3. 2 SC in first st, 1 SC in next st, 2 SC in last st. Ch1 and turn. (5)
4. SC across. Turn. (5)
5. Ch6. SC in 2nd ch from hook and 4 remaining chs. SC in each st across. Ch6, SC in 2nd ch from hook and 4 remaining chs. Turn. Sl st into each of the 5 SC st you just made. Ch1 and turn. (15)
6. SC across. FO and weave ends. (15)
Nose Tip:
1. With Black yarn, 3 SC into MR. Sl st join to first st and FO. Leave a tail to attach to the Head/Nose Strip.
Eyes (make 2):
1. With Black yarn, 6 SC into MR. Sl st join to first st. FO and weave ends.
2. I used White yarn to embroider pupils.
Ears (make 2):
1. With Black yarn, Ch2. 1 SC in the 2nd ch from hook. FO Black yarn and join Terra Cotta. Ch1 and turn. (1)
2. With Terra Cotta yarn, 2 SC in stitch. Ch1 and turn. (2)
3. 2 SC in first st, 1 SC in next st. Ch1 and turn. (3)
4. SC across. Ch1 and turn. (3)
5. 2 SC in first st, 1 SC in next st, 2 SC in last st. FO Terra Cotta yarn and join White yarn. Ch1 and turn. (5)
6. With White yarn, SC evenly around ear. Sl st join to first st and FO. Weave ends.

Owl:

I used the 4" tall pumpkin.
Nose:
1. With Yellow yarn, Ch2, 1 SC in 2nd ch from hook. Ch1 and turn. (1)
2. 2 SC in st. Ch1 and turn. (2)
3. SC across. FO and weave ends. (2)
Wings (make 2):
1. Light Brown/Taupe yarn, Ch7. SC in 2nd ch from hook, HDC in next ch, DC in the next 2 ch, HDC in next ch and 3 DC in last ch. Rotate to work on opposite side of base chain. HDC in next ch. DC in the next 2 ch. HDC in next ch. SC in last ch. Sl st join to first st and FO. Weave ends. (13)
2. With Terra Cotta yarn, join with a sl st and Ch1 into any stitch. SC in same. SC in each st around. Sl st join and FO. Weave ends. (13)
Eyes (make 2):
1. With Orange yarn, 6 SC into MR. Sl st join and FO Orange yarn. Join Light Brown/Taupe yarn and Ch1.
2. 2 SC in first st, 1 SC in next st. Rep around. Sl st join to first st. FO and weave ends. (9)
Ears (make 2):
For the ears I made pompoms. I used 3 colors - Terra Cotta, Orange and Yellow. I held all 3 strands together and wrapped around 2 of my fingers 5 times. I then tied the center into a double knot. Trimmed ends and that's it. You have a pom made.
Feet (make 2):
1. With Yellow yarn, Ch4. SC in 2nd ch from hook and across. Ch1 and turn. (3)
2. SC across. Turn.
3. Picot (Ch4, sl st into first ch) and then sl st into first st of Row 2. Picot, then sl st into 2nd st of Row 2. Picot, then sl st into 3rd st of Row 2. FO and weave ends.
Deer:

I used the 5" tall pumpkin.
Nose:
1. With Light Brown/Taupe yarn, 6 SC into MR. Sl st join to first st and Ch1. (6)
2. 2 SC in first st, 2 HDC in each of the next 2 st, 2 SC in next st, 2 HDC in each of the next 2 st. Sl st join to first st and Ch1. (12)
3. SC around. Sl st join and FO. Weave ends. (12)
Nose Tip:
1. With Black yarn, Ch2. SC in 2nd ch from hook. Ch1 and turn. (1)
2. 2 SC in st. Ch1 and turn. (2)
3. 2 SC in first st, 1 SC in next st. FO and leave tail to attach Tip to Nose.
Eyes (make 2):
1. With Black yarn, 6 SC into MR. Sl st join to first st and FO. Weave ends.
2. With White yarn, embroider pupils. FO and weave ends.
Ears (make 2):
1. With White yarn, Ch3. SC in 2nd ch from hook and next ch. Ch1 and turn. (2)
2. 2 SC in first st, 1 SC in next st. Ch1 and turn. (3)
3. SC across. Ch1 and turn. (3)
4. 2 SC in first st, 1 SC in next st, 2 SC in last st. Ch1 and turn. (5)
5. SC2tog, 1 SC in next st, SC2tog. Ch1 and turn. (3)
6. SC3tog. FO and weave ends. (1)
7. Join Light Brown/Taupe yarn, SC evenly around ear. Sl st join to first st. FO and weave ends.
Antlers (make 2):
1. With Dark Brown yarn, Ch8. SC in 2nd ch from hook. SC into each of the next 3 ch. Ch4. SC in 2nd ch from hook and next 2 ch. SC in each of the 3 remaining base ch. FO and weave ends.
Assembly:
You can use whatever medium you have to attach the features to your pumpkins - craft glue, hot glue gun, Velcro, pins. At the time I took the pics, I had pins attaching my pieces so that I could opt to change out if I wanted. But, I'm thinking of using Velcro circles or strips for mine.
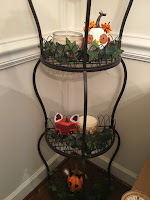
There's lots of different ways to use these cute Woodland Pumpkins in your home. Check out my pictures below for ideas...
Assembly:
You can use whatever medium you have to attach the features to your pumpkins - craft glue, hot glue gun, Velcro, pins. At the time I took the pics, I had pins attaching my pieces so that I could opt to change out if I wanted. But, I'm thinking of using Velcro circles or strips for mine.
There's lots of different ways to use these cute Woodland Pumpkins in your home. Check out my pictures below for ideas...


I hope you all will enjoy this simple project to add a little "dress-up" to faux (or real) pumpkins for the fall season...
Happy Crocheting...
Legal:
--don't use/claim my design as your own
--don't use/claim my pics as your own
--okay to make and sale your finished work
--don't share my pattern electronically or in print format (without prior consent) but provide a link to my blog
No comments:
Post a Comment