Wednesday, September 23, 2020

Boy & Girl Scarecrow Faces...

 How cute is this Boy & Girl Scarecrow set?  Easy and cheap design that I had fun making. I used worsted weight yarn to make the little boy’s hat.  

Each would be great to hang on the wall, sit on the shelf or add to a wreath. Lots of different ways to incorporate this easy craft into your fall decorating...


Happy Crocheting & Crafting...

Sunday, September 20, 2020

More Crafting...

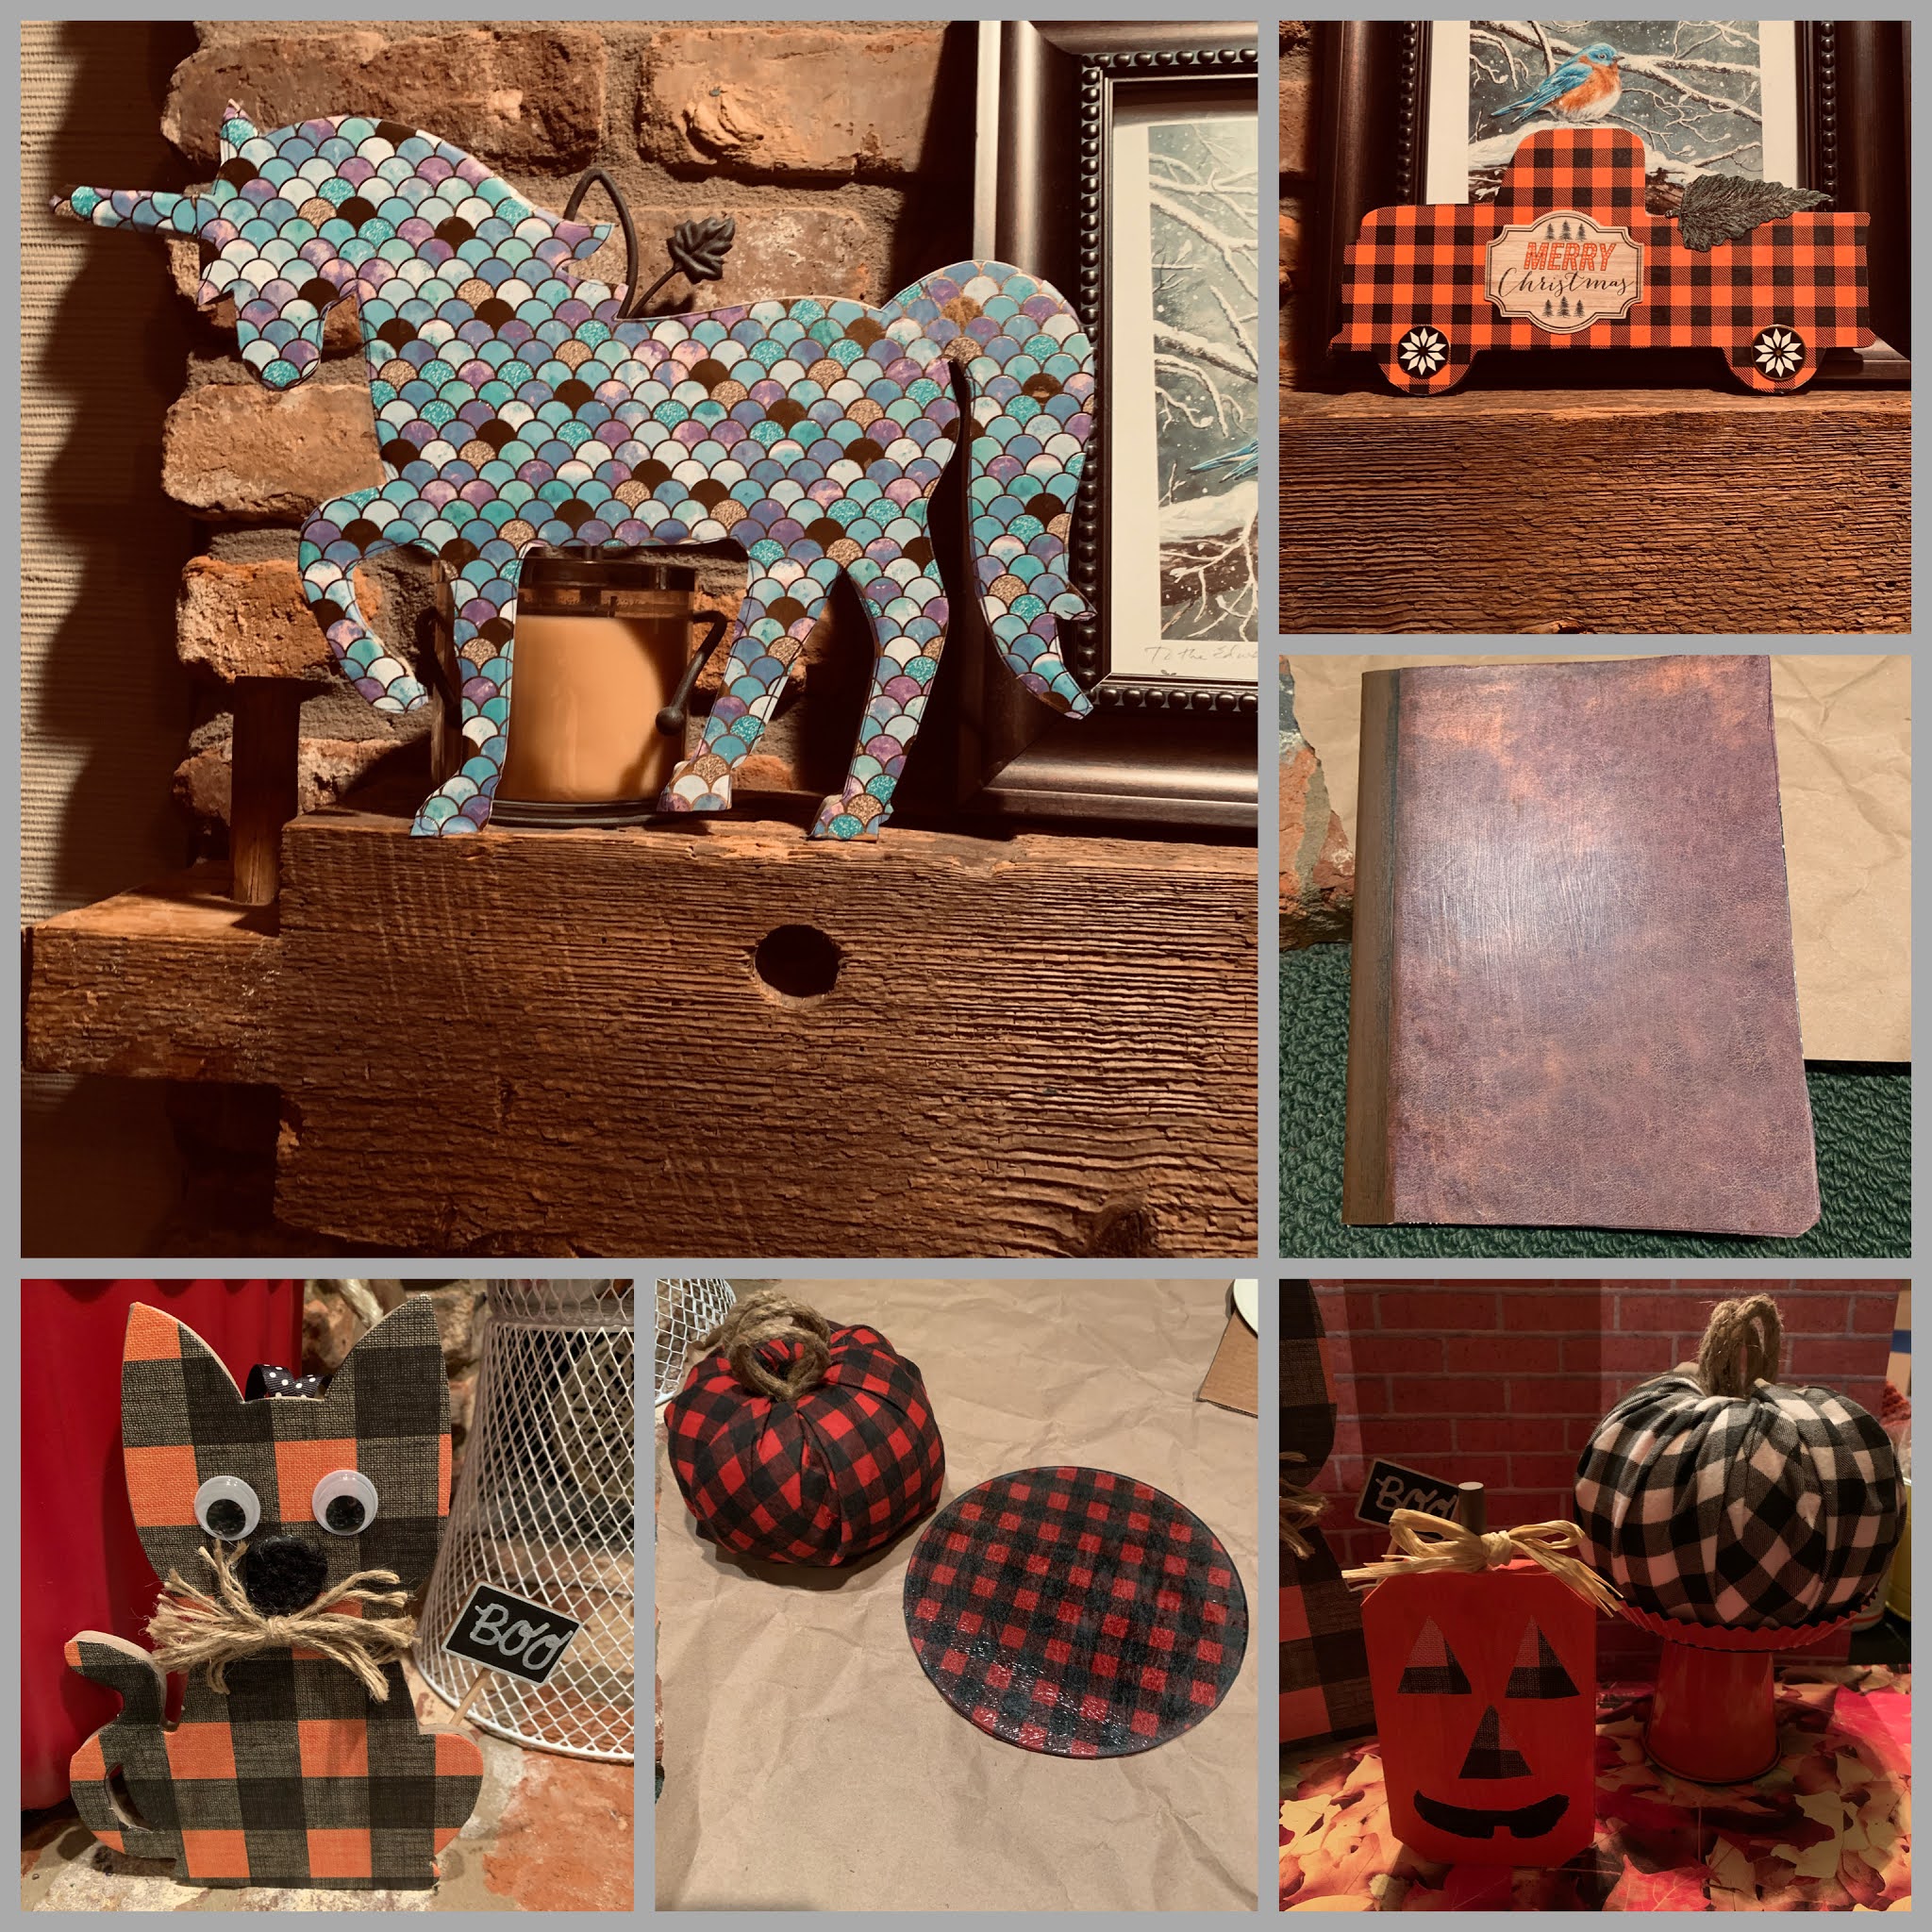
 I spent the weekend working on MORE craft projects for the Fall and Winter season. I’m in love with all of the completed pieces. 

Simple and inexpensive crafts making my home looking beautiful!!!


Happy Crocheting & Crafting...

Friday, September 18, 2020

Scarecrow Craft

Scarecrow Craft

I made this simple Scarecrow with an 8” round piece of wood I purchased in the craft department at Wal-Mart. I think the cost was $0.97. 

First, I applied two coats of white paint to the front side.  While this was drying, I used a 5.5mm hook and worsted weight yarn in Warm Brown to make the hat. 

Next, I hot glued a square piece of plaid scrap yarn to my hat. I used red raffia to wrap around the hat and tied in a bow. Now, the hat is ready to be hot glued to the wood. 

I glued the eyes. I used orange paint for the triangle nose; pink paint for the cheeks on each side; and black for the stitched mouth. 

I then used raffia to hot glue “hair” to each side, under the hat. I made a small bow with red raffia and hot glued below the mouth. 

Last, I used a piece of twine to make a loop and hot glued to the back of the hat for hanging. 

Simple. Easy. And, SO cute!!!  You can add this to a wreath, hang on the wall, sit on a shelf, place in a fall decor basket, etc. So many ways to utilize. 

Enjoy!!!!


Happy Crocheting & Crafting...


Tuesday, September 15, 2020

Fall Time

 Fall is almost upon us and I’m already starting to decorate the house. I absolutely love everything about Fall — the colors, the cooler weather and even the smells all around. 

Today, I hung up two of my crocheted wreaths, my crocheted candy corn trio (at the front door) and the popsicle stick crafts my grand kids have been working on in Art Class...


I think each piece is perfect — colorful, warm and cozy.  Fall!!!  

Happy Crocheting & Crafting...
Rilla


Monday, September 14, 2020

Pokémon Ball Face Mask

 Hubby and I are avid Pogo players. We have so much fun playing and interacting with people of all ages. 

So, last month or so, I crocheted you this simple face mask to resemble a Pokémon Ball. 

For this project, I used Hobby Lobby’s, “I Love This Yarn” in Red, White and Black. I used a 5.0mm hook. 

Pokémon Ball Face Mask

Happy Crocheting...

Fall Popsicle Stick Crafts....

 I Homeschool my grandchildren.  My oldest, Jacob, is in his 5th year of being homeschooled. He loves it.  We have taken “field trips” to NYC twice, Washington, DC, the beach, the mountains, across country and so on.  He has swam with dolphins in the Caribbean, rode a helicopter, parasailed and the list goes on.  A lot of people have negative opinions of Home Education, but it has opened up a lot of time for us to explore and visit other places while implementing education into everything we do.  We are not bound by a set calendar to dictate what we can or can’t do with our time.

So, now, my two youngest grandsons, Gabriel and Luke have begun Kindergarten.  These two are full of energy.  But, we are managing and adjusting our days from 1student to 3.  

Last week during Art Class, we decided on popsicle stick crafts for Fall.  

Simple and easy craft.  Use a piece of box (or the like) for the backing and glue the sticks to it.  Paint and decorate.  Add a hanger.  That’s it.  

Look how super cute these turned out...

Happy Crafting...


Thankful Plaque

Thankful Plaque

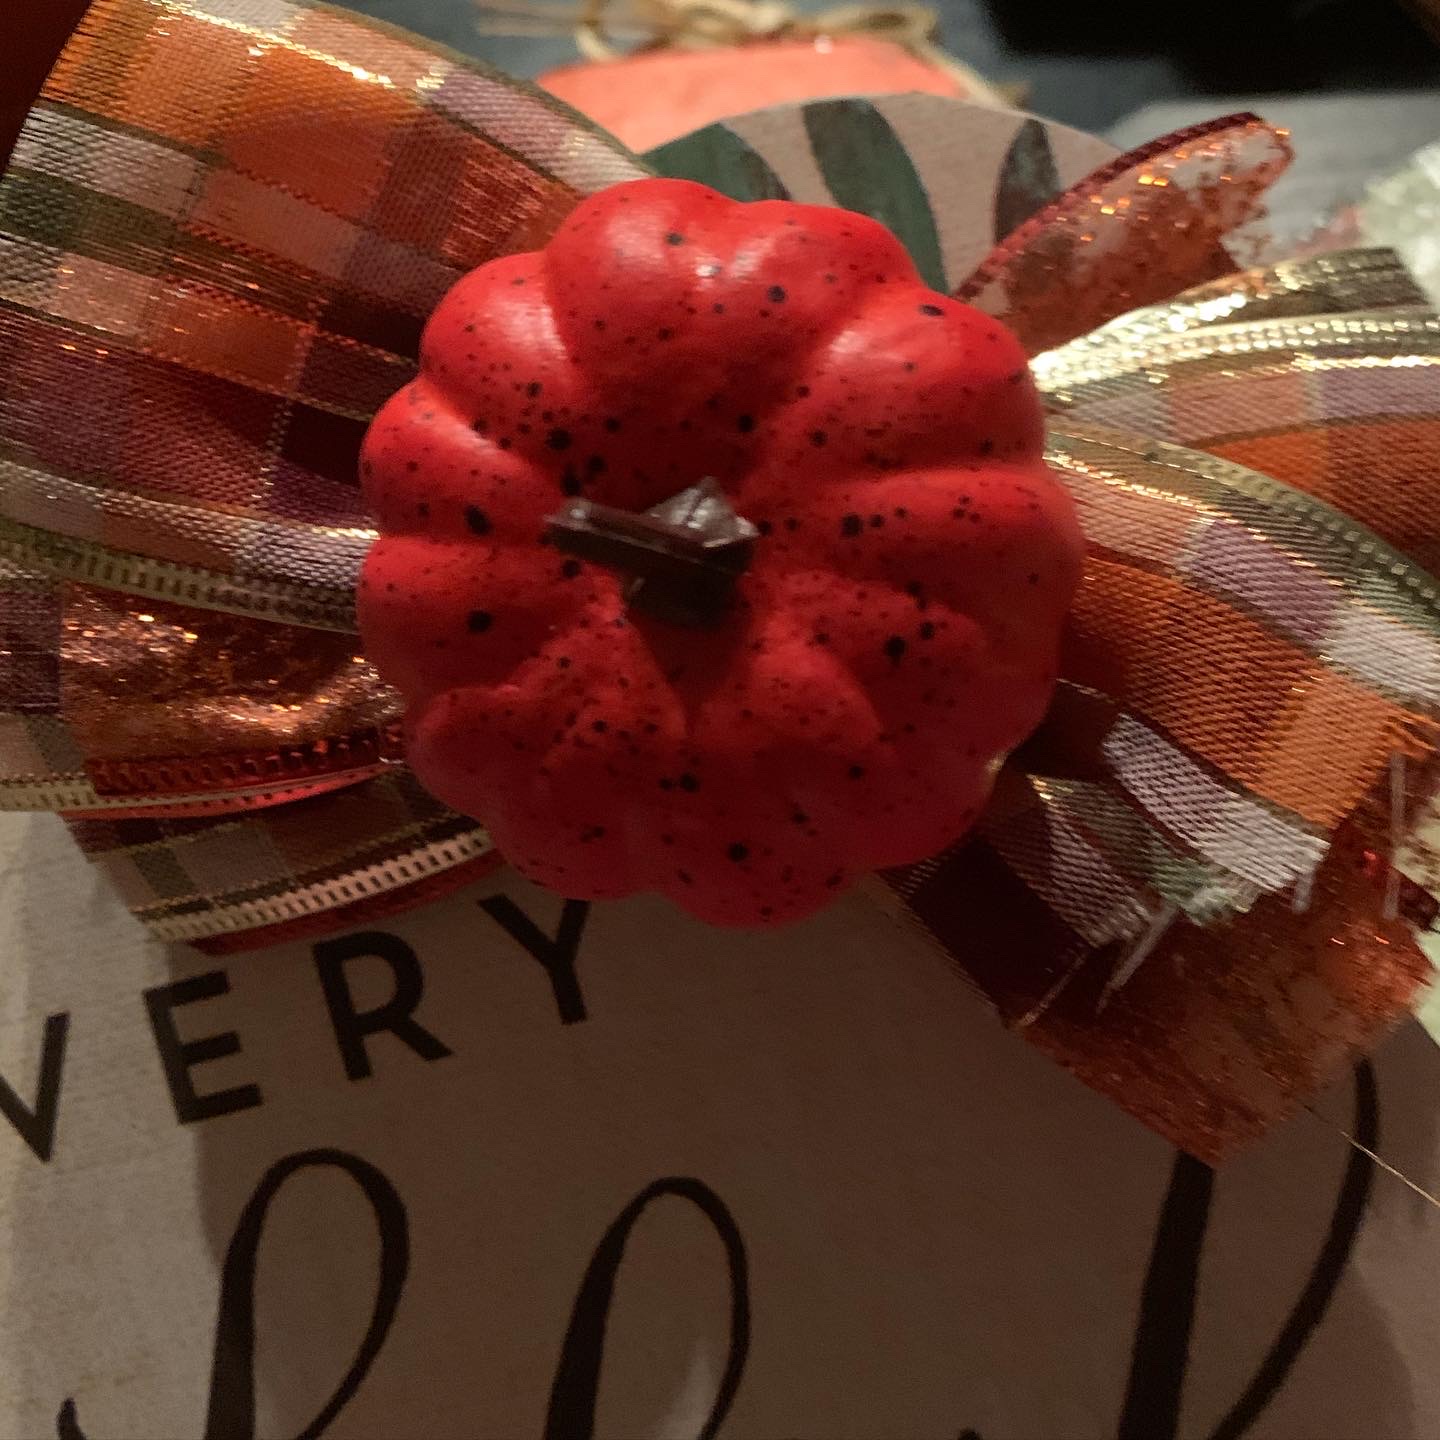
This project literally takes less than 30 minutes from start to finish to complete. It has two openings in the back if you want to hang on the wall.  You can simply place on your mantel or sit it on a photo picture holder. No matter how you choose to place this in your home it’s sure to draw attention.  I added a few pumpkins to complete the look  

Simple.  Elegant.  Beautiful.  

Materials:

—The chipboard was purchased from Hobby Lobby at 40% off.  So, $2.00.  

—The “So Very Thankful” paper placemats came in a pack of 24 and was 40% off.  So, just a couple dollars for the whole pack. 

—2 Fall ribbon colors I had on hand

—1 mini pumpkin (I purchased pack of four from Dollar Tree for a $1.00)

—Hot glue gun and a can of spray glue or any glue to attach paper to chipboard

—Sharpie or pencil

—Scissors

Directions:

1.  Lie the chipboard, centered on the placemat to assure you get the wording.  Use your Sharpie to trace around the chipboard.

2.  Use scissors and cut out the traced outline.  

3.  I used all-purpose spray glue and sprayed the chipboard.  Place the paper cut-out on top.  Smooth out and allow to dry.  You will see the glue through the paper until it dries.  

4. For the ribbon.  I used 2 colors and cut 4 pieces, approximately 6” long, of each color.  I bunched up in center and used ribbon to secure center.  

5.  Last, with the hot glue gun, I attached the ribbon to the top corner with hot glue.  I then removed the clip from the back of the pumpkin, added hot glue and centered on bow.  

THAT’S IT!!!  How simple?  It looks store-bought.  

Total cost:  $2.35

And, here’s a few pictures of the Sunflower Plaque I made for my daughter-in-law, basically following the same above steps...


Happy Crafting...