Saturday, April 16, 2022

Medical Supplies

I have completed a few items to add to my “Medical Collection” project from a few years back. 

Materials:

—2.0, 3.0 and 3.5mm hooks

—#4 worsted weight yarn in your choice of colors

—small amount of Polyfil (for thermometer)

—stitch marker

—tapestry needle for weaving


U.S. Stitch Abbreviations:

Ch:  chain

St:  stitch 

Sl st:  slip stitch

SC:  single crochet

SC2tog: single crochet 2 stitches together (decrease)

MR:  magic ring

BLO:  back loops only

FO:  fasten off

Rep:  repeat

Note:  When using the MR to work in the round, use a stitch marker to keep track of the start of a new round.

Directions:

Band-Aid:


1.  With light brown yarn and a 3.5mm hook, ch4.  SC in 2nd ch from hook and across. Ch1 and turn. (3)

2.  SC across.  Ch1 and turn. (3)

3-14.  Rep #2.  At the end of Row 14, SC evenly around. FO and weave ends.  

Center Pad:

1.  With white yarn and a 3.5mm hook, ch3.  SC in 2nd ch from hook and next ch. Ch1 and turn. (2)

2.  SC across. Ch1 and turn. (2)

3.  SC across. Then, SC evenly around.  FO and weave ends. 


Wednesday, April 13, 2022

Pikachu Keychain

 Pikachu Keychain 

Here’s a project for the Pokémon fans out there or if you know someone who’s a fan. A quick and cute project using cotton yarn and a 2.5mm hook. 


Pattern coming SOON!!!!

Happy Crocheting…


Monday, April 11, 2022

Fox Donut

Fox Donut

I made this super cute Fox Donut to hang on my tree in the sunroom. 

Materials:

-3.0mm hook

-#4 worsted weight yarn in Terra Cotta, Black and White

- 2 black eyes

-Polyfil

-tapestry needle for weaving


U.S. Stitch Abbreviations:

Ch:  chain

St:  stitch

Sl st:  slip stitch

SC:  single crochet 

Inc: 2 SC in same stitch (increase)

SC2tog:  SC 2 st together (decrease)

SC3tog:  SC 3 st together

FO:  fasten off


Directions:

Coming soon…..

Happy Crocheting…

Legal:
--don't use/claim my design as your own
--don't use/claim my pics as your own
--okay to make and sale your finished work
--don't share my pattern electronically or in print format (without prior consent) but provide a link to my blog

Social Media:
If you are on the following sites, let's connect and hook up...
  • Instagram:  Rilla2u
  • Pinterest:  Rilla2u
  • Twitter:  Rilla2u
  • Facebook:  /rilla.edwards 
  • Etsy:  rilla2u 
  • TikTok:  rillae2u 

Wednesday, March 30, 2022

Spring Wreath

Dollar Tree DIY:

Spring Wreath


Dollar Tree has a great selection of floral items.  Here is the link to help you with ordering what you need to make this project: 


This is an absolutely gorgeous spring wreath made on a budget of about $12.00 from the Dollar Tree.  By simply, filling in with greenery and smaller buds, you’re able to produce a fuller, more beautiful wreath for your front door or wall decor. 

I add hot glue to the tips of the stems prior to inserting into the wreath. This is optional but I like the extra little security measure. 

Let’s get started…

Supplies:
12” foam wreath
(3) fern greenery
(2) eucalyptus greenery
6-8 floral bunches 
Hot glue gun


Directions:
First, I add the greenery, dipped in hot glue and then pushed into the wreath. 

Second, I add the main flower color as the greenery. 


Third, I add the smaller bunches of floral. And then, I continue until the wreath is as full as I want it to be. 

And voila — look how gorgeous it looks?  Quick, simple and inexpensive…


Happy Crafting…


Ladybug

Ladybug

My mom-in-law has had a problem with ladybugs this past winter so I thought she would get a kick out of receiving this little critter!!!!

I used cotton yarn and a 3.0mm hook and just made him freestyle.  I may go down 1 or 2 hook sizes and make another one.  But, this time write the pattern.  I’d like to make one small enough for a keychain.  

So, for the next little bit, she will be pals with my bumblebee until I take her to her new home….


Happy Crocheting…

Legal:
--don't use/claim my design as your own
--don't use/claim my pics as your own
--okay to make and sale your finished work
--don't share my pattern electronically or in print format (without prior consent) but provide a link to my blog

Social Media:
If you are on the following sites, let's connect and hook up...
  • Instagram:  Rilla2u
  • Pinterest:  Rilla2u
  • Twitter:  Rilla2u
  • Facebook:  /rilla.edwards 
  • Etsy:  rilla2u 
  • TikTok:  rillae2u 


Tuesday, March 29, 2022

Bottle Art

 Bottle Art

I absolutely love how this project turned out. I had an empty wine bottle and just wanted to do something with it. 

First, I painted a white coat of acrylic paint on it with a brush.  Dried.  I then used a round sponge brush and dabbed the blue paint on it  Dried.  Last, I added a clear coat. 


Then, I let the bottle set for about a week until I decided how I wanted to finish it  I finally decided to add some twine at the neck of the bottle; secured by hot glue.  I wanted 3 strands of twine so I could add 3 painted wood pieces.  To finish off, I add 3 flower bouquets from the Dollar Tree.  Simple. Elegant.  Beautiful.


Happy Crafting…


Dollar Tree DIY

Dollar Tree DIY

Spring/Easter Decor

Materials:

Bunny Wreath Form

Polyfil

Bernat Blanket yarn

1 sheet of Pink foam

1 flower 

Ribbon to make bow

Hot glue

Directions:

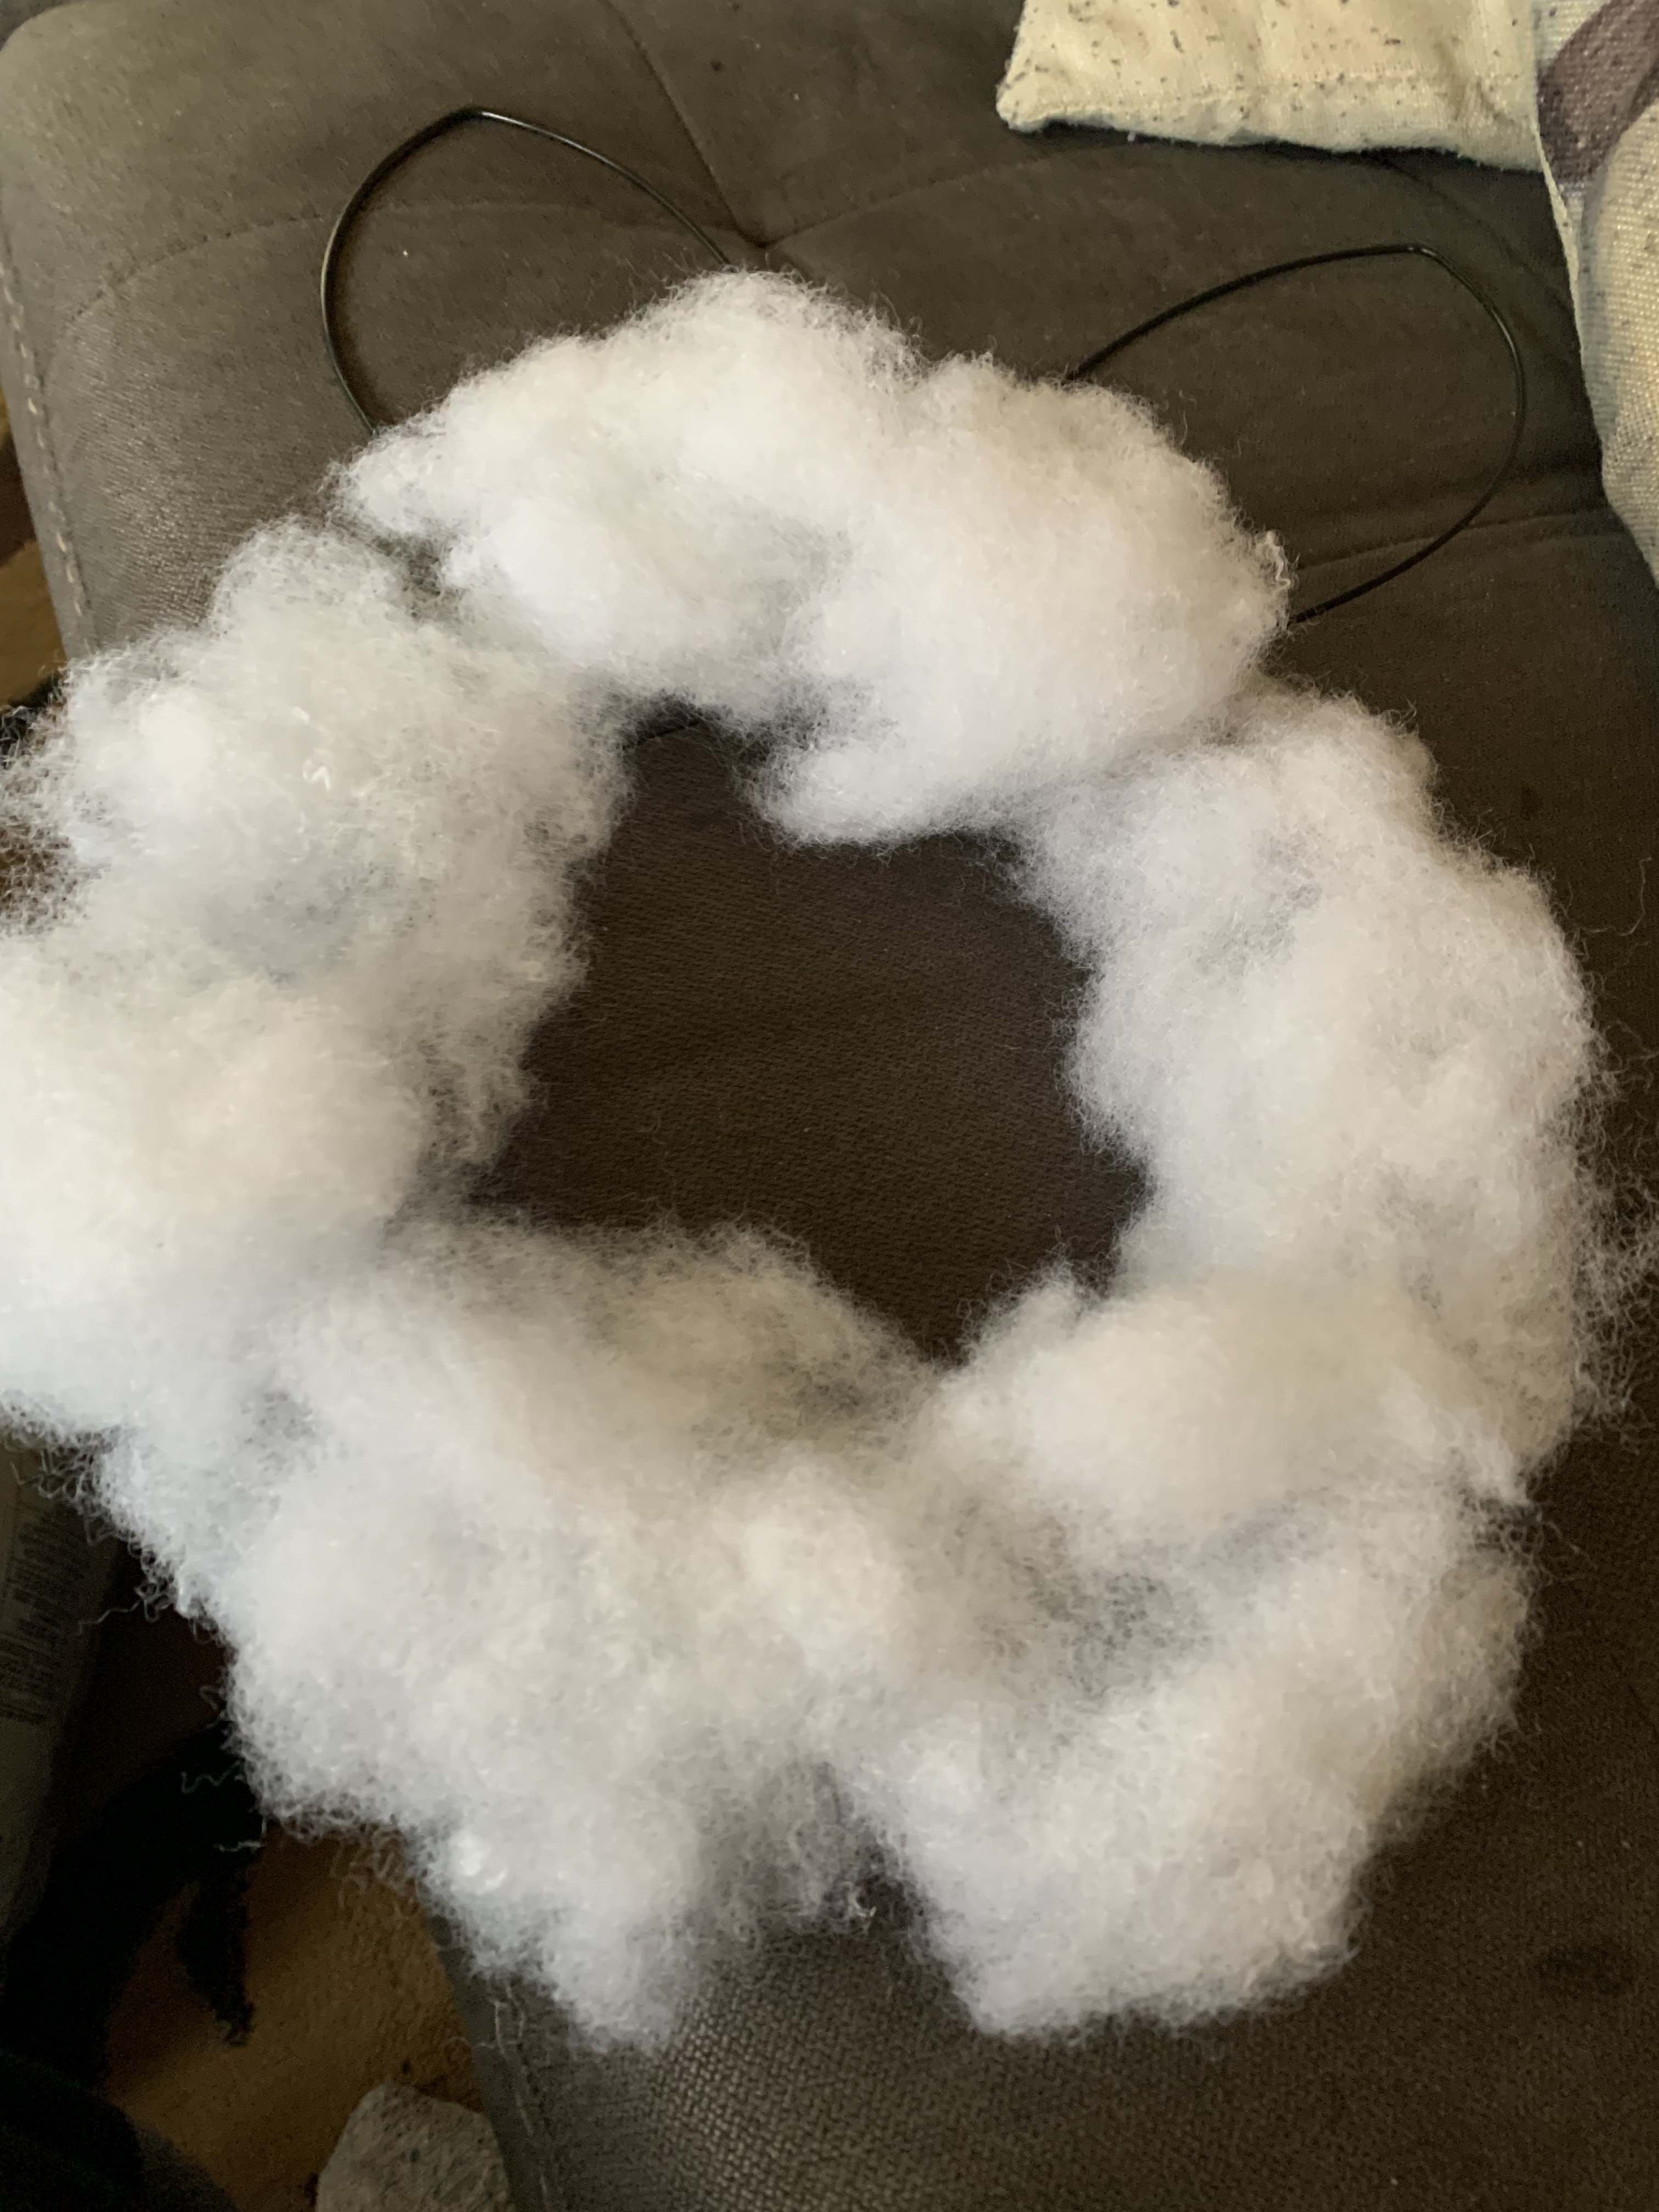
First I worked with the circular portion  I laid Polyfil on top and wrapped the yarn around.  I cut the yarn in long pieces, folded it in half and worked it around this way.  Once completed, I repeated a second time  

I did the same thing for each of the ears. 

To complete, I just used my hot glue gun to attach a flower.  I made a simple bow and attached it. For the pink inner ear, I just folded the foam and just free hand cut the shape for the ears and glued it. I wrapped a long strand of yarn around center top and secured with a knit for the hanger. 

And, that’s it!!!!  Cute and easy project.


Happy Crafting…